I will be mentioning you about the installation steps of a Watchguard brand Firewall device from scratch, but first of all, I would like to mention what Firewall is and what it does for those who do not know or beginners in this essay.
What is a Firewall?
Firewall systems aim to control all incoming and outgoing Network traffic, pass it through certain filters, and stop harmful actions in a Network traffic. In this way, Network security is provided. It is a security mechanism that protects your devices and computers on internal Networks against attacks that may come from other external Networks (Internet), and controls Network traffic between internal and external Networks (LAN & WAN) according to certain rules.
Basically, the Firewall decides whether the packets coming to it on the Network can go to the addresses they need to reach (with predefined rules). Protection is provided by blocking the traffic that does not comply with rules specified on the firewall. Firewall systems are divided into hardware and software based. Software-based Firewall applications are generally installed on operating systems on Client or Server. Hardware-based Firewall devices are systems operating on special hardware. Firewall devices or software basically aim to protect the Network you are in against malicious traffic and attackers that may come from untrusted external Networks (WANs) such as the Internet.
While providing this protection, they control your Internet traffic by processing special rules specified on it. If Firewall detects Network traffic that is against your security policy, it provides a secure layer to prevent it from accessing your internal Network and blocks this traffic. Firewall devices create a special layer through which only permitted traffic can pass, and they work by controlling the level of communication between external Networks (WAN) and your corporate or home Network (LAN).
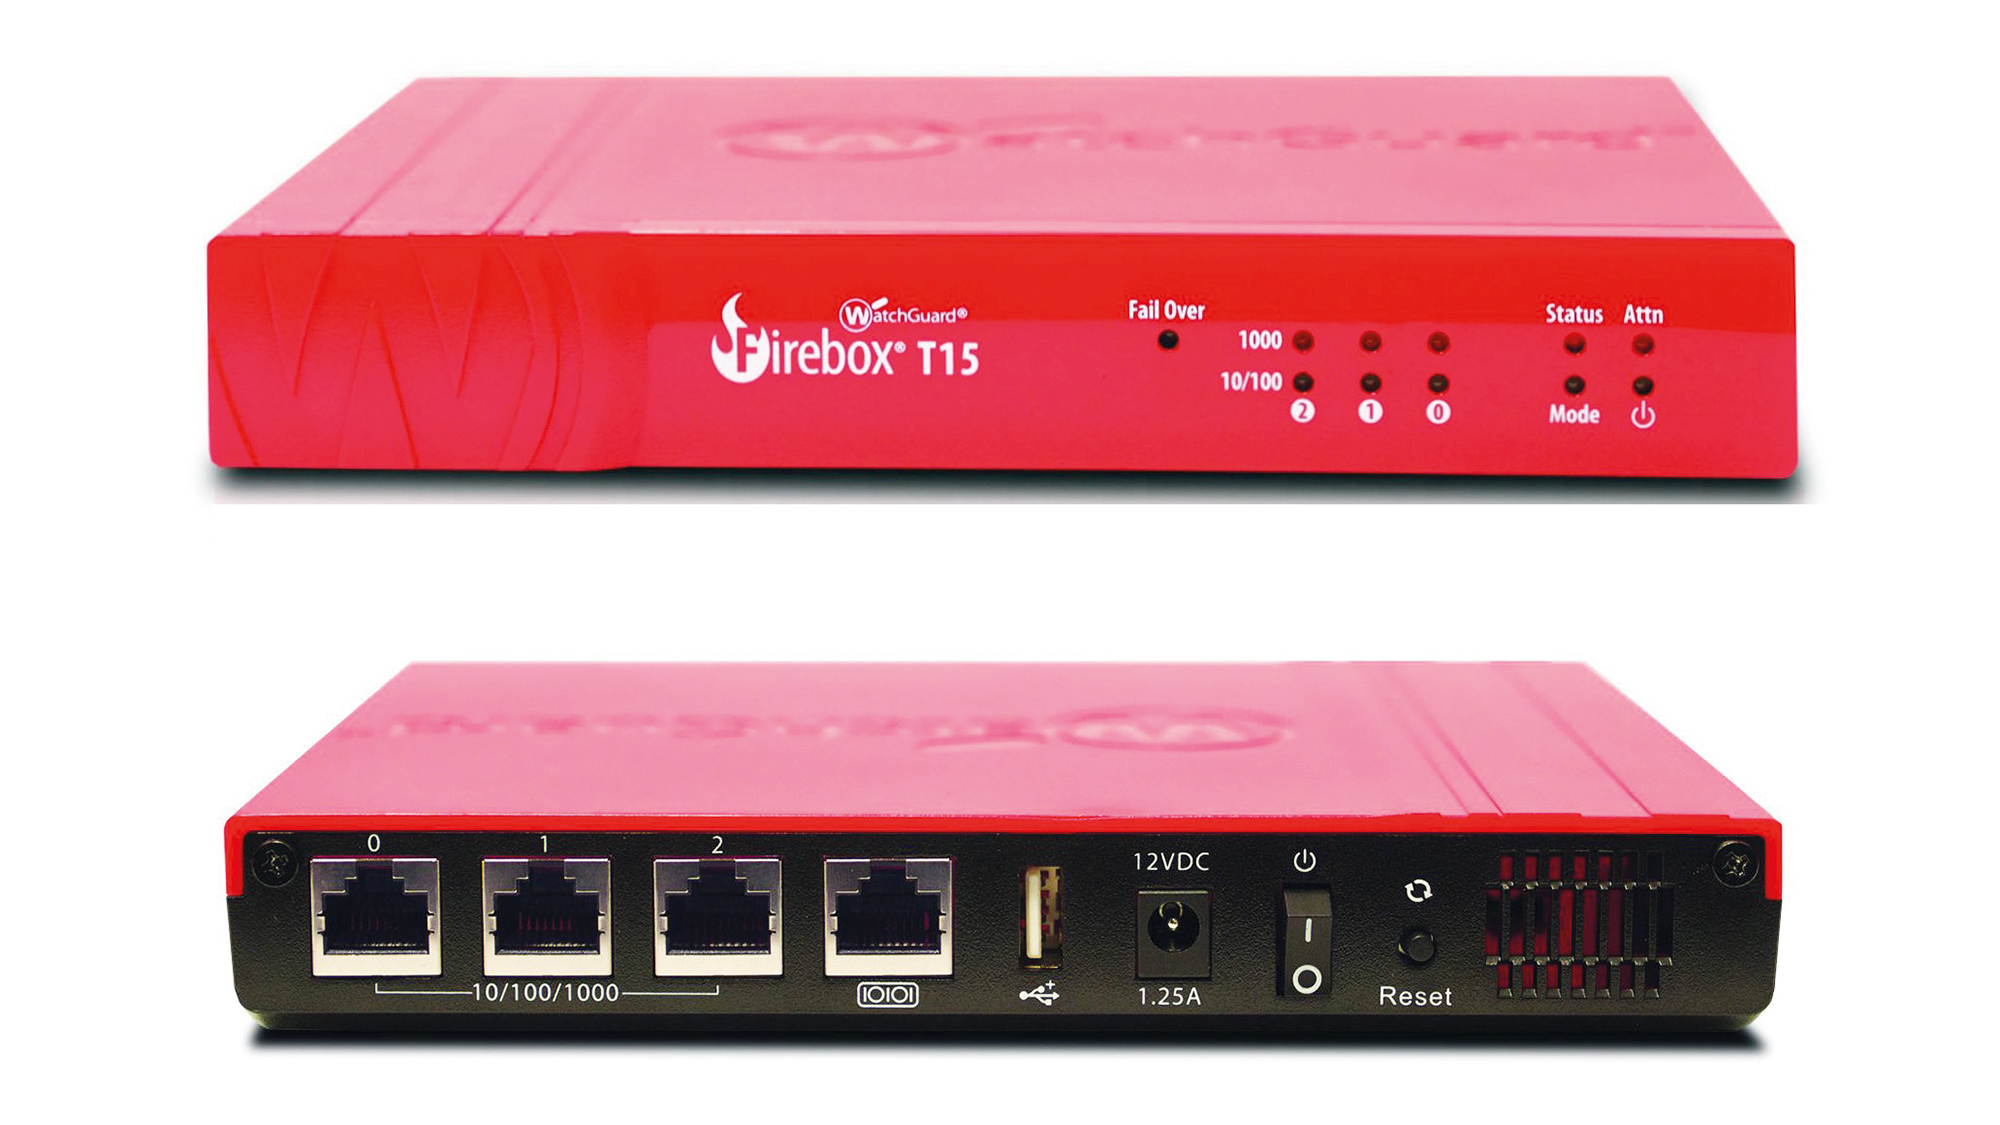
I will show the basic Firewall setup process on the Firewall with the brand and model of WatchGuard T15 in this essay.
You can access the product information of the WatchGuard T15 series Firewall device on the WatchGuard Firebox T15 page.
You can get information about all WatchGuard products from All WatchGuard Products page.
Firewall Device Connection Configuration
1- I would like to mention how a Firewall is located on the Network and how the device cable connections should be made at the most basic level before proceeding with the installation process. All Firewall devices, regardless of brand or model, basically have two basic ports, LAN and WAN.
LAN Port is used for your Internal Network; WAN Port is used for your external Network.
According to this;
• Assuming you have a Modem, a telephone cable with RJ11 connector used for Internet is plugged in to the RJ11 Port on the Modem.
• It is connected to the WAN Port of your Firewall device with a CAT cable from any of the RJ45 Ports on the Modem.
• After this connection between the modem and the Firewall is made, it is connected to any ports on the switch with a CAT cable through LAN port of your Firewall. All computers and other Network devices in your Internal Network (LAN) are also connected to this Switch and taken under the Firewall security umbrella.

WatchGuard T15 Firewall Setup
After configuring the active device connections, it is time to configure the initial basic setup processes.
2- Thinking that you have a Modem in your hand, the first thing to do is to switch the Modem to Bridge Mode.
NOTE 1: Since Bridge Mode settings will vary depending on the brands and models of modems you use, you are suggested to make a research from Google on how to get your modem into Bridge Mode.
NOTE 2: At this point, the Internet connection will be lost.
3- A second CAT cable must be removed from the switch and attached to the Network Interface Card-NIC Port of the computer through which we will perform the installation.
4- Watchguard Firewall Default IP address is 10.0.1.1/24. This IP address is also defined as Default in the LAN Port of the Firewall. So we need to set an IP address from 10.0.1.0 Network ID to the Network Interface Card-NIC configuration of the computer. I entered the IP address 10.0.1.10/24 for the installation process.
NOTE 3: I suggest you to test the connection by pinging the IP address of 10.0.1.1 upon completing the IP address identification.
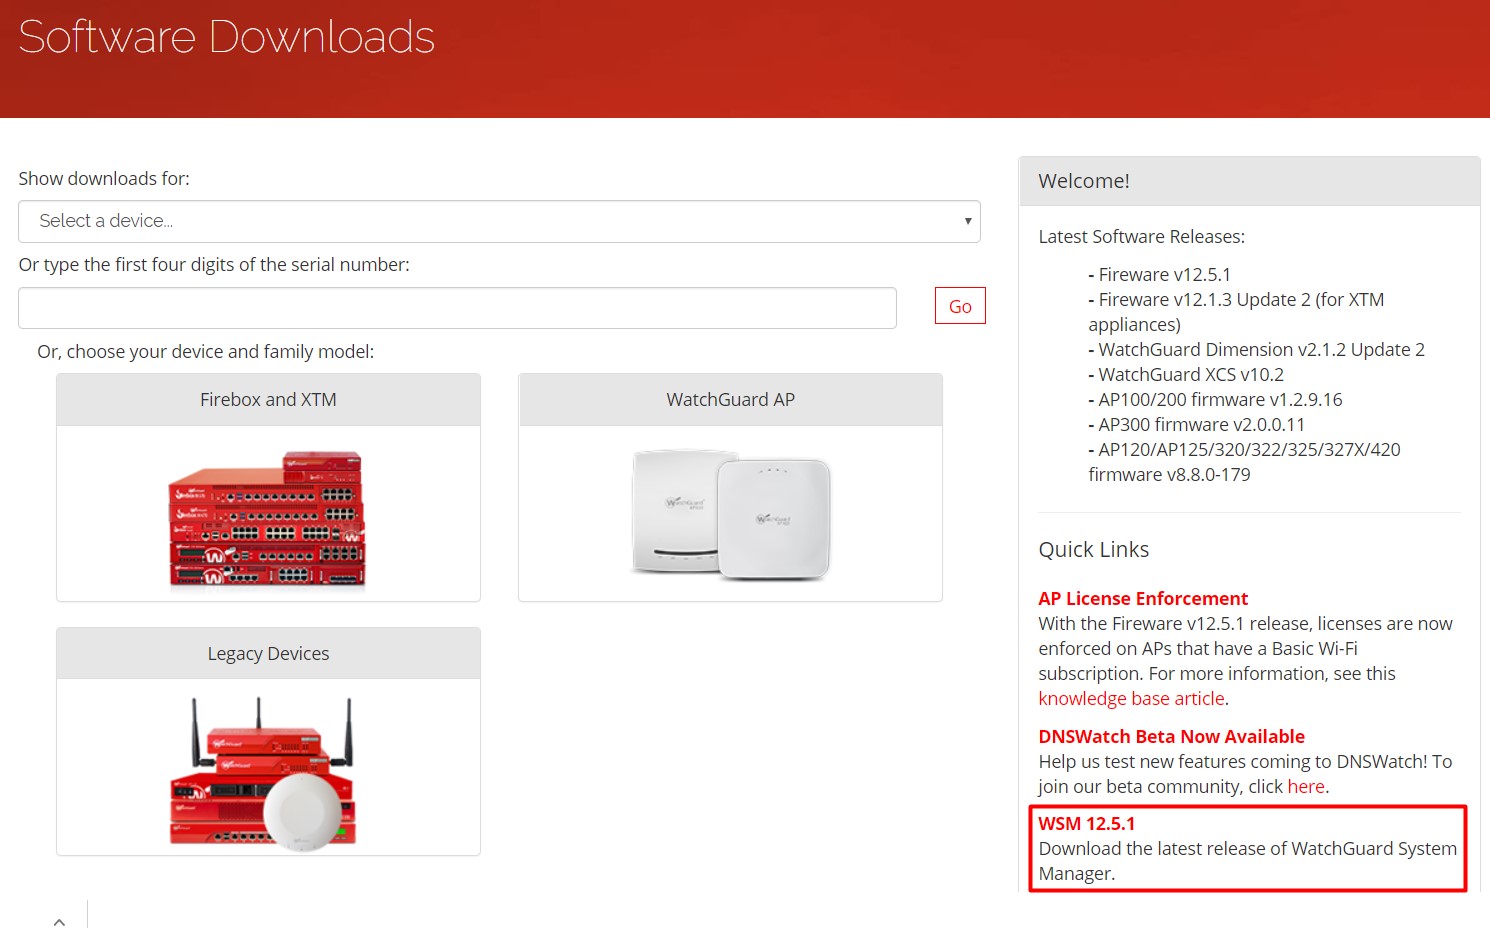
5- After all these physical preparation processes are completed, it is time to download the Watchguard System Manager application. The WatchGuard System Manager application is a tool that provides management and configuration without the need for both WatchGuard Firewall device setup and Firewall management Web Portal.
You can download the Watchguard System Manager application through official website of WatchGuard.
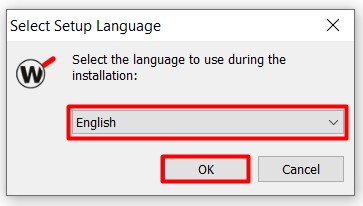
5.1- When we run the installation file with the .exe extension that we downloaded, the Setup Wizard will appear. I am starting the installation by selecting our language settings in the Setup Language step in the first window on the wizard and clicking on the Next button.
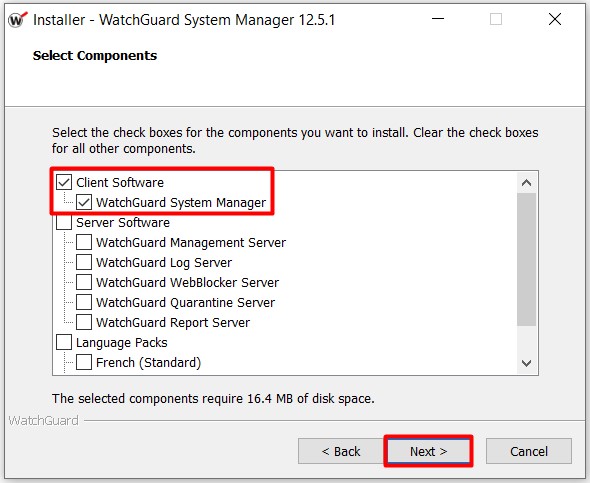
5.2- Client Software and its sub-option WatchGuard System Manager are selected by default in the Select Components step. Since I do not need the other options for now, I am proceeding the installation process by clicking on the Next button while these two default options are selected.
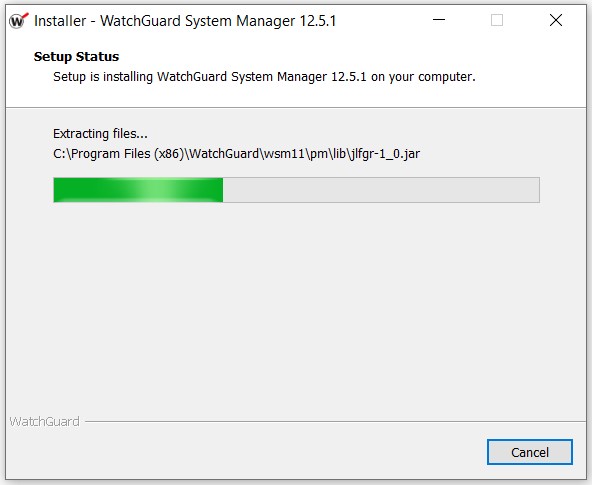
5.3- The setup process has started in Setup Status step.
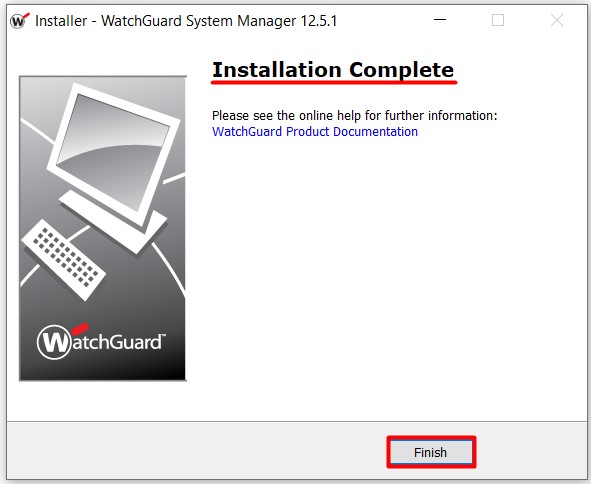
5.4- WatchGuard System Manager installation is completed. I am ending the Wizard by clicking on the Finish button.
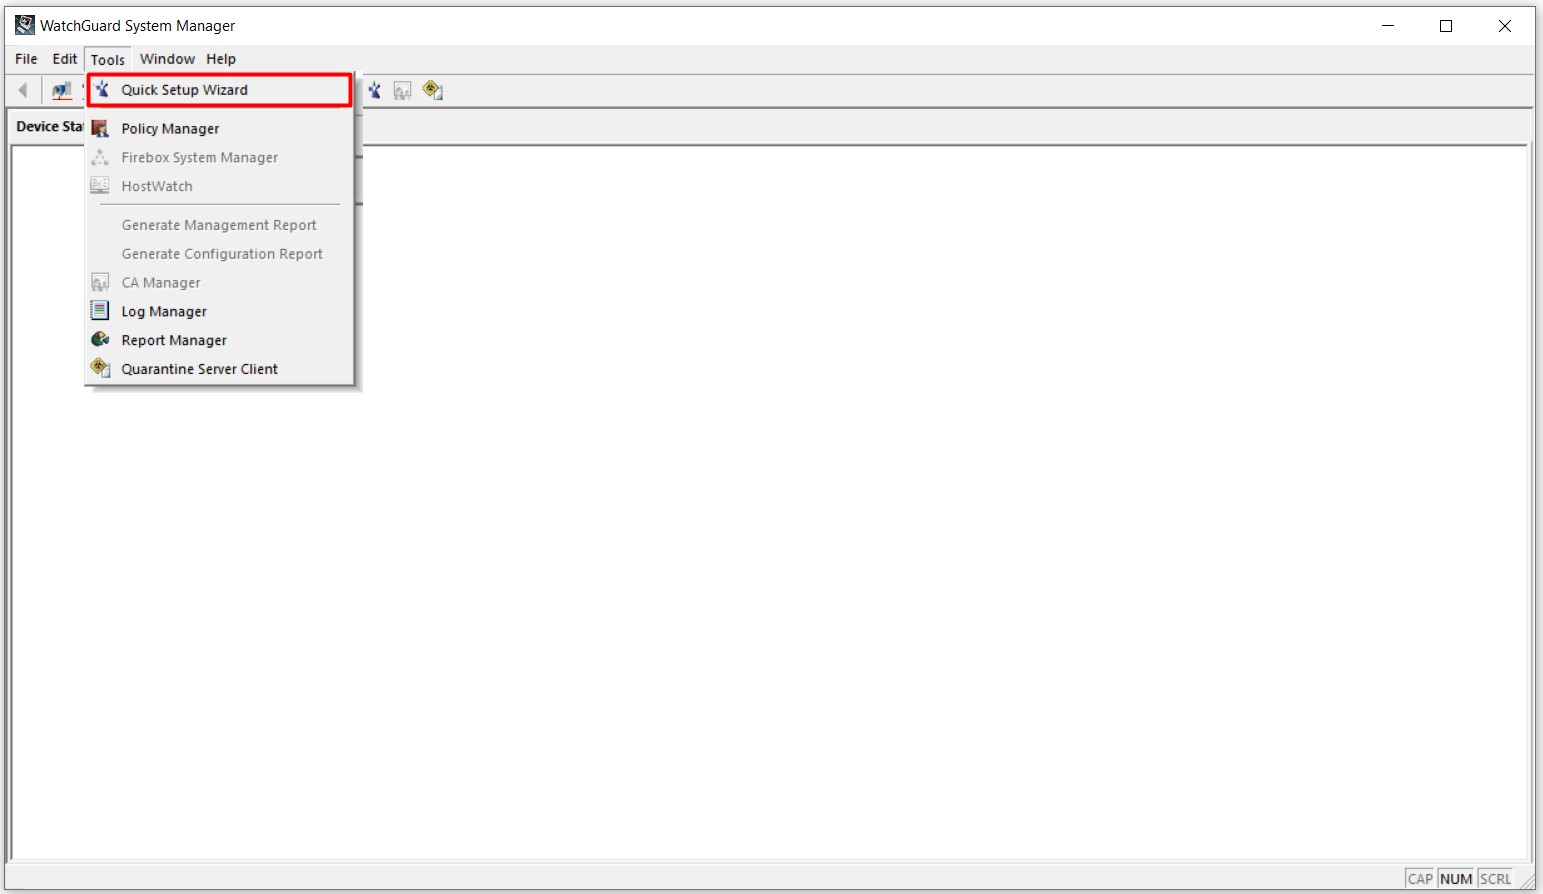
6- After downloading and installing the Watchguard System Manager application, I am running the application and clicking on the Quick Setup Wizard from the Tools menu.
7- I am starting the configuration process by clicking on the Next button in the Watchguard Quick Setup Wizard window.

8- I am clicking on the option of Yes, my device is ready to be discovered in order that my device can be found by bening discovered and I am starting the discovery process by clicking the Next button.

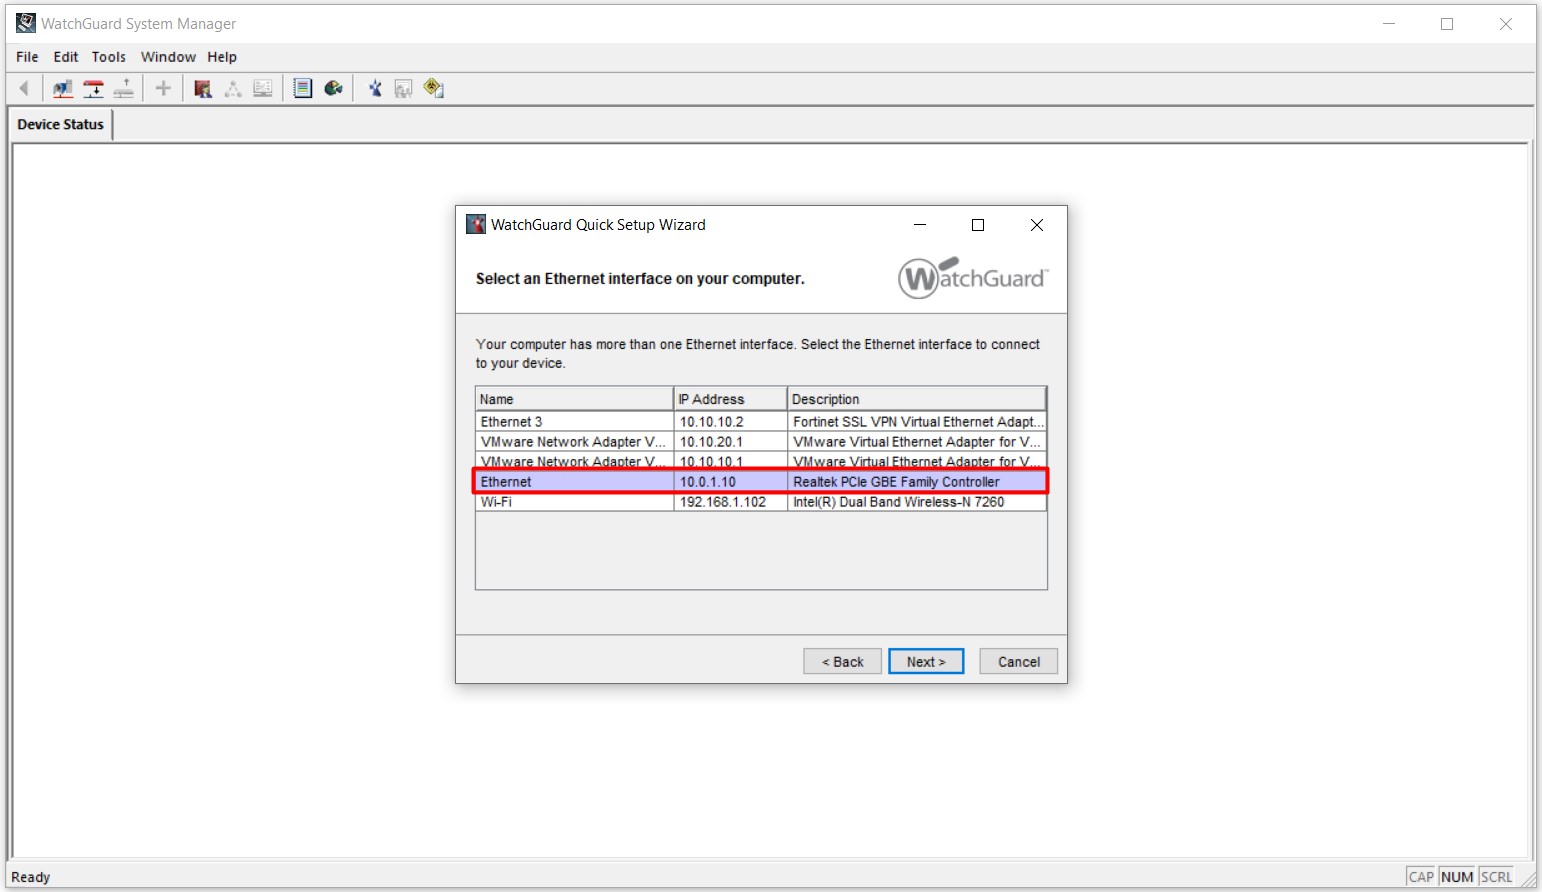
9- Since I have more than one Network Interface Card-NIC installed on my computer, I am selecting the Network Interface Card that I defined the address of 10.0.1.10/24 and proceeding the discovery process by clicking on the Next button in the Select an Ethernet interface on yor computer step.
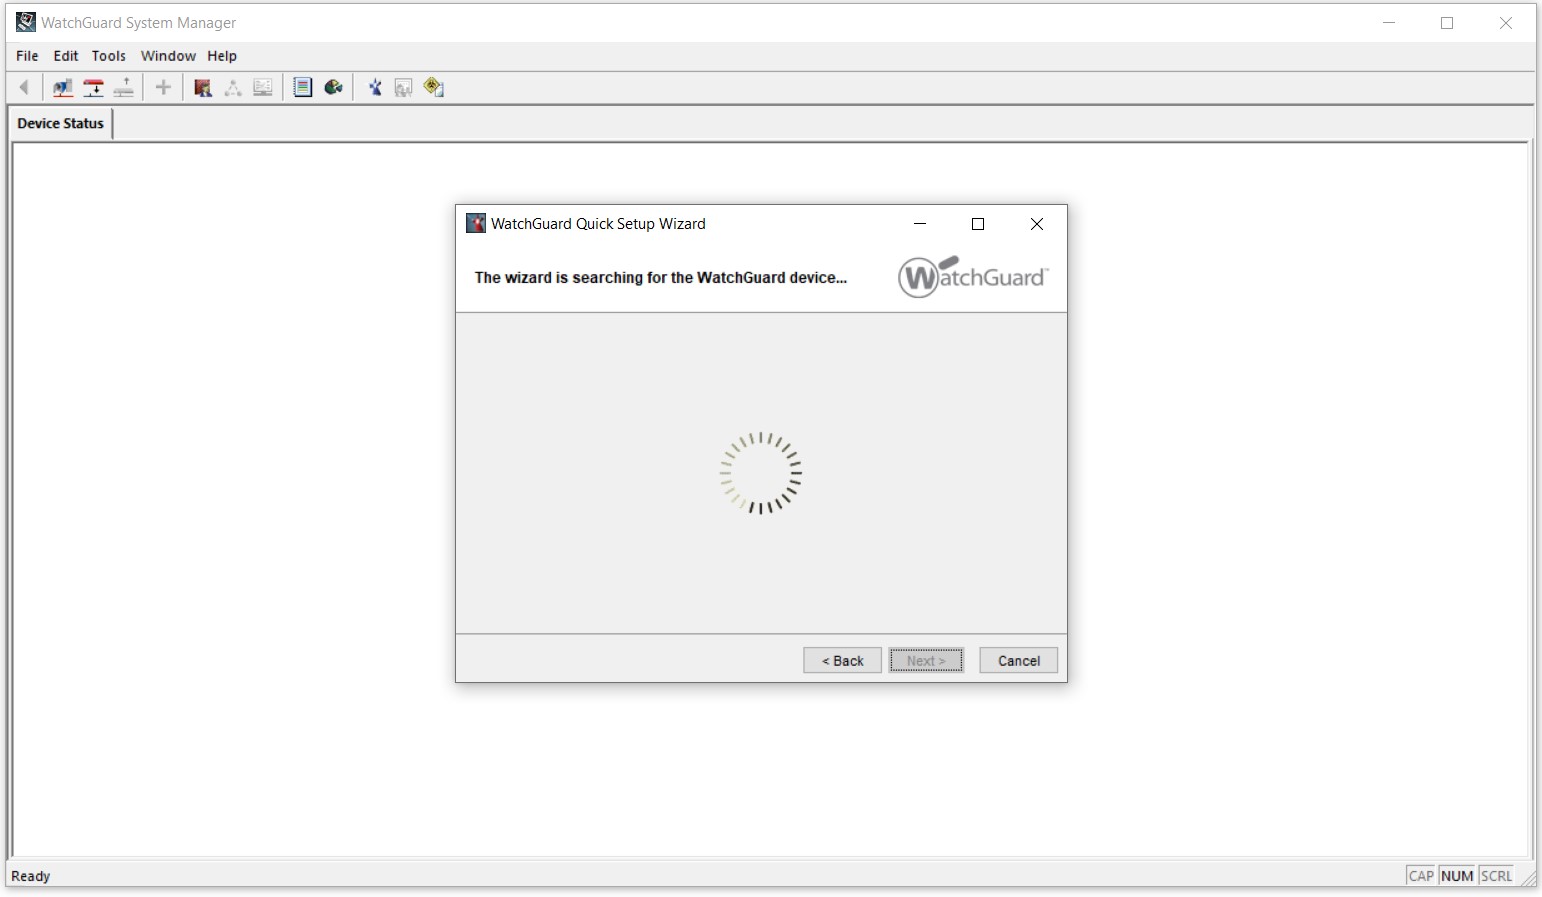
10- My Firewall device is running the discovery process in The wizard is searching for the WatchGuard device... step.
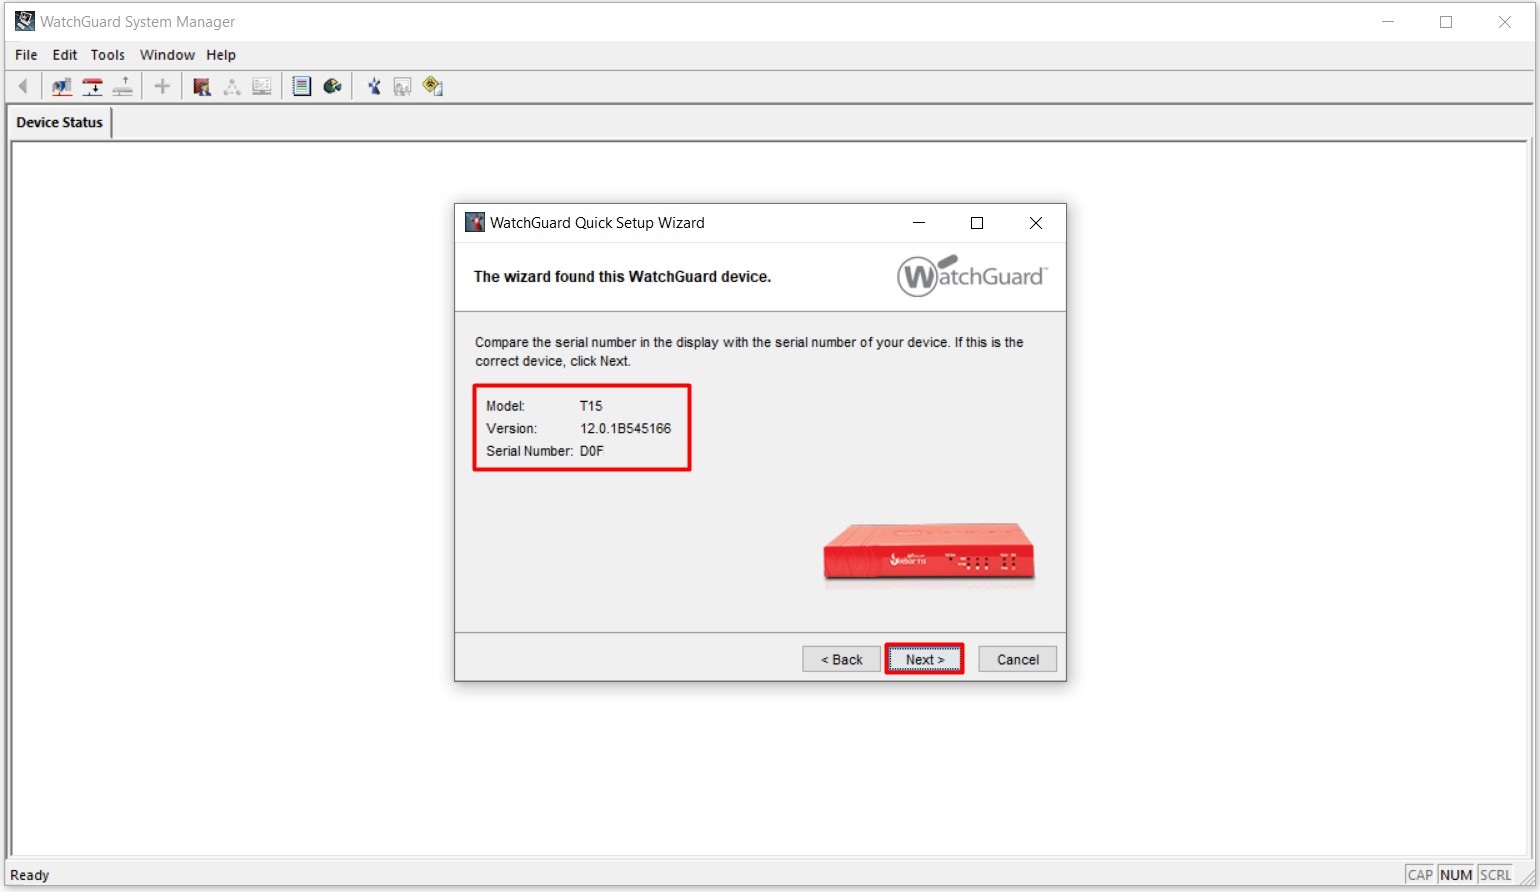
11- Discovery process f my firewall device has been completed. Information such as model, version and serial number of my firewall device can be seen on The wizard found this WatchGuard device window.
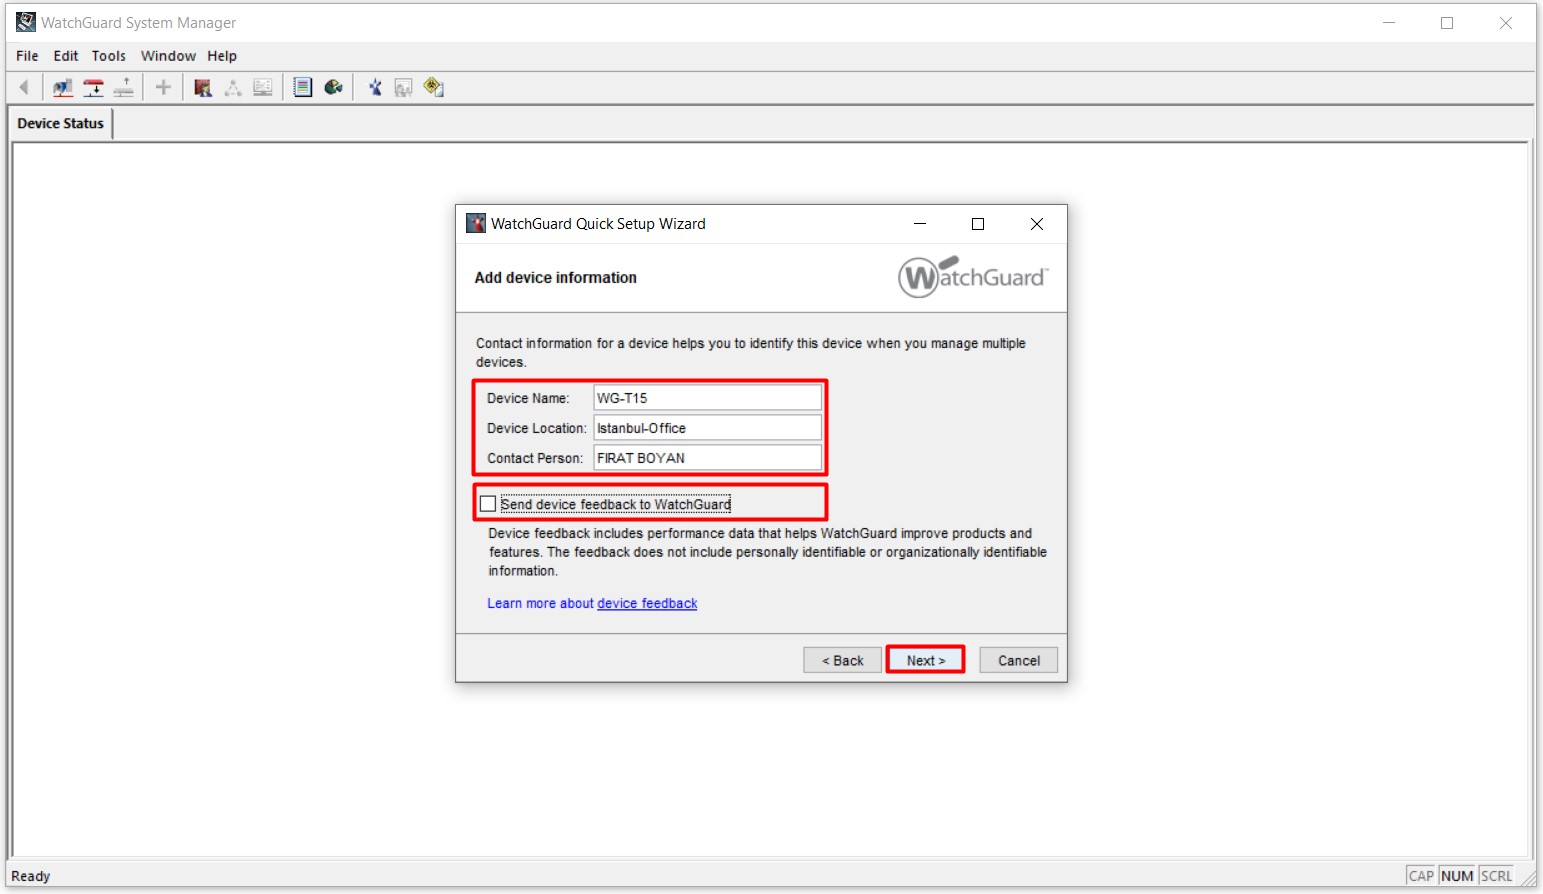
12- I am entering information such as a meaningful name, in other words a friendly name, for my Firewall device, the name of the place where it will be located and the responsible person in the Add device information step. If you wish, you can also select the Send device feedback to WatchGuard option and send the information about the device to WatchGuard. I prefer not to select this checkbox.
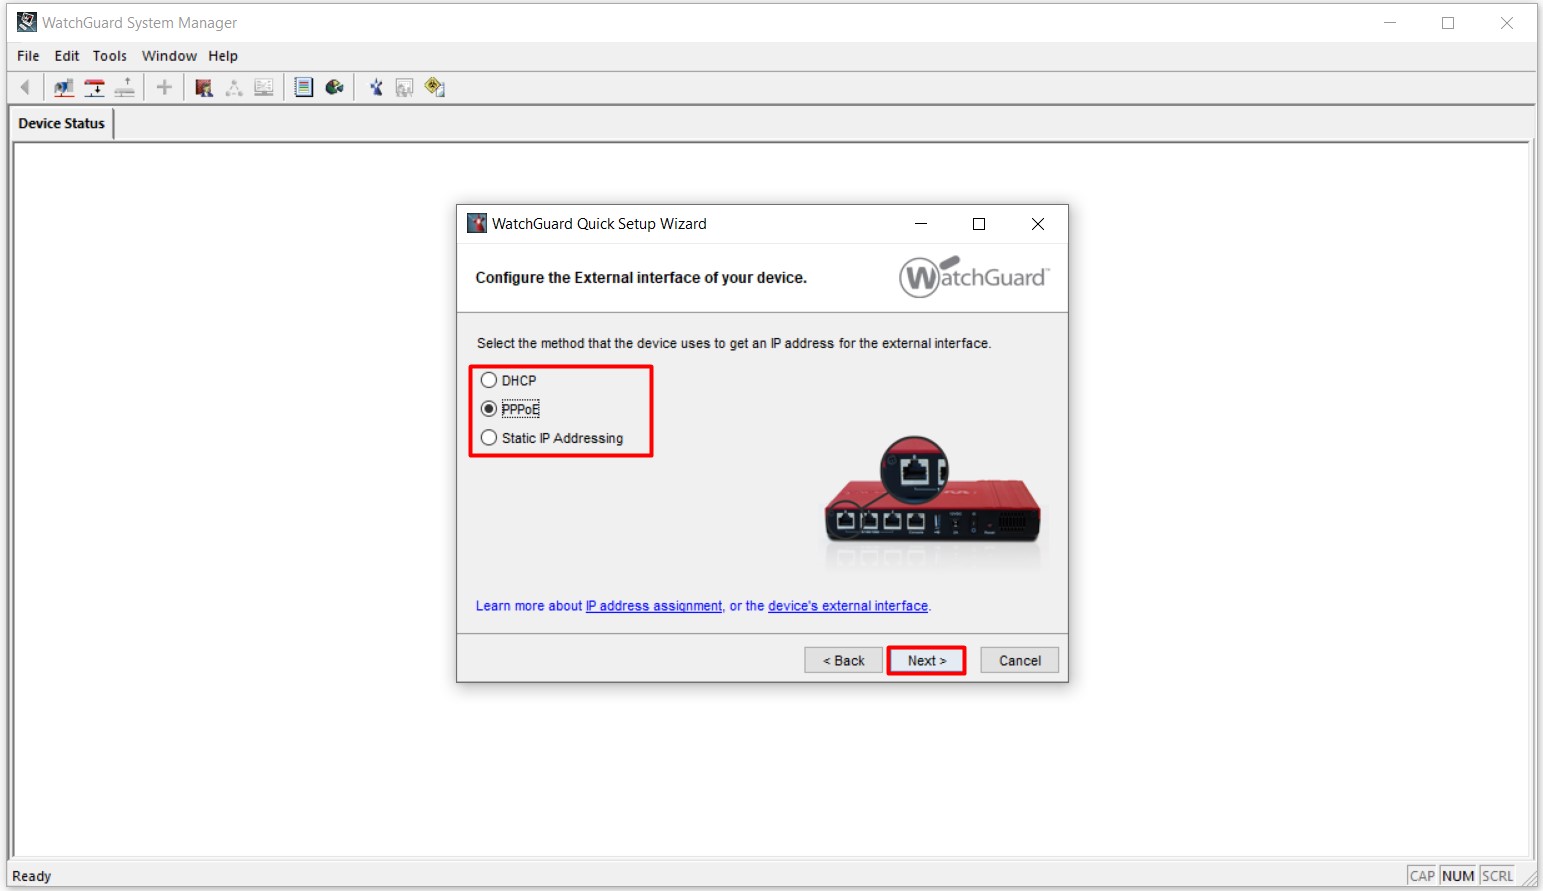
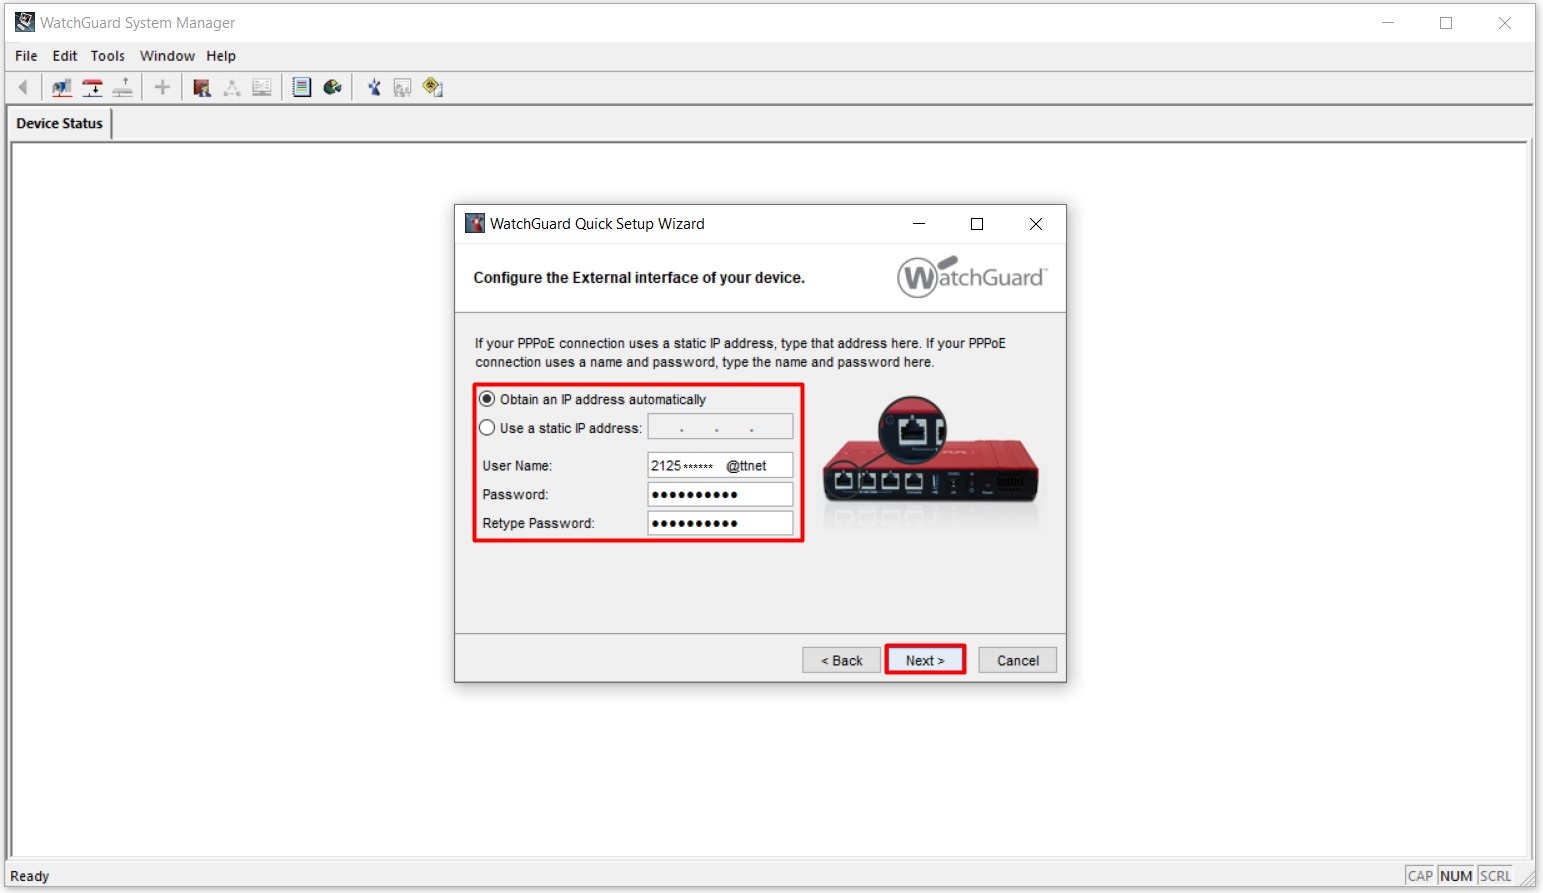
13- I am specifying how to configure the WAN connection type in the Configure the External interface of your device step. In this step;
• PPPoE (Point-to-Point Protocol over Ethernet): This option is the option we specify the User Name and Password, previously defined in your modem (before configuring it to Bridge Mode) and given to you by your ISP.
• Static IP Addressing: This option is the option where we will enter IP address, Subnetmask and Gateway information to be given to you in case you use Metro Ethernet or Radio Link (Radio Link) Internet service.
In this step, I am selecting the PPPoE option and clicking on the Next button and going to the next step.
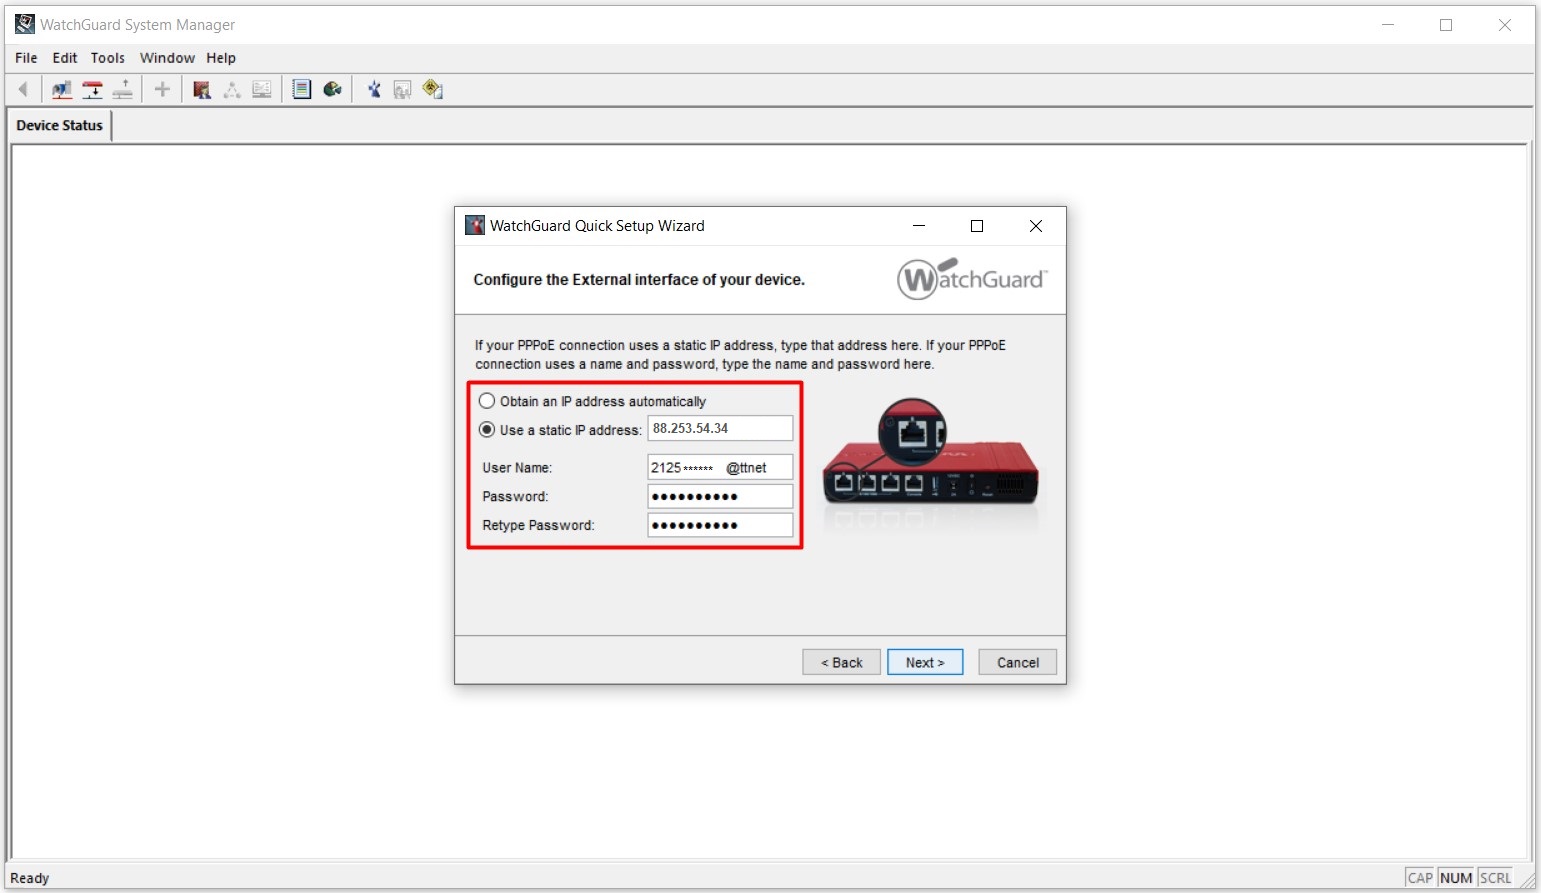
14- I am entering the User Name and Password information provided to you by your ISP in this step since I chose the PPPoE option in the previous step of Configure the External interface of your device. There is an important detail for the IP address in this area.
14.1- It will not make any difference whether we use Obtain an IP address automatically or Use a static IP address since we are using static IP. Whether we get the IP address automatically or log in manually, we will be using the same IP address as a result.
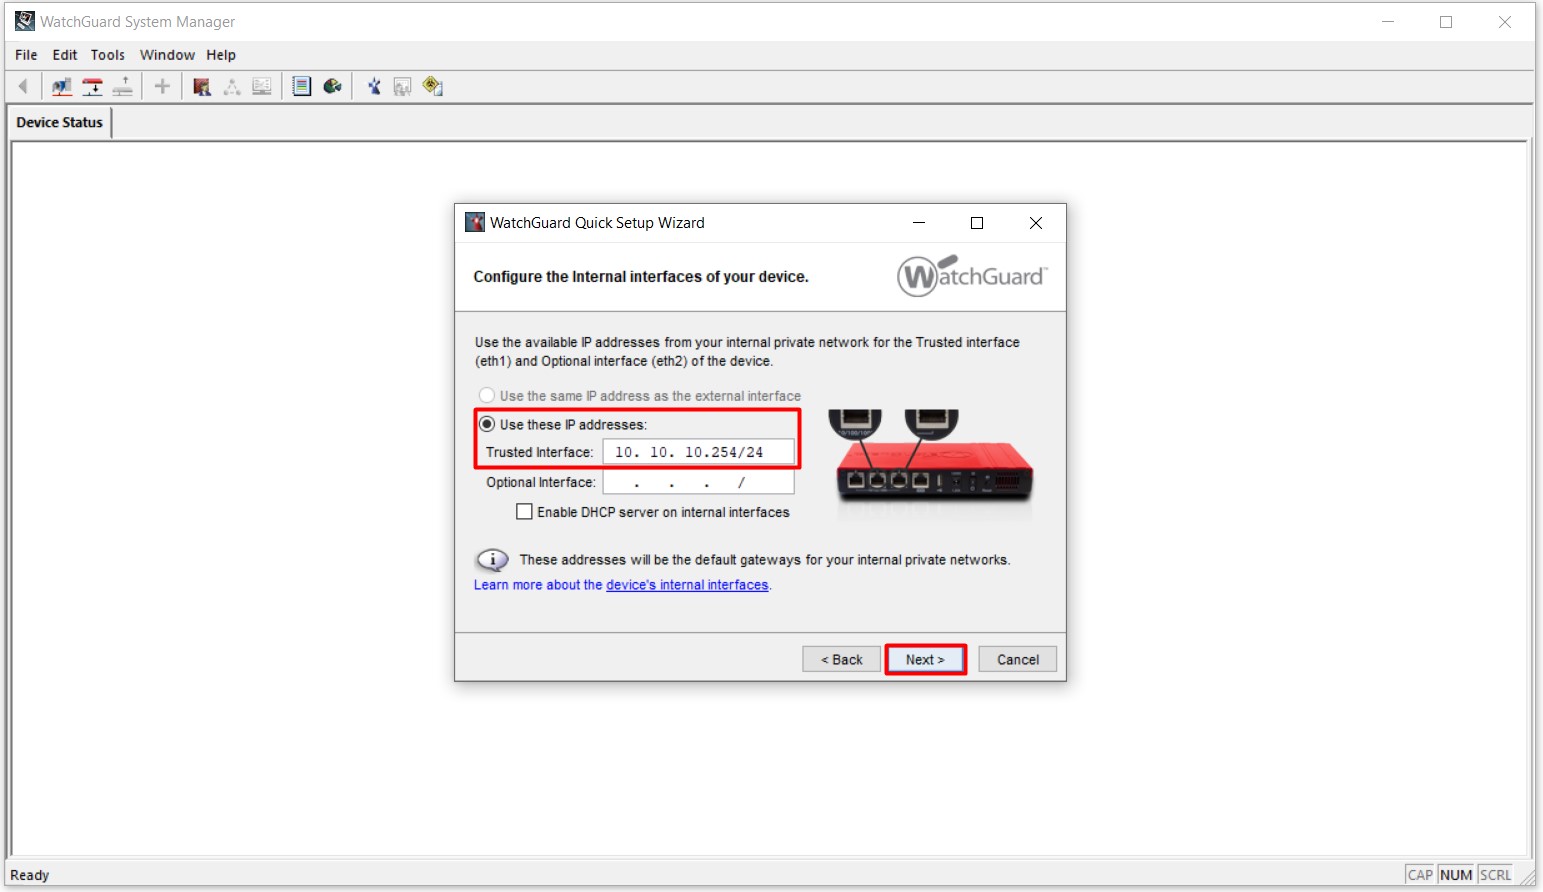
15- I am entering an IP address definition for the LAN Port of my Firewall device in the Configure the Internal interface of your device step. I entered the IP address 10.10.10.254/24 here. You can enter any IP address you would like.
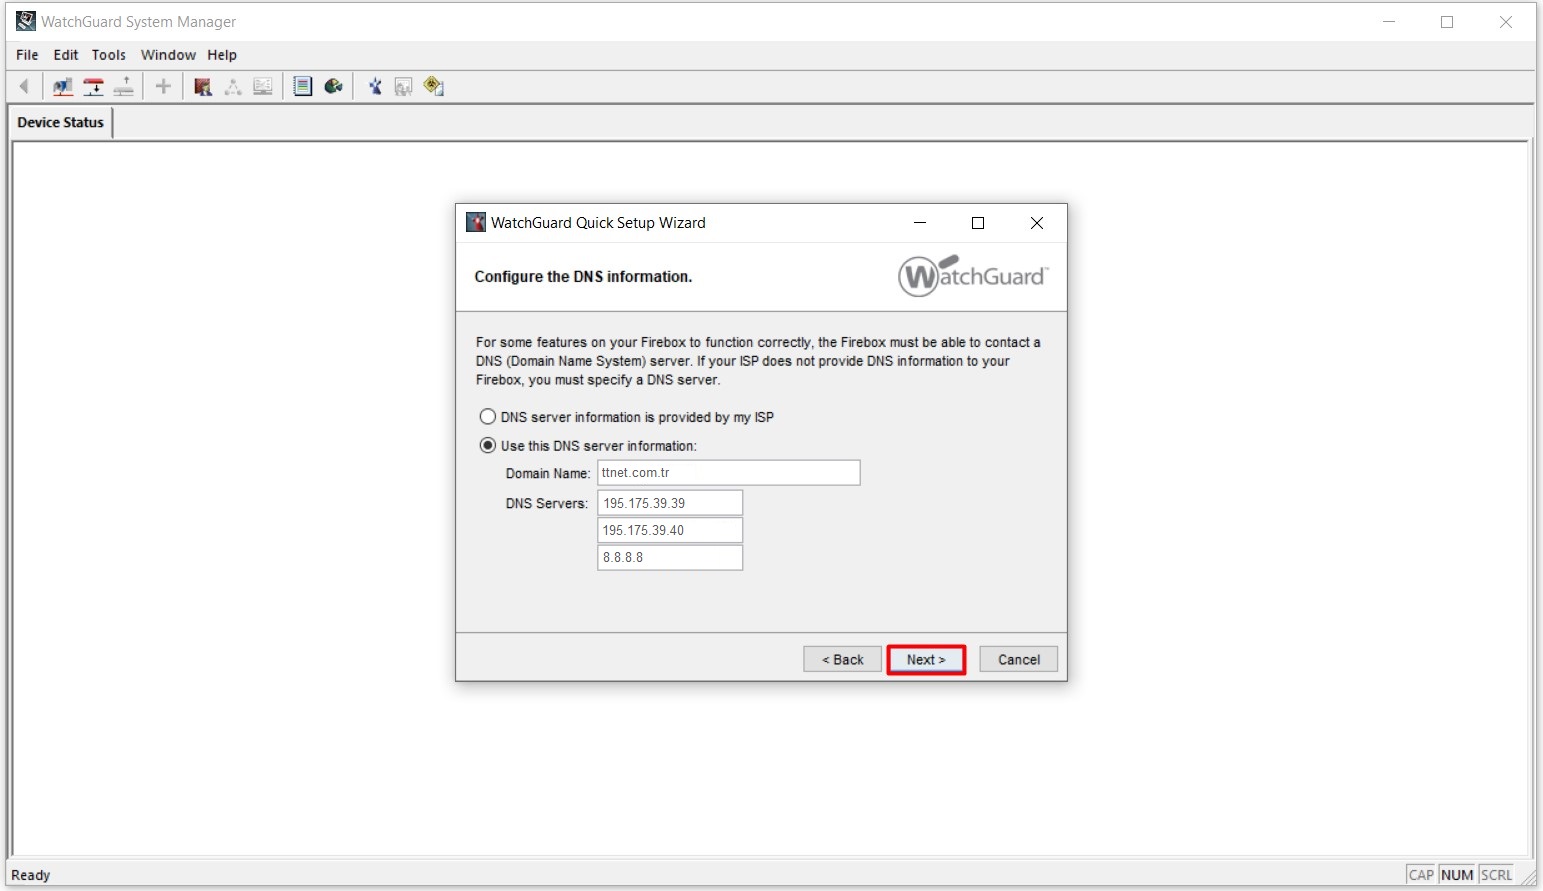
16- We need to enter a DNS IP address so that the Firewall device can connect to the Internet in the Configure the DNS information step.
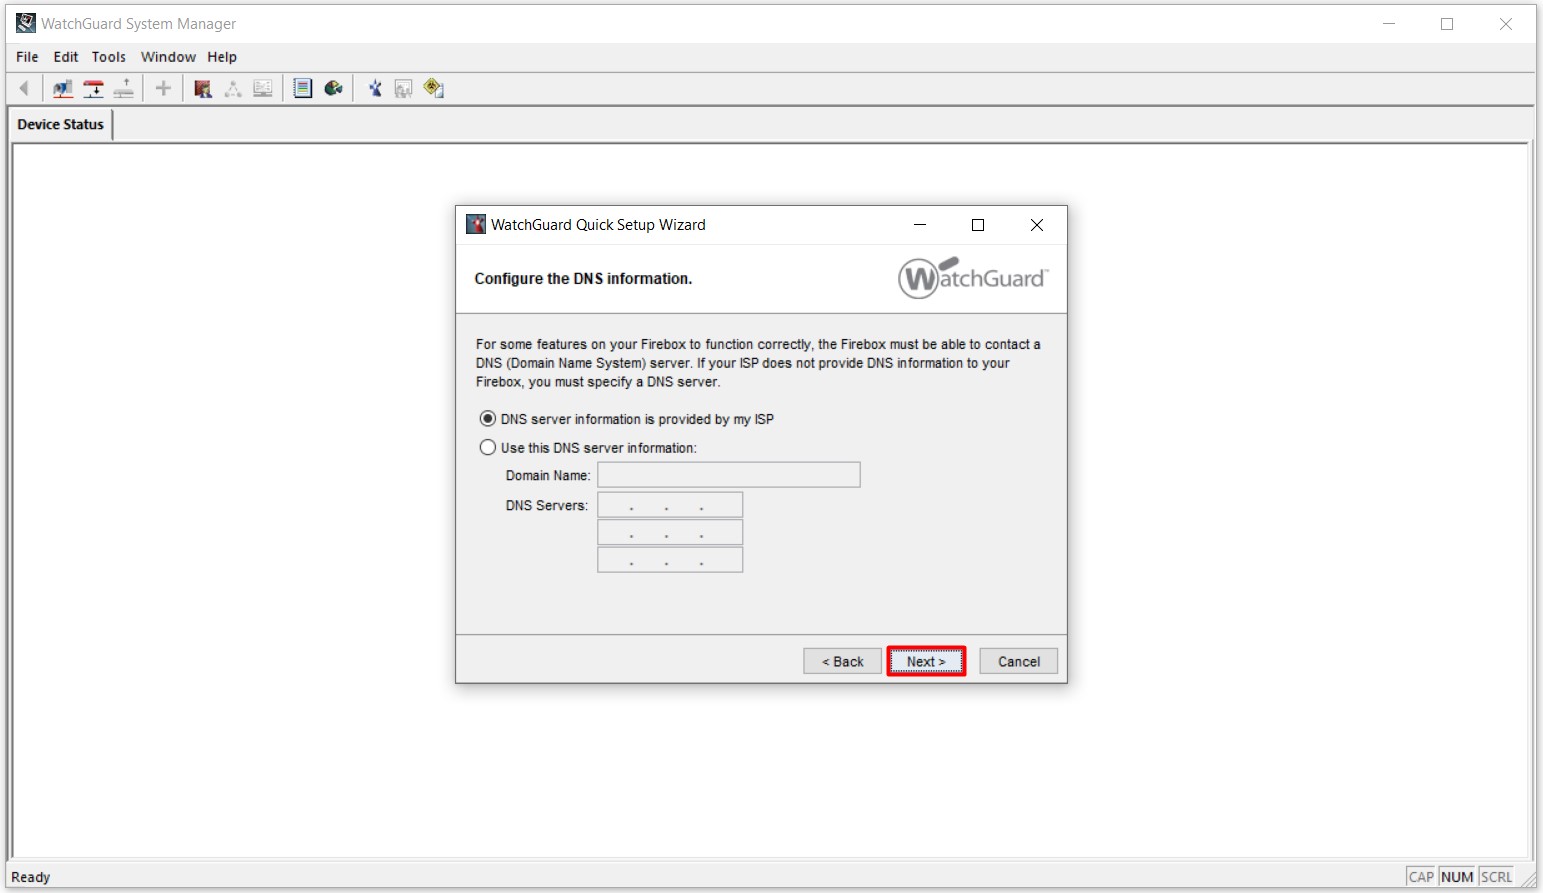
16.1- The DNS IP addresses of our ISP will be defined automatically in the event we select the DNS server information is provided by my ISP option.
16.2- You can manually set a DNS Server IP address of your choice in this DNS server information option. Since I get my Internet service by TTNET, I can manually enter the IP addresses 195.175.39.39 and 195.175.39.40, which are TTNET DNS IP addresses, in the menu. You can also enter a different DNS IP address of your own ISP that you get service and / or GOOGLE DNS IP addresses, 8.8.8.8 and 8.8.4.4.
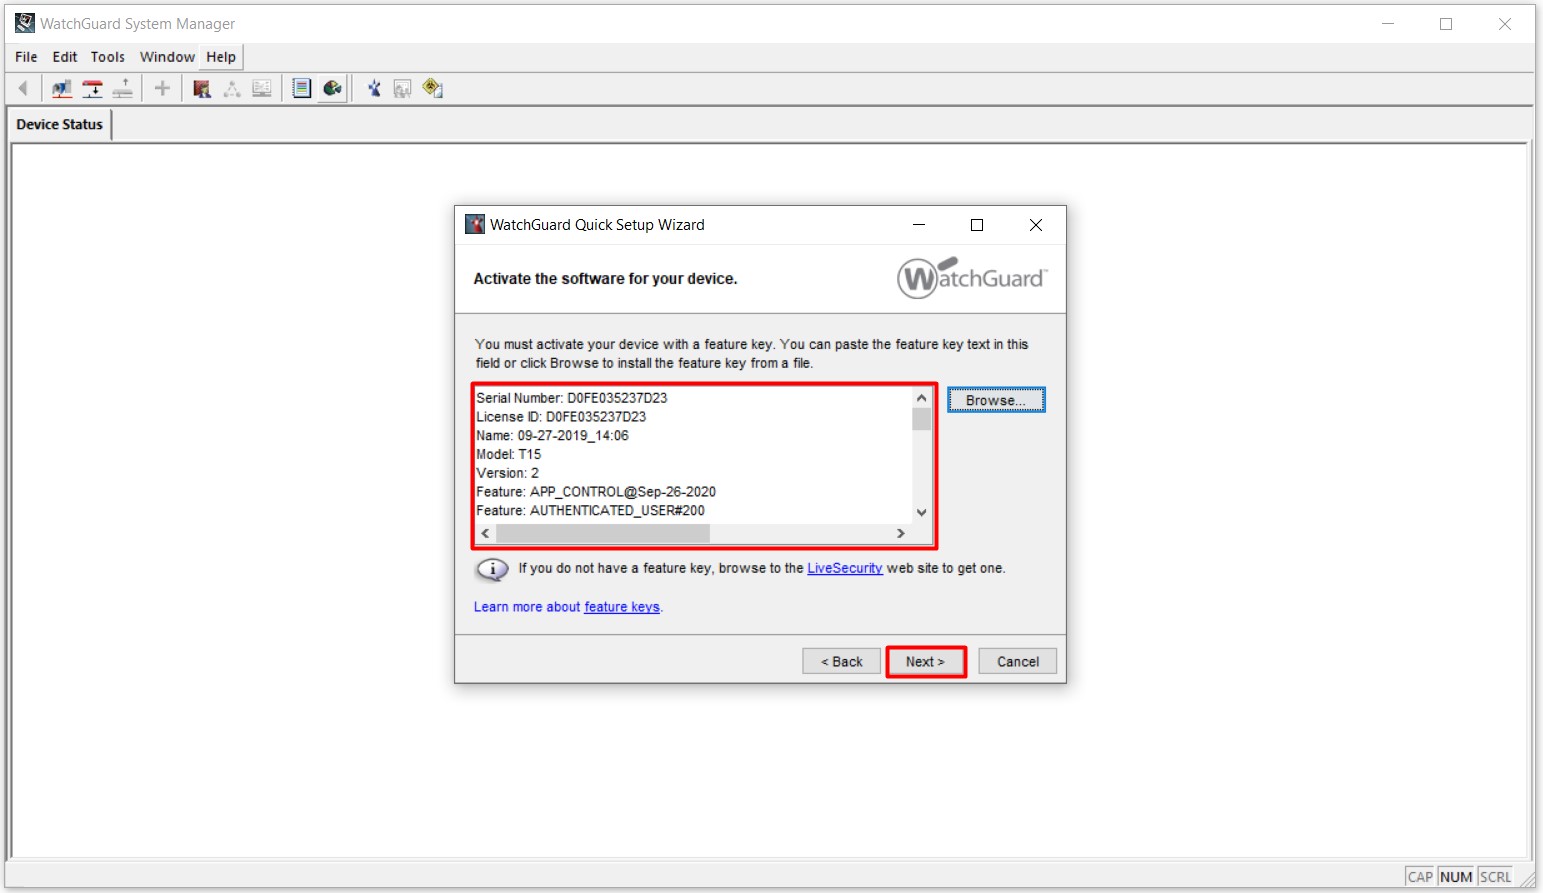
17- We need to perform the activation process of our Firewall device in the Activate the software for your device step. We need to import the activation file for activation by clicking on the Browse... button.
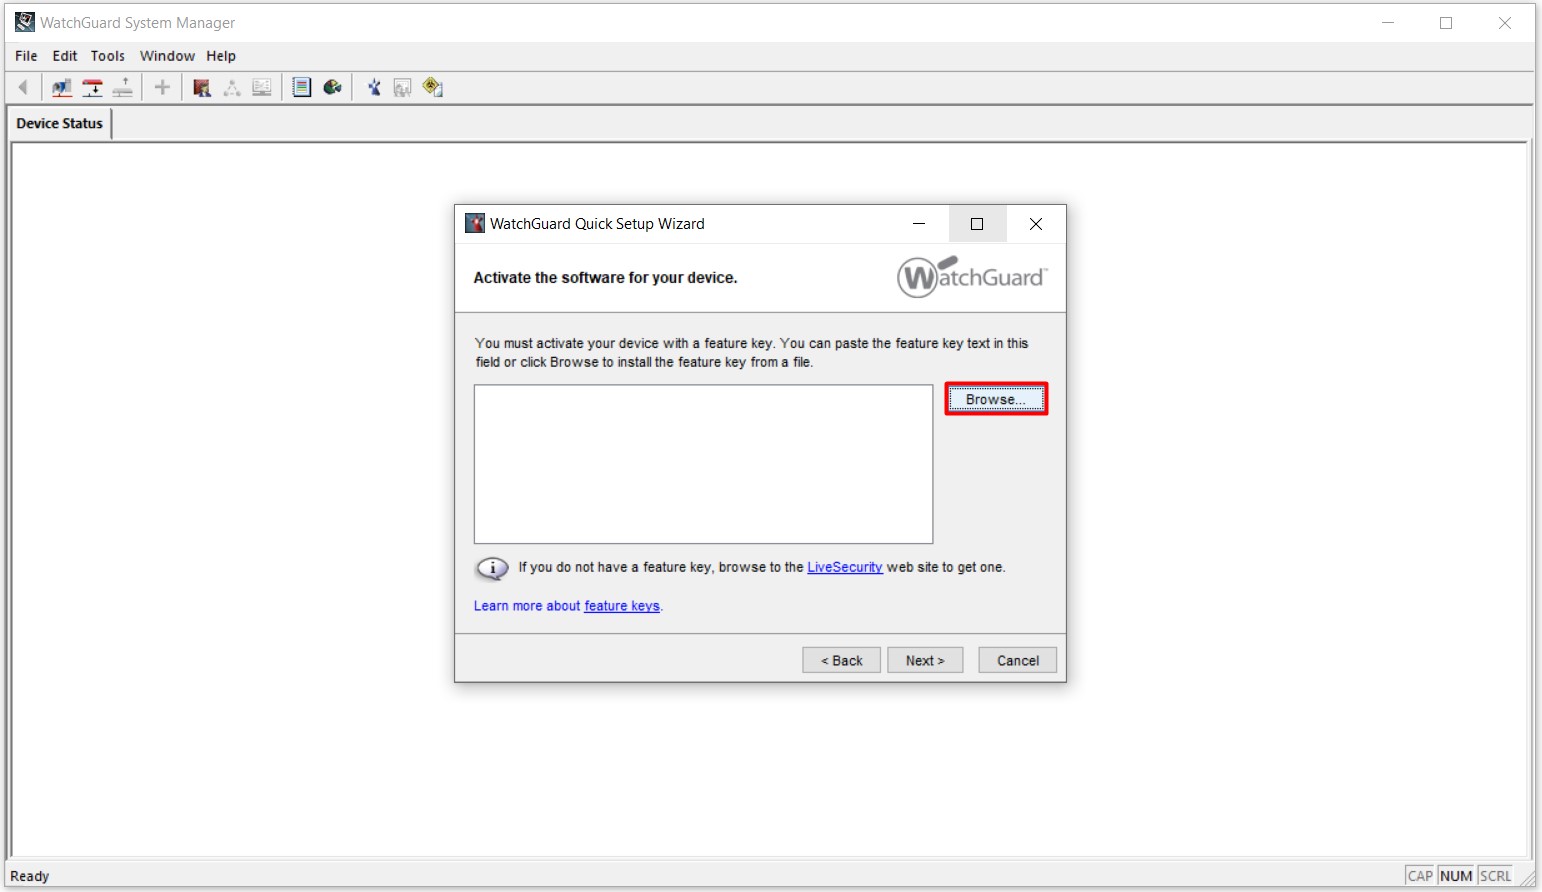
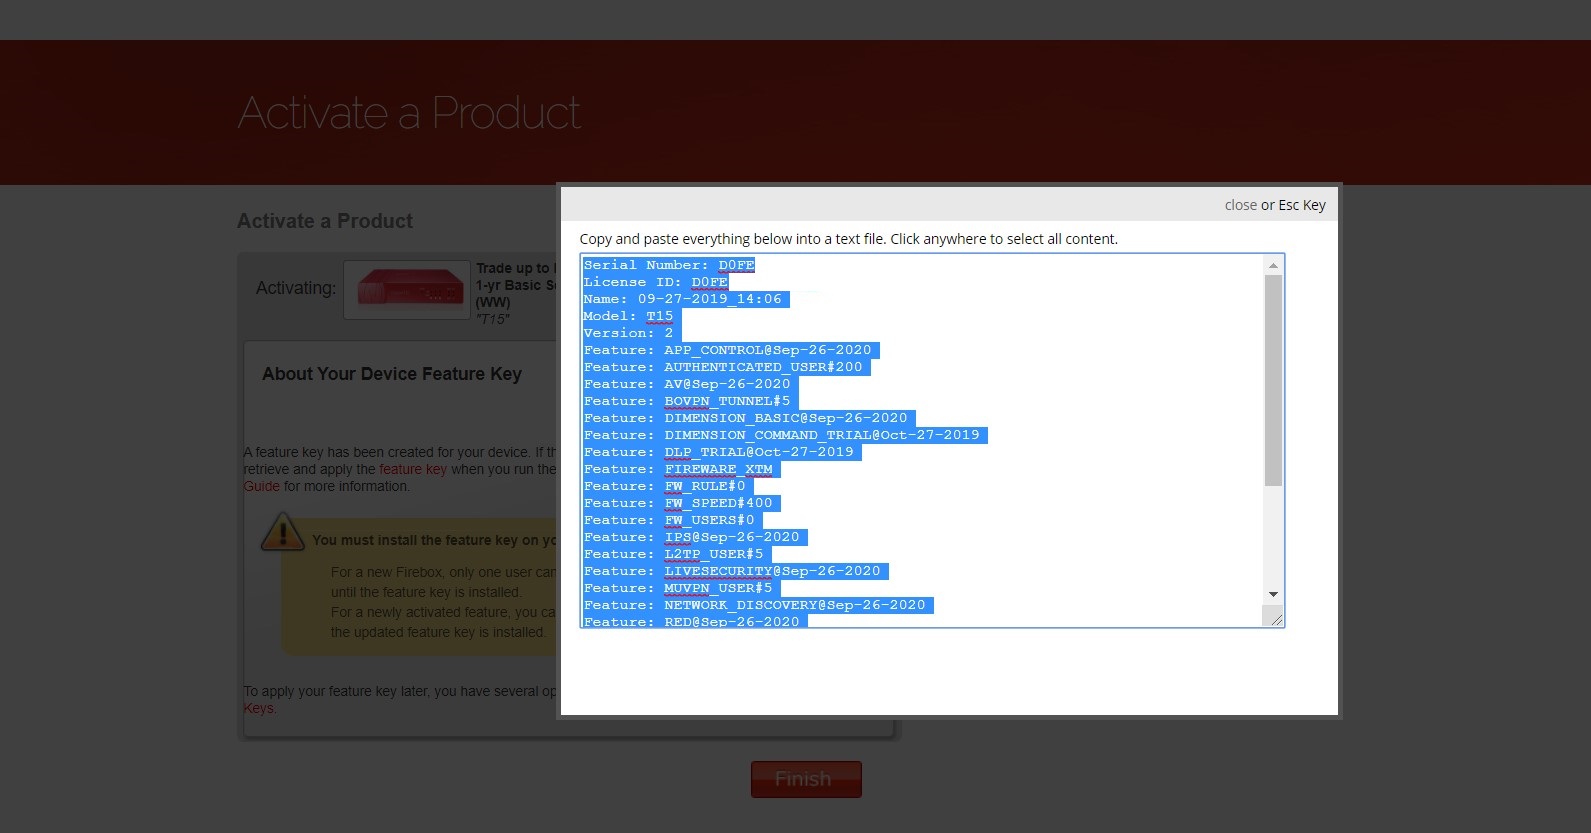
17.1- You need to perform product activation processes on official website of Watchguard before importing the activation file. After completing your activation process, you will be presented with a content containing license information.

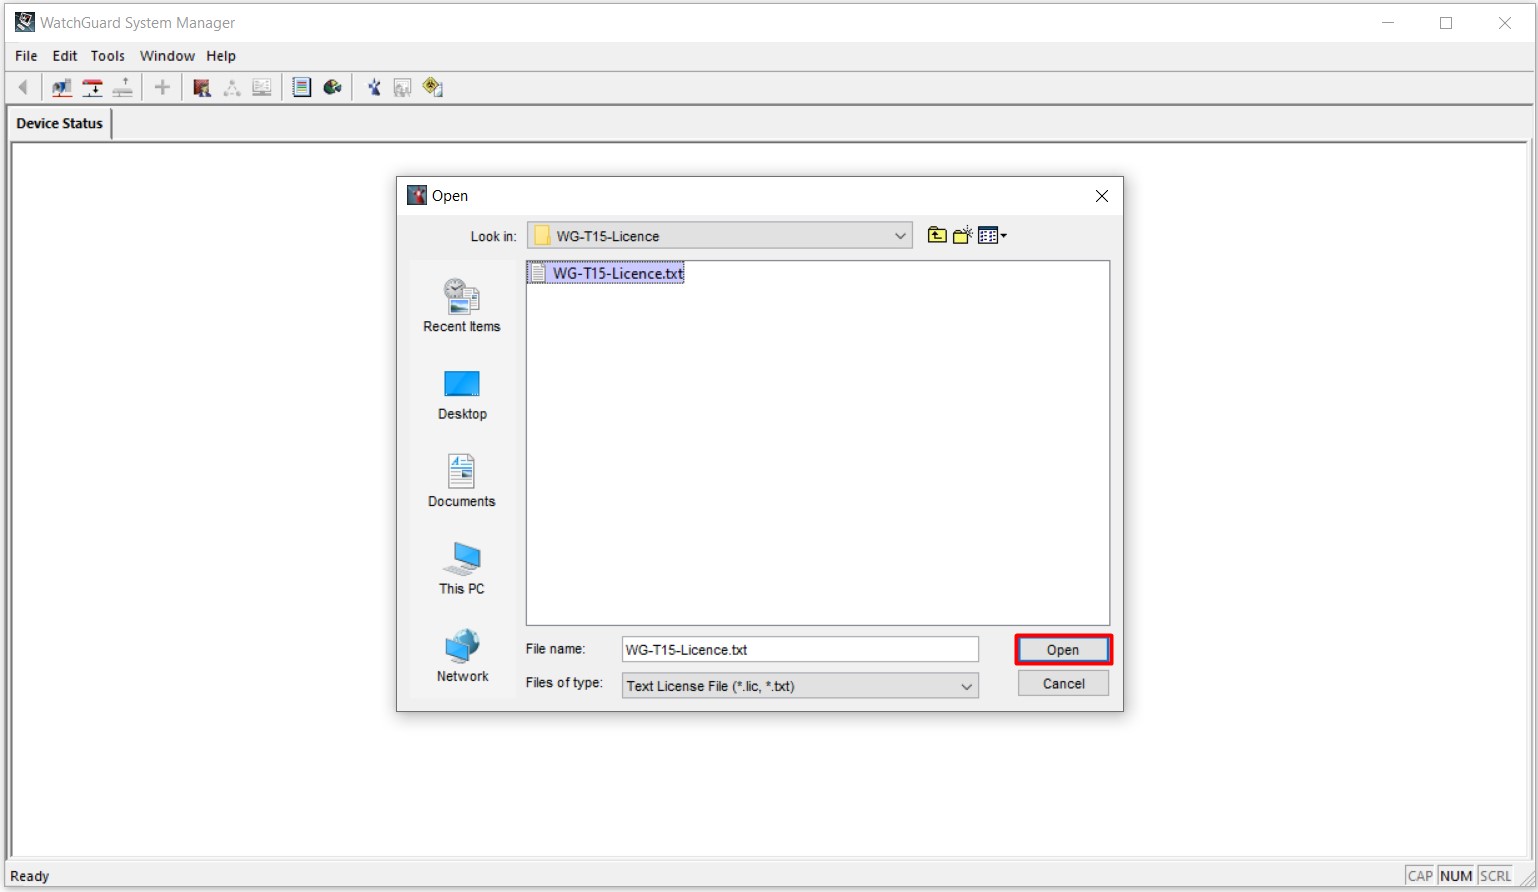
17.2- I am selecting and copy all of the content which includes license information, and paste it into a TXT file and save it in a directory on my computer.
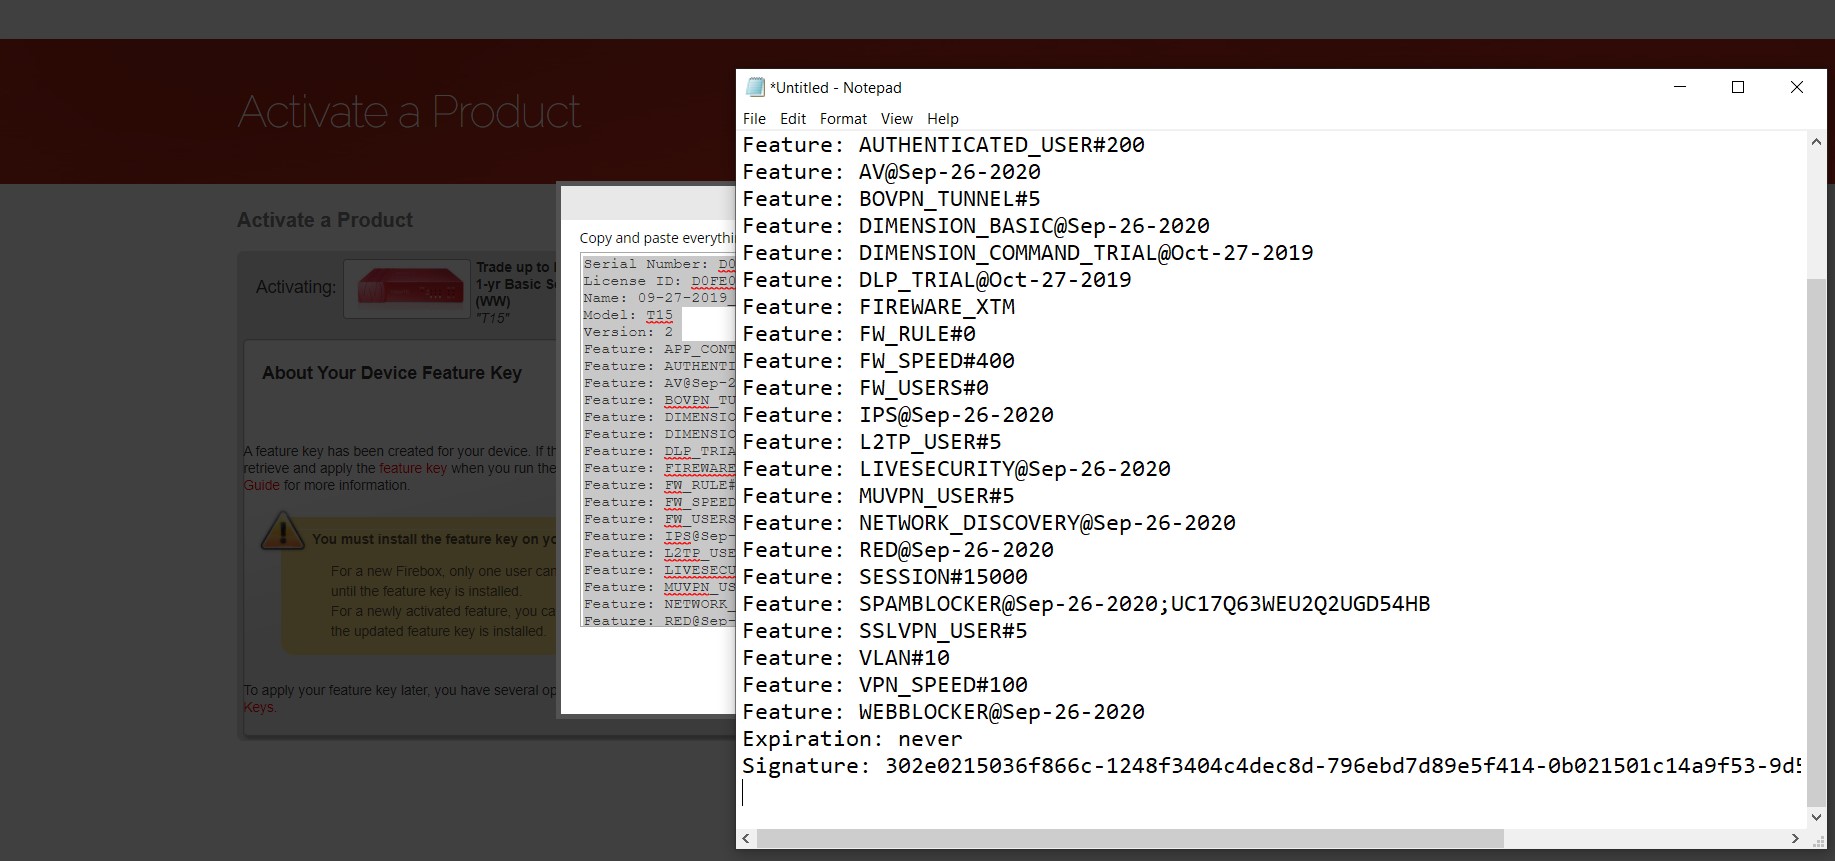
17.3- When I go back to the window that opens upon pressing the Browse... button, I am selecting the license file, by reaching to the directory where the license file is, and clicking on the open button and importing. Upon perfoming this action, I am proceeding to the next step by clicking on the Next button.
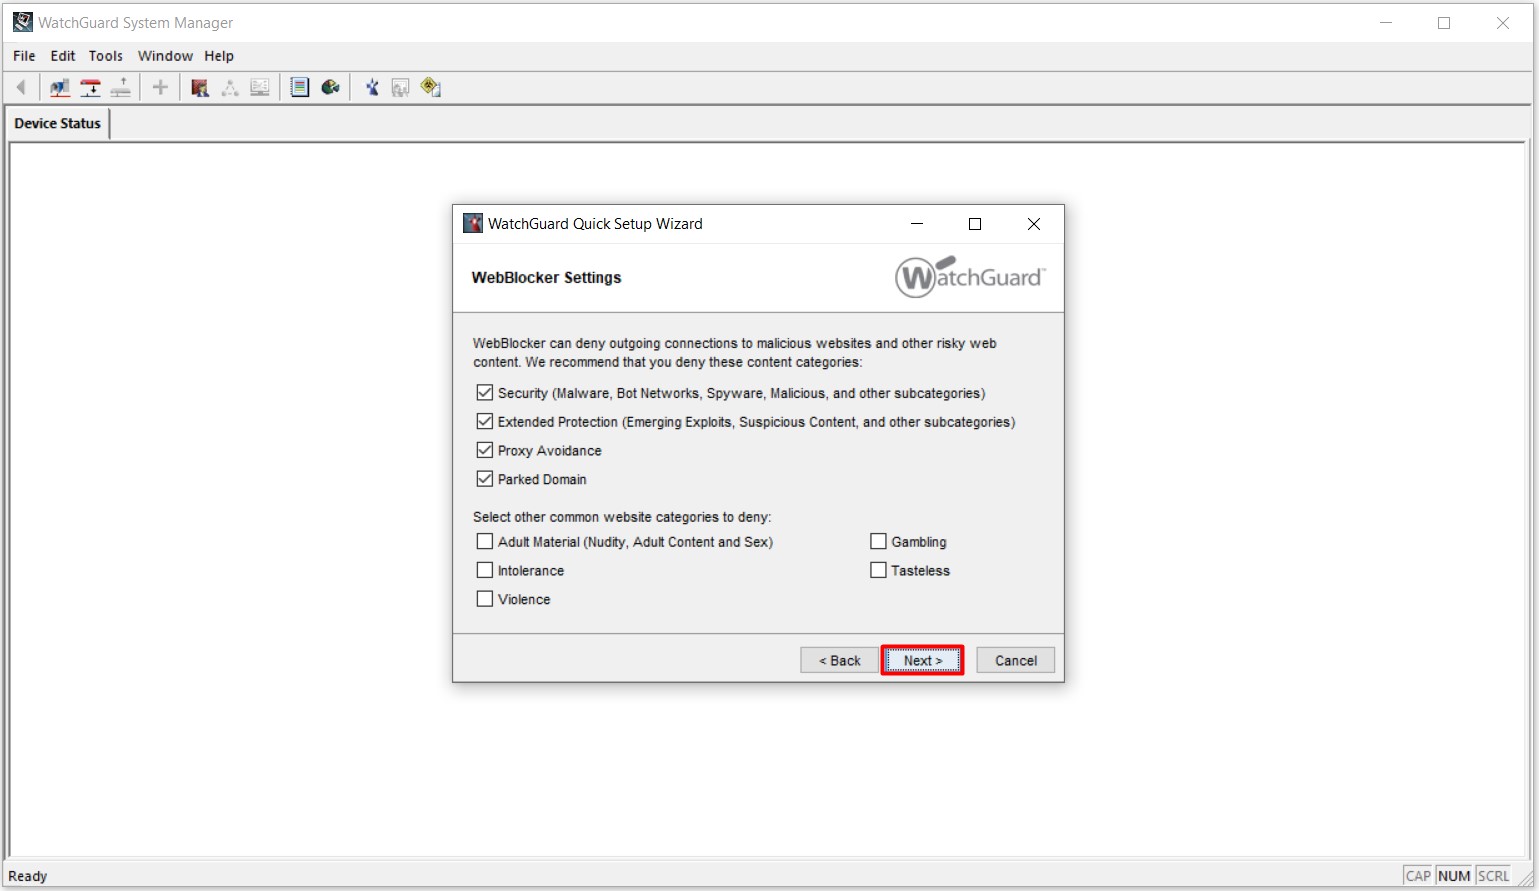
18- I am proceeding my installation process by clicking on the Next button without making any settings in the WebBlocker Settings step.
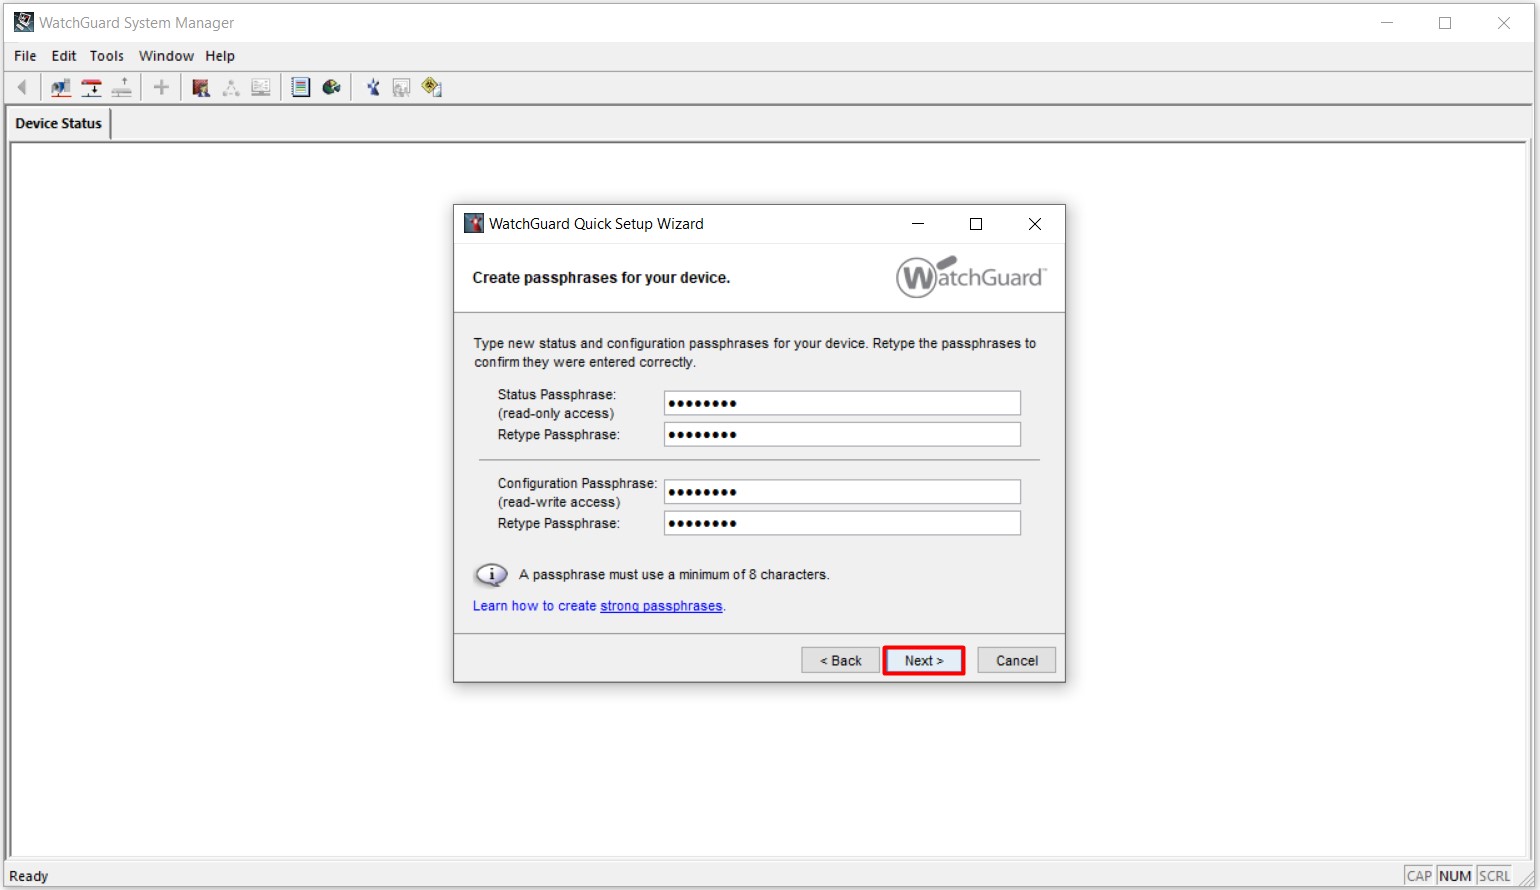
19- I am performing the actions of determining passwords required for logging into WatchGuard System Manager for the system accounts for administrative settings. These accounts are Status and Admin accounts.
• Status: This account is the account used for logging into WatchGuard System Manager for Monitoring operations. After logging into WatchGuard System Manager with this account, you can configure WatchGuard System Manager, but it is not an authorized account for saving configuration operations to the Firewall device!
• Admin: This account is the authorized account that will be used to save the configuration operations we need to the Firewall device after logging in with the Status account. I am proceeding my installation process by clicking on the Next button after completing the process of determining the passwords for the accounts of Status and Admin.
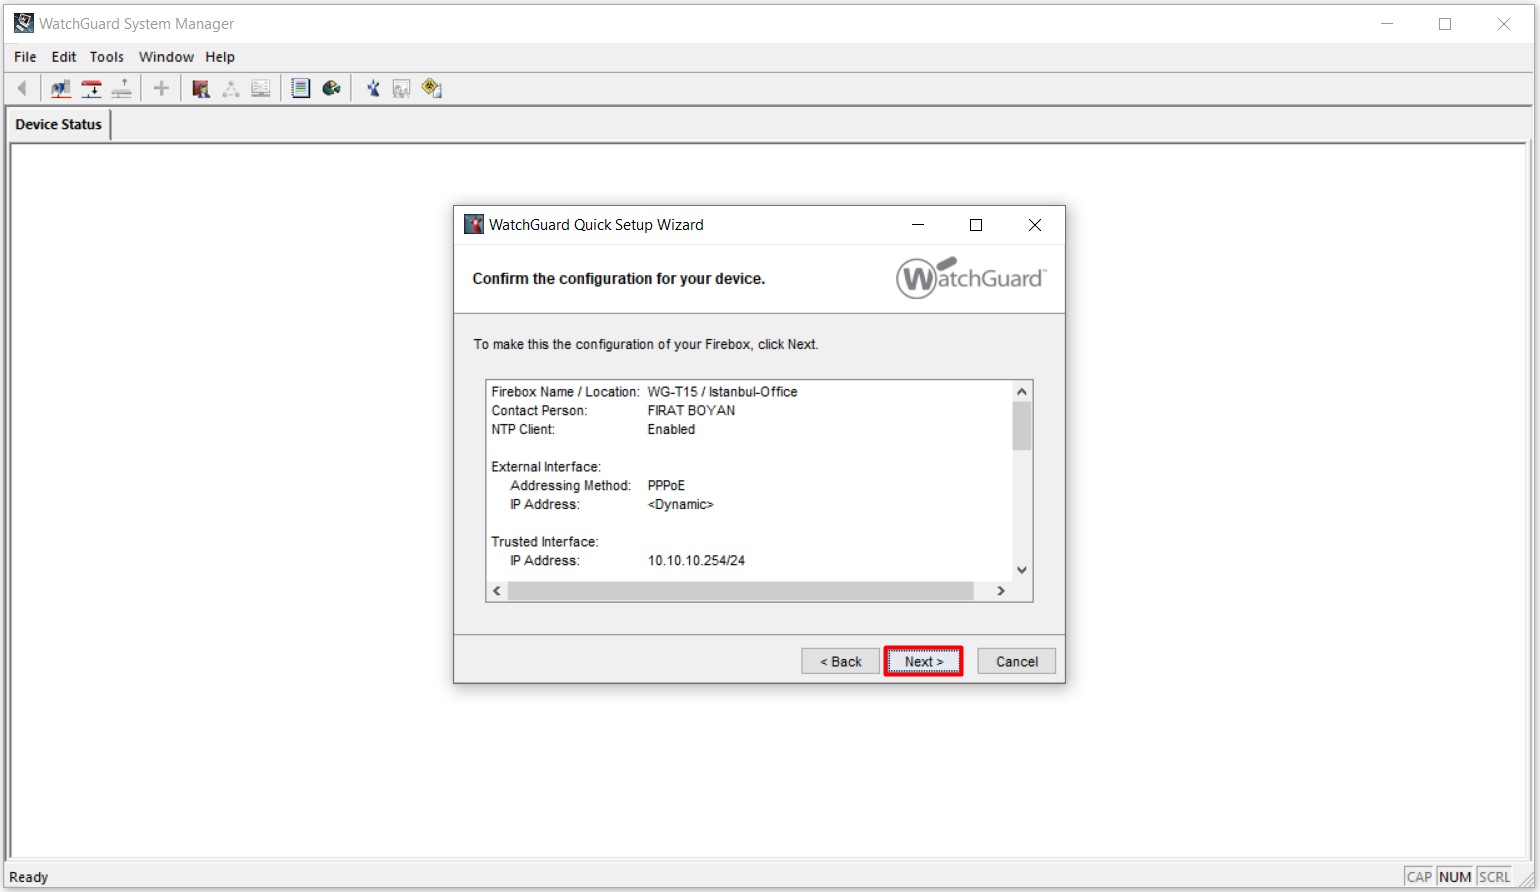
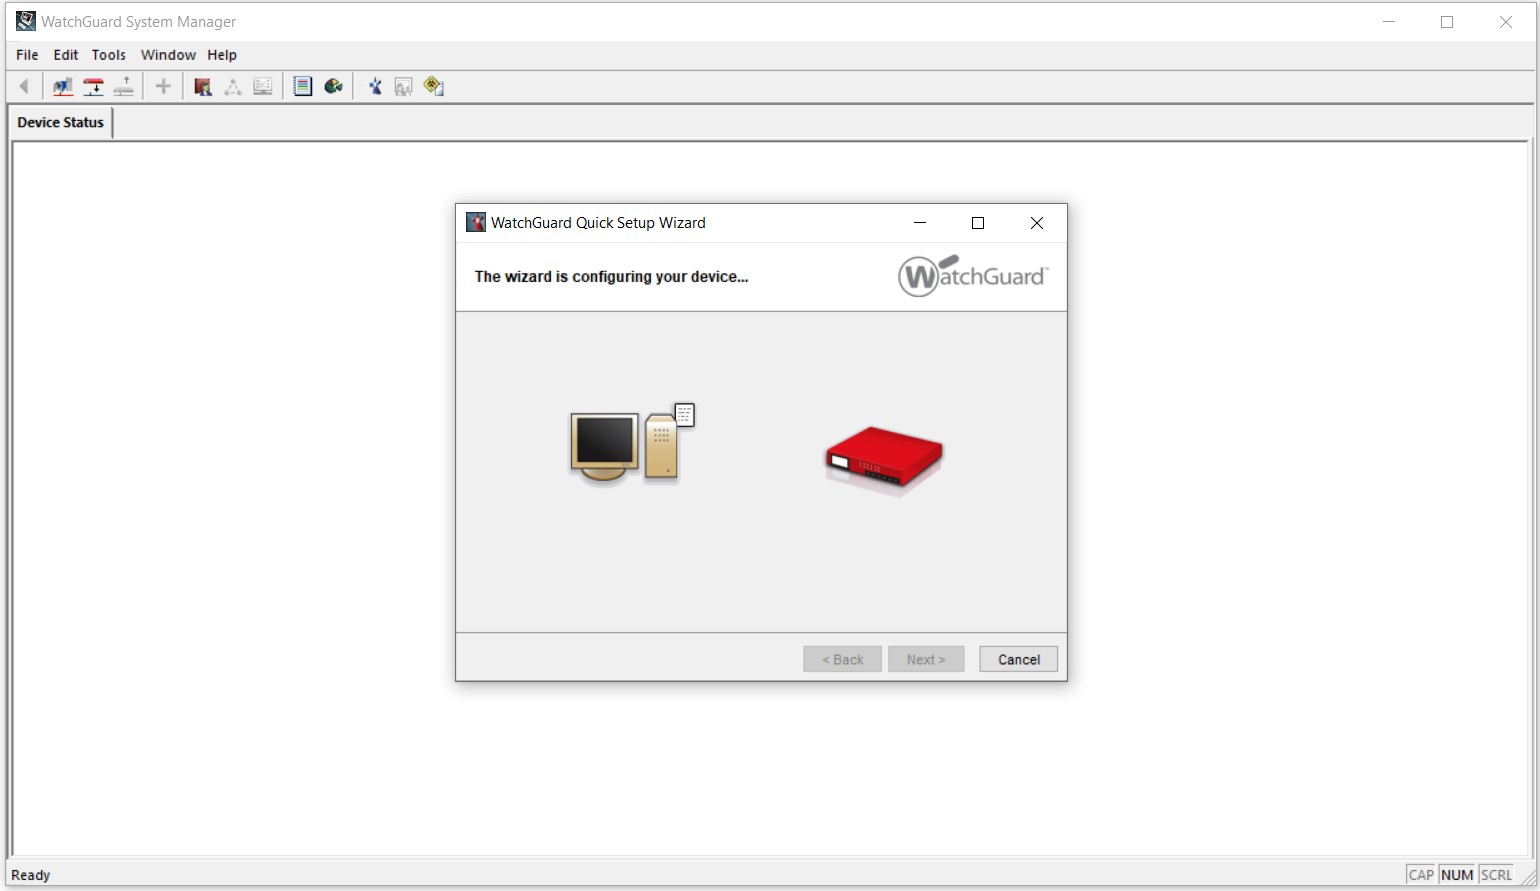
20- A summary of the configuration settings I have made appears in the Confirm the configuration for your device step. I am performing the process of saving the configuration settings to the Firewall device by clicking on the Next button.
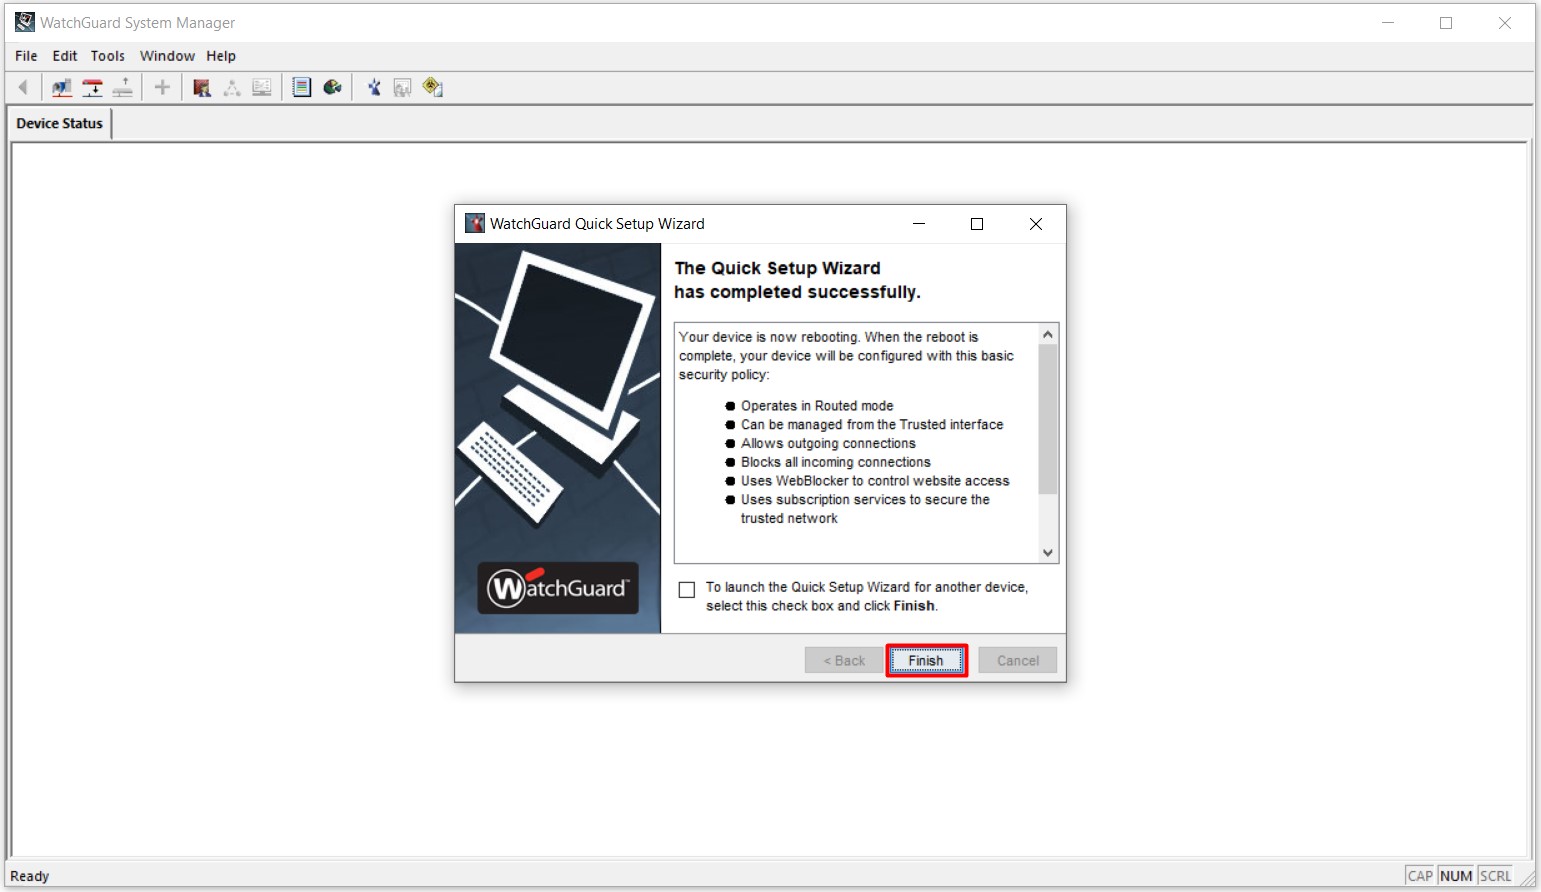
21- The process of saving the configuration settings to the Firewall device has been completed. I am ending the wizard by clicking on the Finish button.
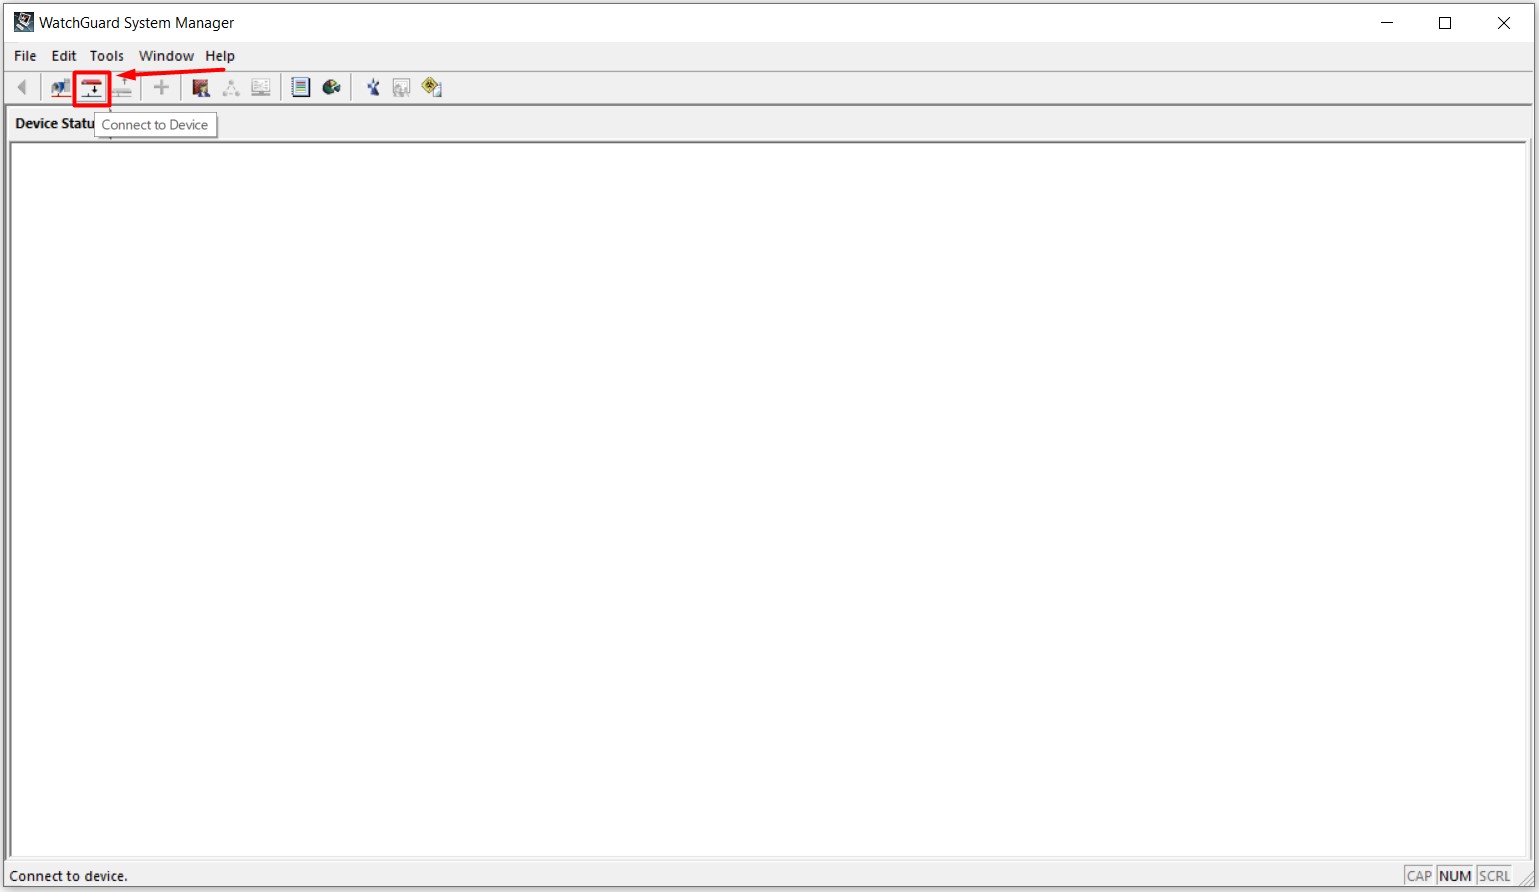
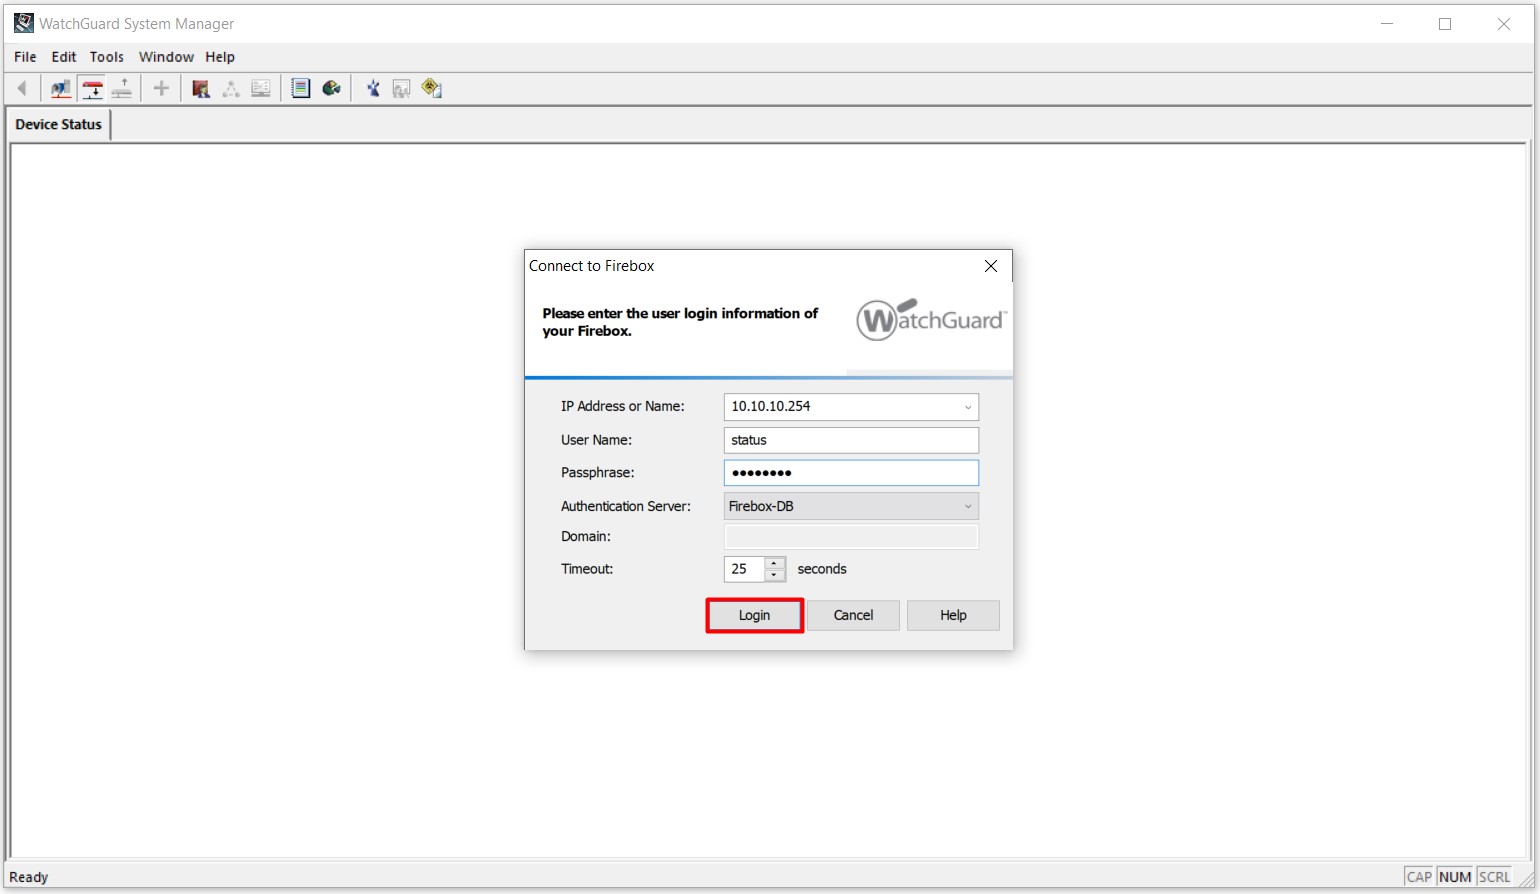
2- I am clicking on the Connect to Device button to connect to the device as shown in the picture below after the settings are saved.
23- On the screen that appears;
• IP Address or Name: I am entering the IP address of the LAN Port I specified for my Firewall device in this field. This IP address is also my Network's Default Gateway IP address.
• User Name: I am typinh the username of the Status account in this field.
• Passphrase: I am entering the password of the Status account in this field.
I am clicking on the Login button to connect to the device.
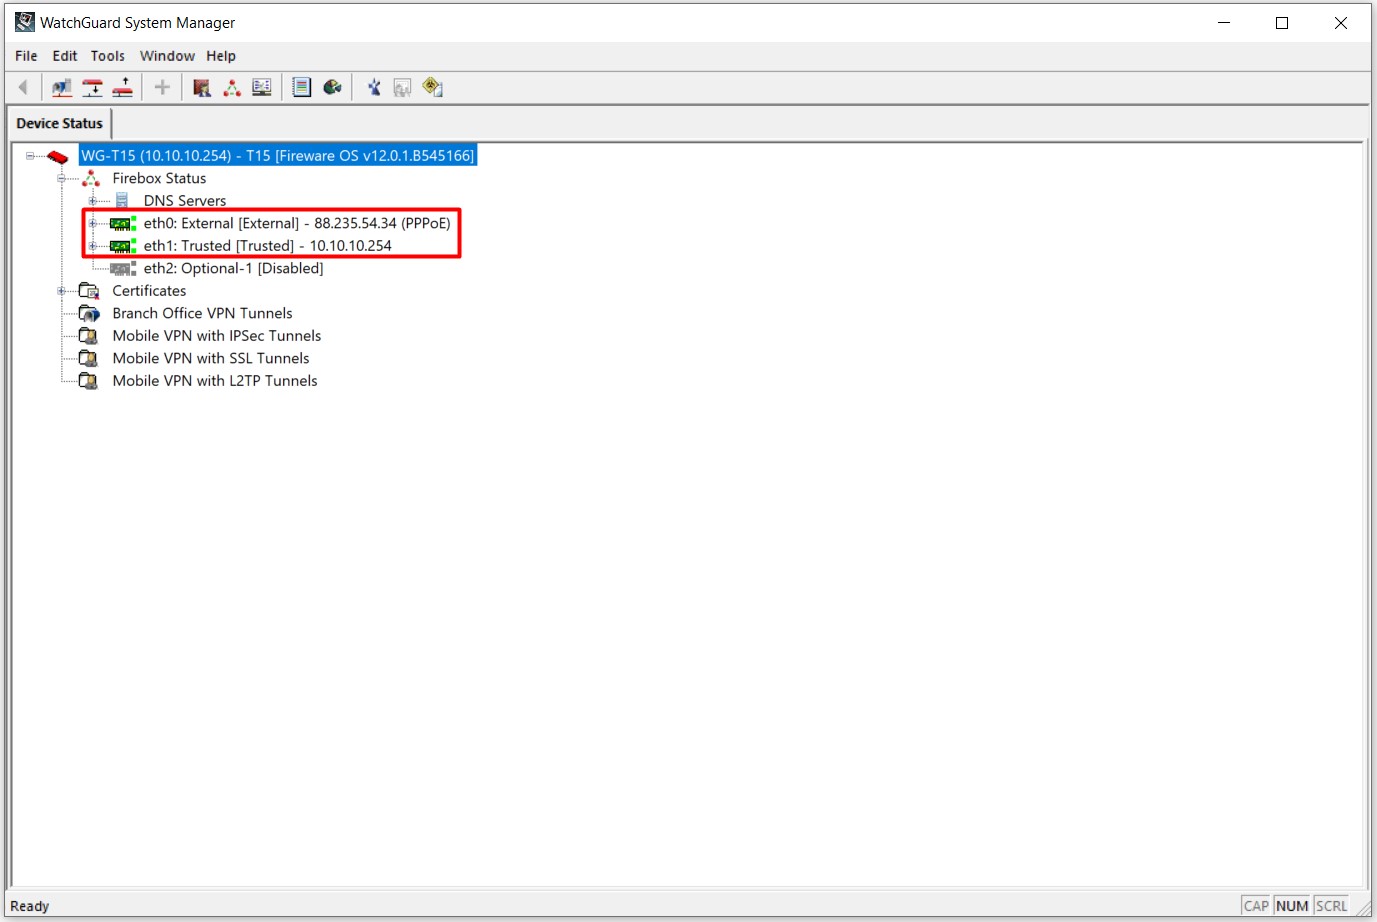
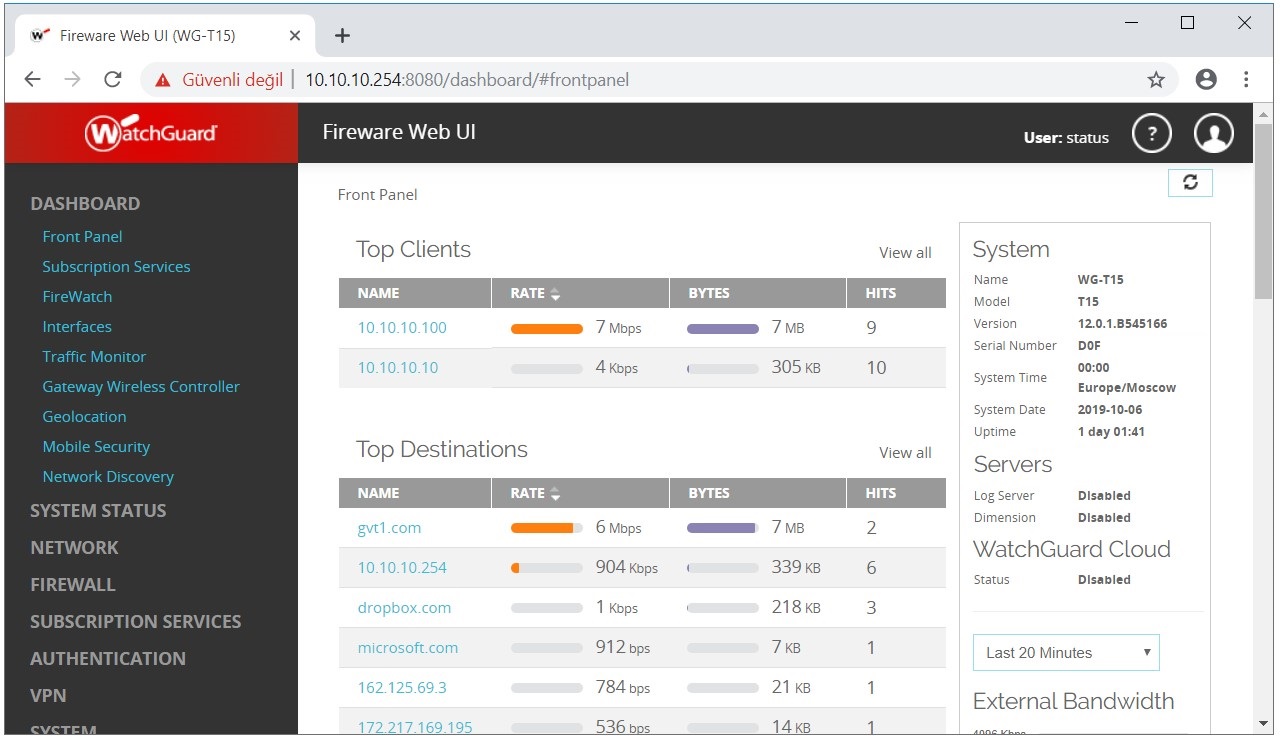
24- The connection has been successful. There is information about the status of our WAN and LAN Interfaces and the IP addresses the they have received under Firebox Status. The fact that the Interfaces are green means that the Interfaces are active.
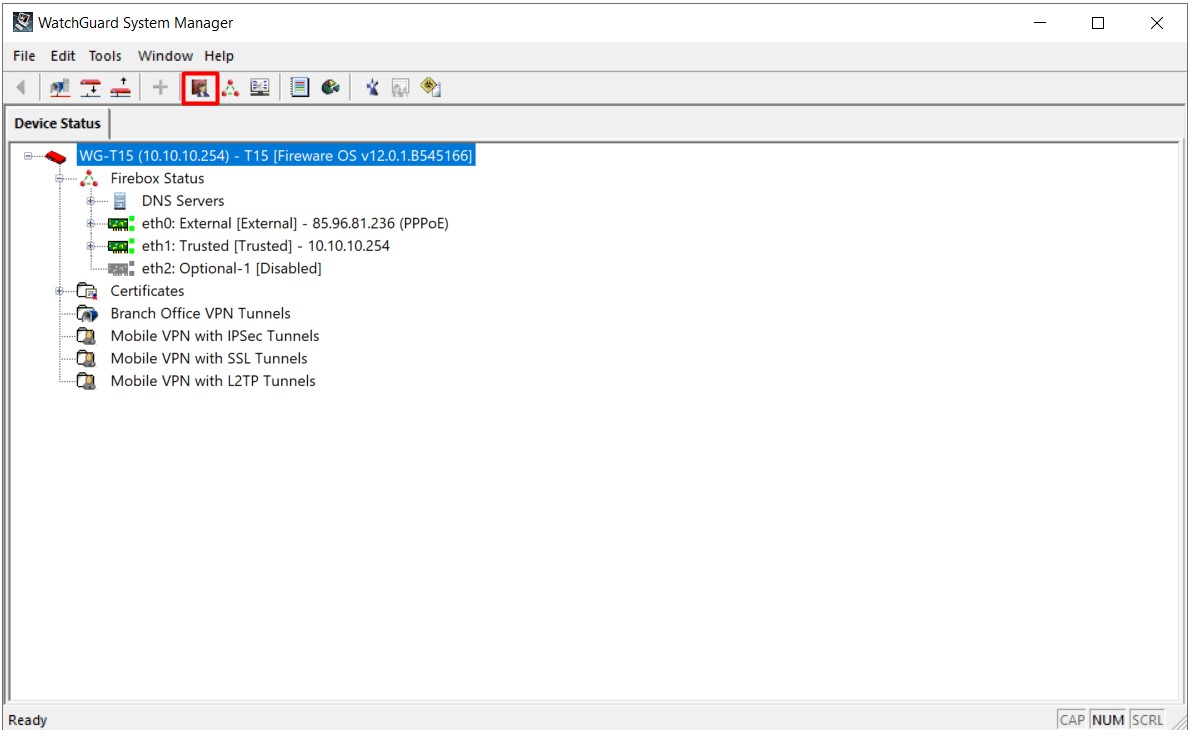
25- I am clicking on the Policy Manager button marked in the picture below to access the Policy settings.
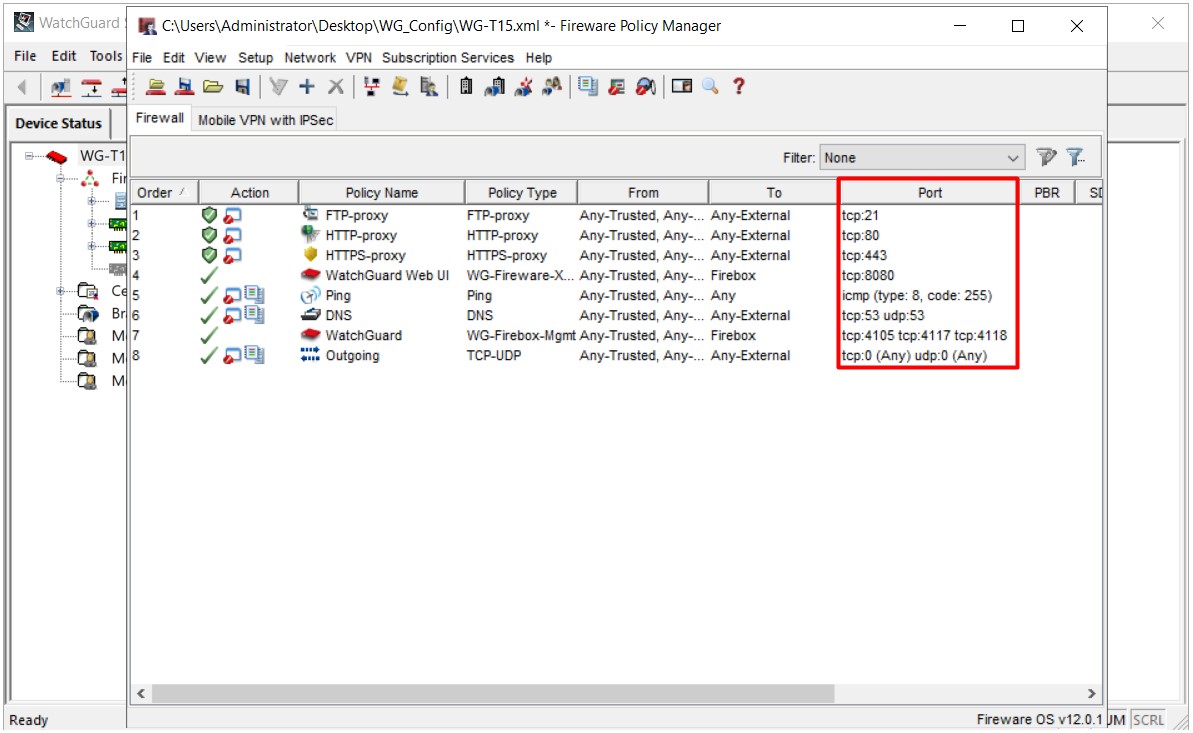
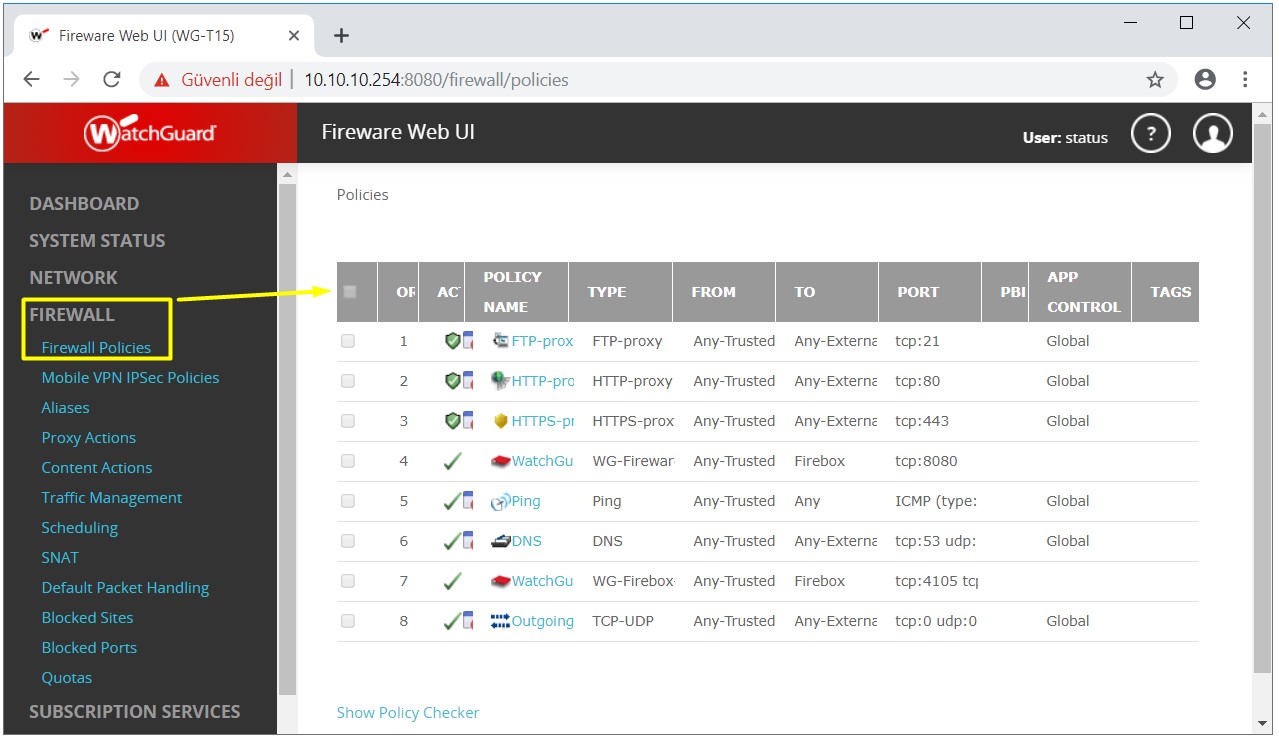
26- We see the default Policies and open Ports when the Policy Manager is opened. Two Policies are important here. These, required for accessing to the Internet, are the HTTP-Proxy associated with Port 80 and HTTPS-Proxy Policies associated with Port 443, and again, by default, all clients in the Network environment are open to access the Internet. Afterwards, restrictions and other Policy configurations can be done according to the needs.
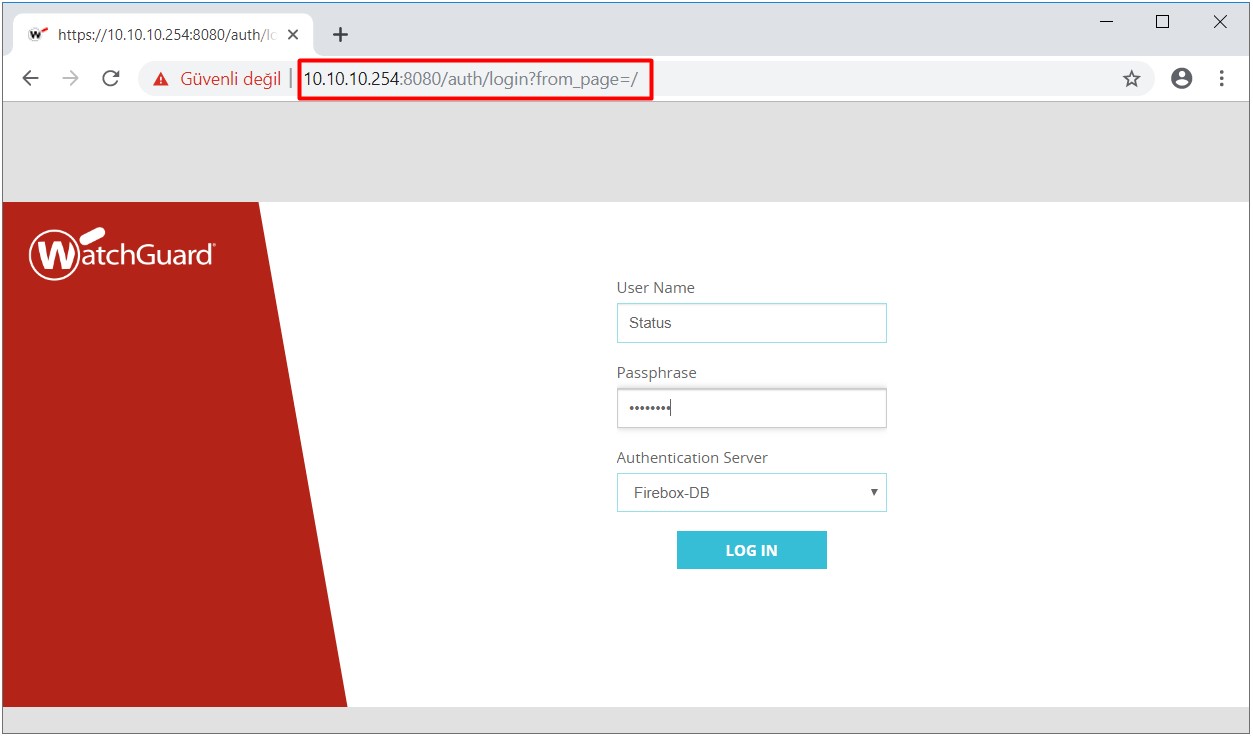
27- It is possible to access the management panel of the Firewall device with the LAN IP address and default port number 8080 through a browser. NOTE 4: The settings made on the management panel are directly saved in the Firmware of the Firewall device. For this reason, I recommend you to use WatchGuard System Manager instead of the Management panel.
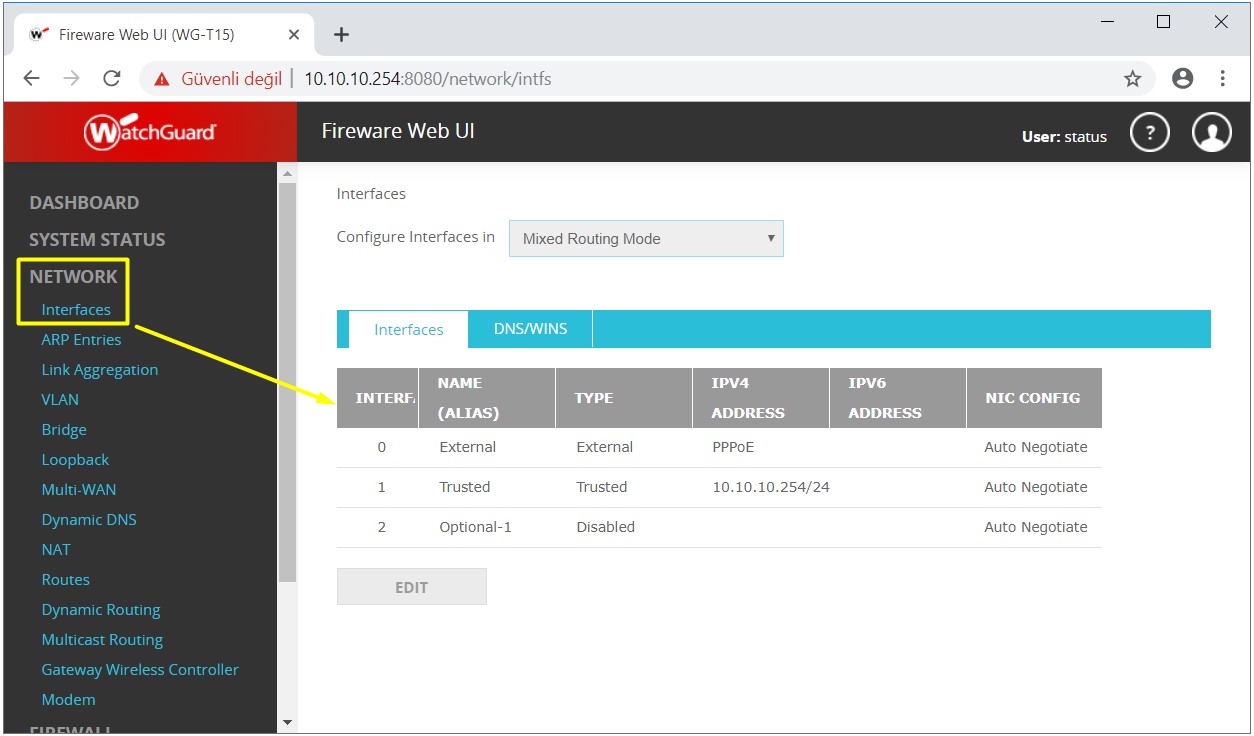
28- We can view our WAN and LAN Interfaces and IP addresses from the NETWORK> Interfaces menu on the left.
29- We can see the Policies and open Ports created by default in the menu of FIREWALL> Firewall Policies.
I tried to mention about how to make device connections and setup from scratch for the WatchGuard Firewall device. You can adjust other polict and configuration settings as needed after the installation is complete.
I hope it benefits...
You may submit your any kind of opinion and suggestion and ask anything you wonder by using the below comment form.