A database availability group (DAG) is the core component that provides high availability and site resilience for mailbox databases in Exchange Server. A DAG is a group that brings together up to 16 Mailbox servers and keeps multiple database copies of each mailbox database across these members. A database that runs as the active copy on 1 member exists as a passive copy on the other members, and if a mailbox database or a server fails, the service moves automatically to a healthy copy. Protection is therefore provided at the level of each individual mailbox database instead of the whole server.
The DAG was introduced with Exchange Server 2010 and replaced the high availability (HA) technologies that came before it. In the Exchange Server 2007 period, separate technologies were used: Single Copy Cluster (SCC), Cluster Continuous Replication (CCR) and Local Continuous Replication (LCR) for high availability (HA), and Standby Continuous Replication (SCR) for site resilience. These models made management more complex and also performed failover at server level. Exchange Server 2010 combined CCR and SCR into a single model, removed LCR and SCC completely, and in this way created the DAG. It also moved failover from server level to the level of the individual mailbox database. The same model continued to develop in Exchange Server 2013, 2016 and 2019, and today it is also the basis of high availability in Exchange Server SE.
Internally, a DAG uses the Windows Server Failover Clustering infrastructure. However, the cluster is not managed directly. Exchange Server itself coordinates this infrastructure through the Active Manager component. Active Manager runs on every Mailbox server and manages switchover and failover operations. The failover cluster uses the quorum model to decide which members are online and which copy becomes active. In a DAG with an even number of members, a file share witness is used to maintain quorum. It breaks the tie in the votes and allows the cluster to reach a consistent majority decision. Data consistency between the copies is maintained by continuous replication, in which the transaction log files of the active copy are sent to the passive copies and replayed there. As a result, when a mailbox database or a server fails, Active Manager automatically activates a healthy database copy and the mail service continues without interruption.
Unlike a classic DAG, the deployment in this article is configured with the IP-less architecture. A DAG without an administrative access point, that is, an IP-less DAG, became supported with Exchange Server 2013 SP1 on Windows Server 2012 R2. When no IP parameter is given in the New-DatabaseAvailabilityGroup cmdlet, the DAG is created without a Cluster Name Object (CNO), an IP address or a Network Name. This model does not register a cluster name in DNS, and it is managed entirely through PowerShell. Because it reduces both the management workload and the attack surface, Microsoft recommends this approach for modern Exchange deployments, unless a third-party application needs the administrative access point of the cluster.
I perform all the operations in this article in the Exchange Management Shell (EMS). The environment has 2 Mailbox servers with the host names TRISTSRVEXC01 and TRISTSRVEXC02, which become the 2 members of the DAG. The file share witness role is held by a separate server with the host name TRISTSRVSYN01, which does not host Exchange. In this article, I cover the whole process step by step on Exchange Server SE, from the Failover Clustering installation to creating the DAG, adding the members and configuring the database copies.
1- Installing the Failover Clustering Service
Because a DAG uses the Windows Server Failover Clustering infrastructure internally, my first step is to install the Failover Clustering feature on both Mailbox servers. Before I start the installation, I query the current state of this feature remotely on both servers with the Invoke-Command command.
Invoke-Command -ComputerName TRISTSRVEXC01,TRISTSRVEXC02 -ScriptBlock {
    Get-WindowsFeature -Name Failover-Clustering
} | Select-Object PSComputerName, Name, DisplayName, InstallState | Format-Table -AutoSize
The query result shows that Failover Clustering is not yet installed on either server and that the InstallState value is Available.
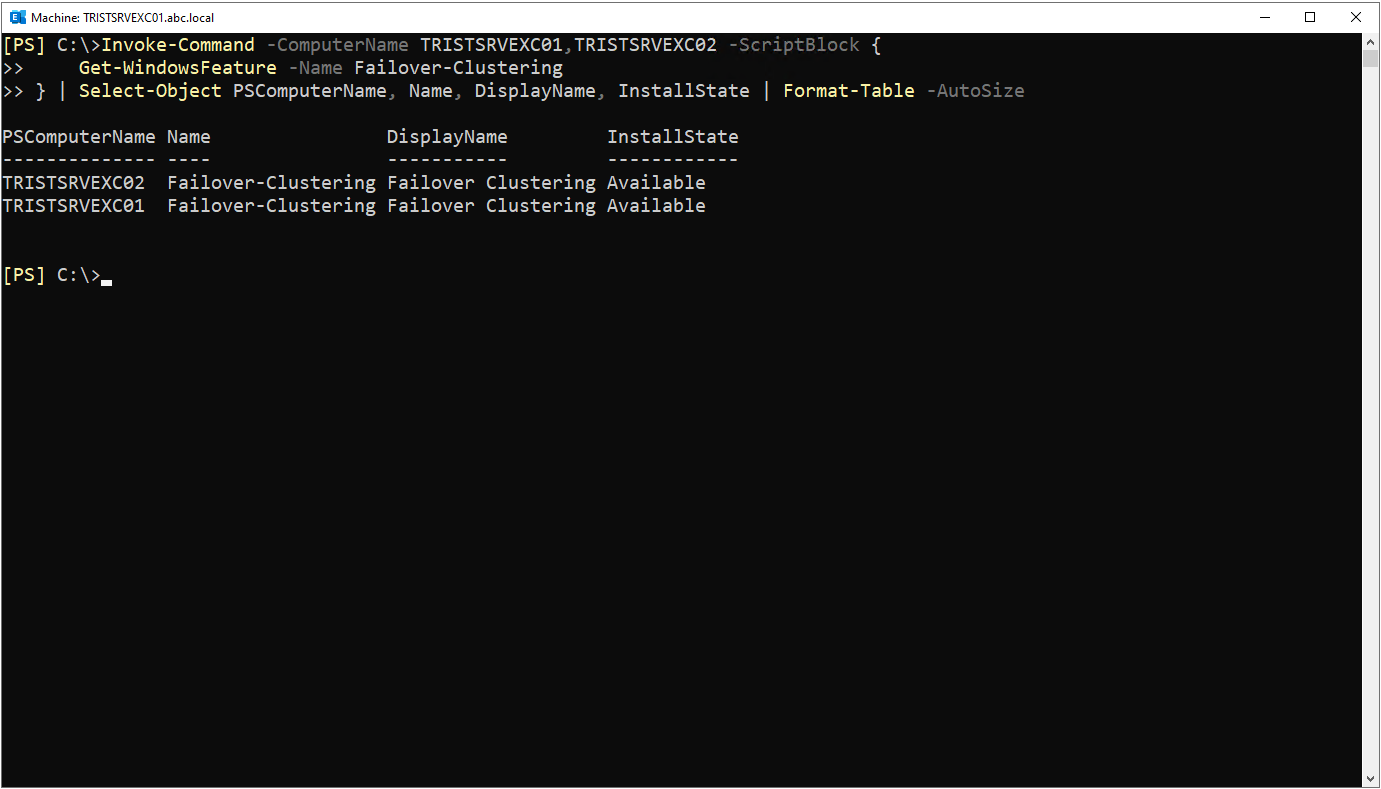
I install Failover Clustering on TRISTSRVEXC01 first, with the Install-WindowsFeature command. I add the -IncludeManagementTools parameter so that the management tools are installed as well.
Install-WindowsFeature -Name Failover-Clustering -IncludeManagementTools -ComputerName TRISTSRVEXC01 -Verbose
As the installation proceeds, the progress percentage appears on the screen.
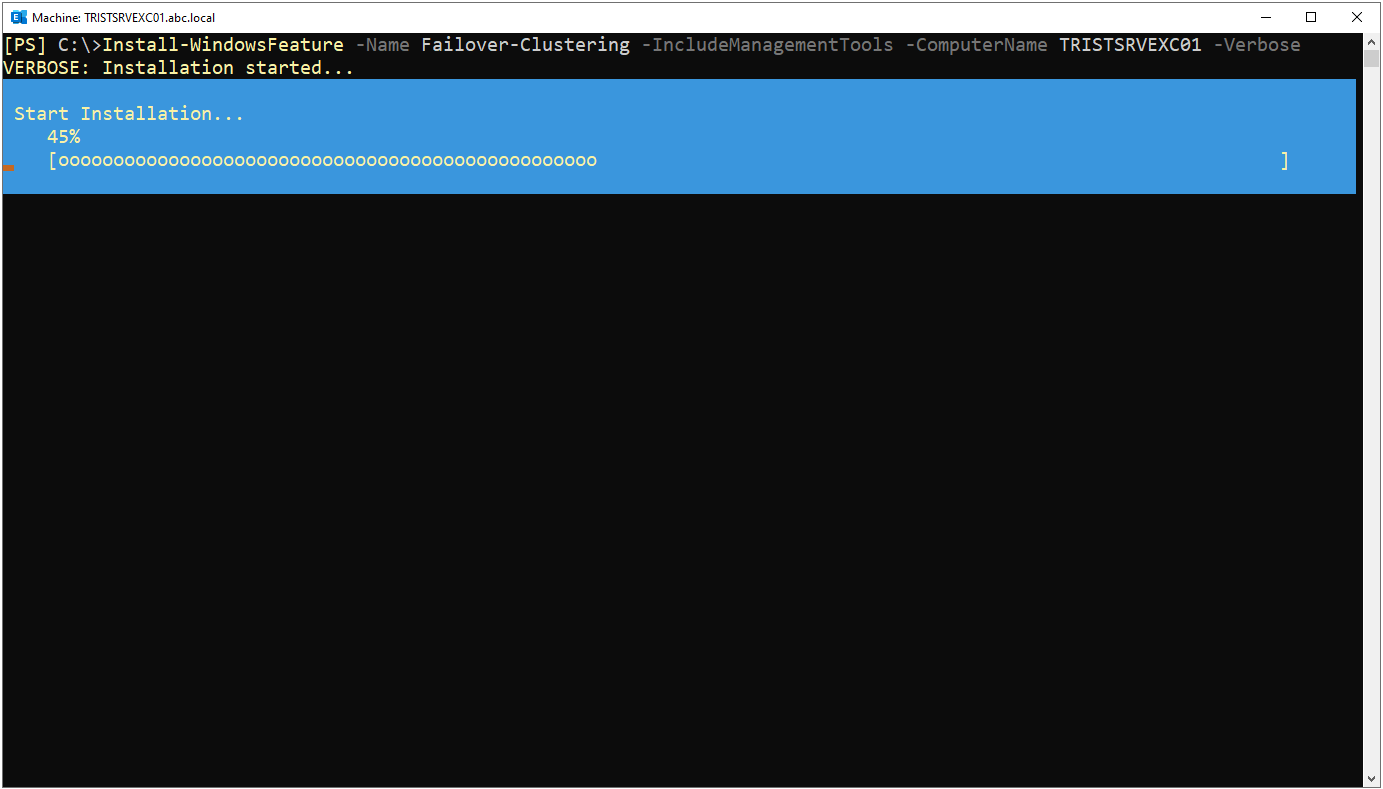
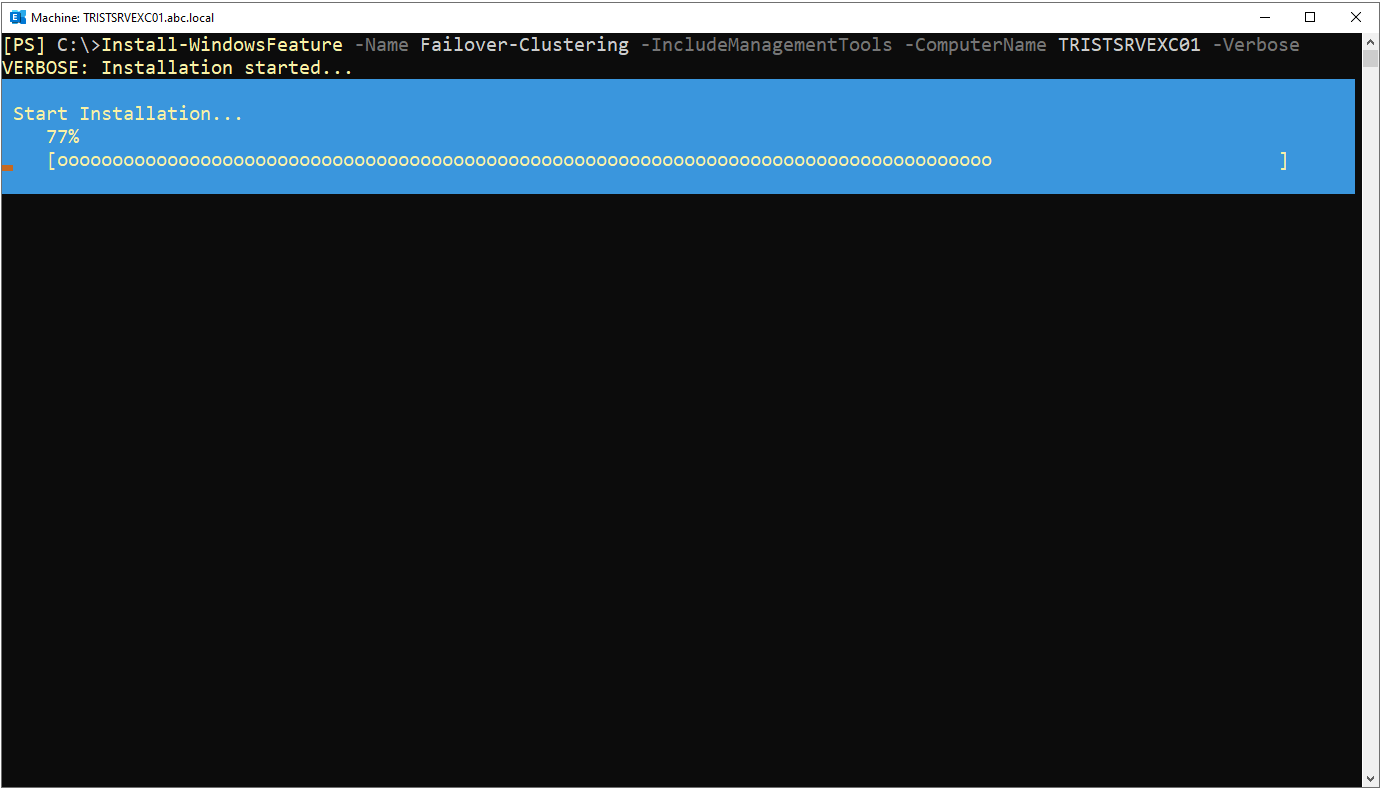
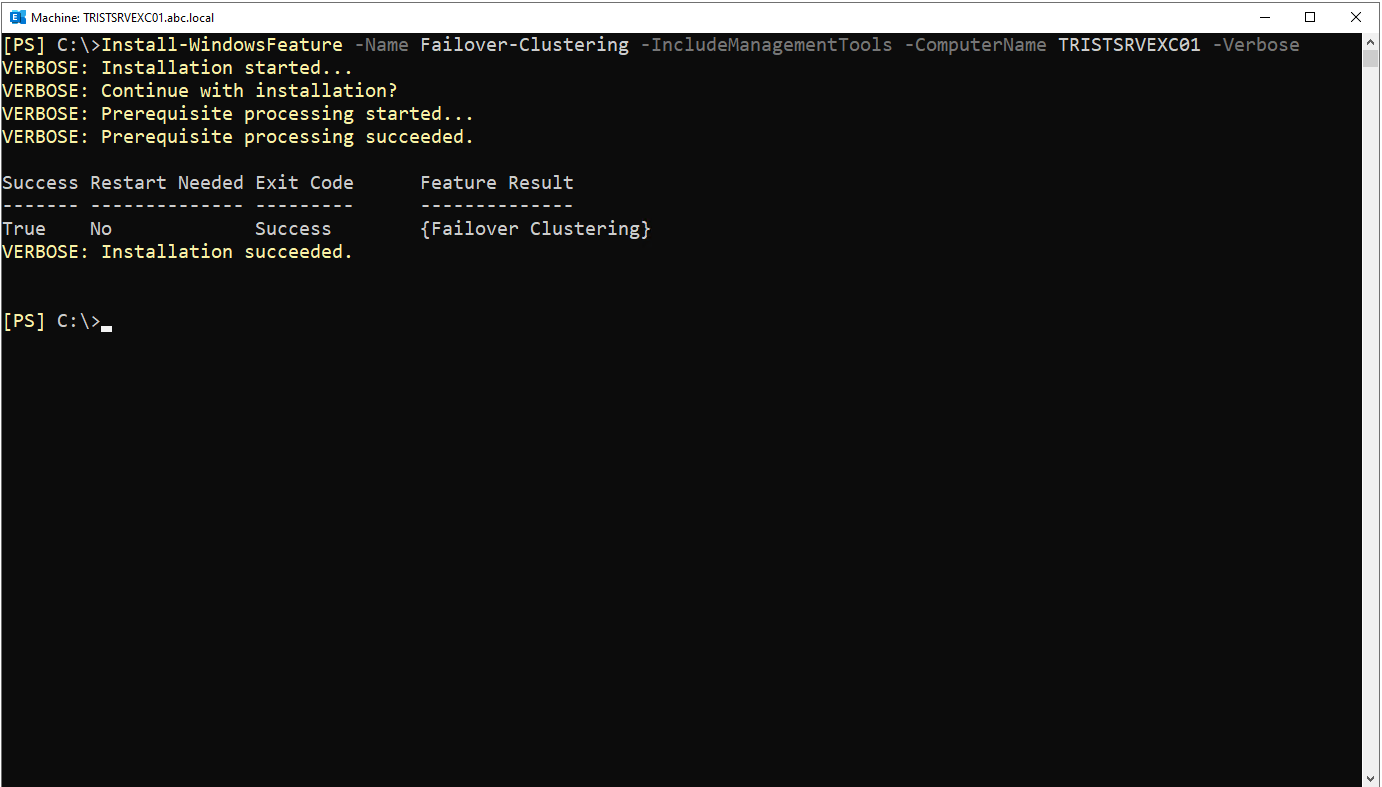
When the installation completes, the output returns Success as True, Restart Needed as No and Feature Result {Failover Clustering}. The Restart Needed value of No means that this installation does not require a restart.
I verify the installation on EXC01 by repeating the same state query. The InstallState value is Installed for TRISTSRVEXC01 and still Available for TRISTSRVEXC02.
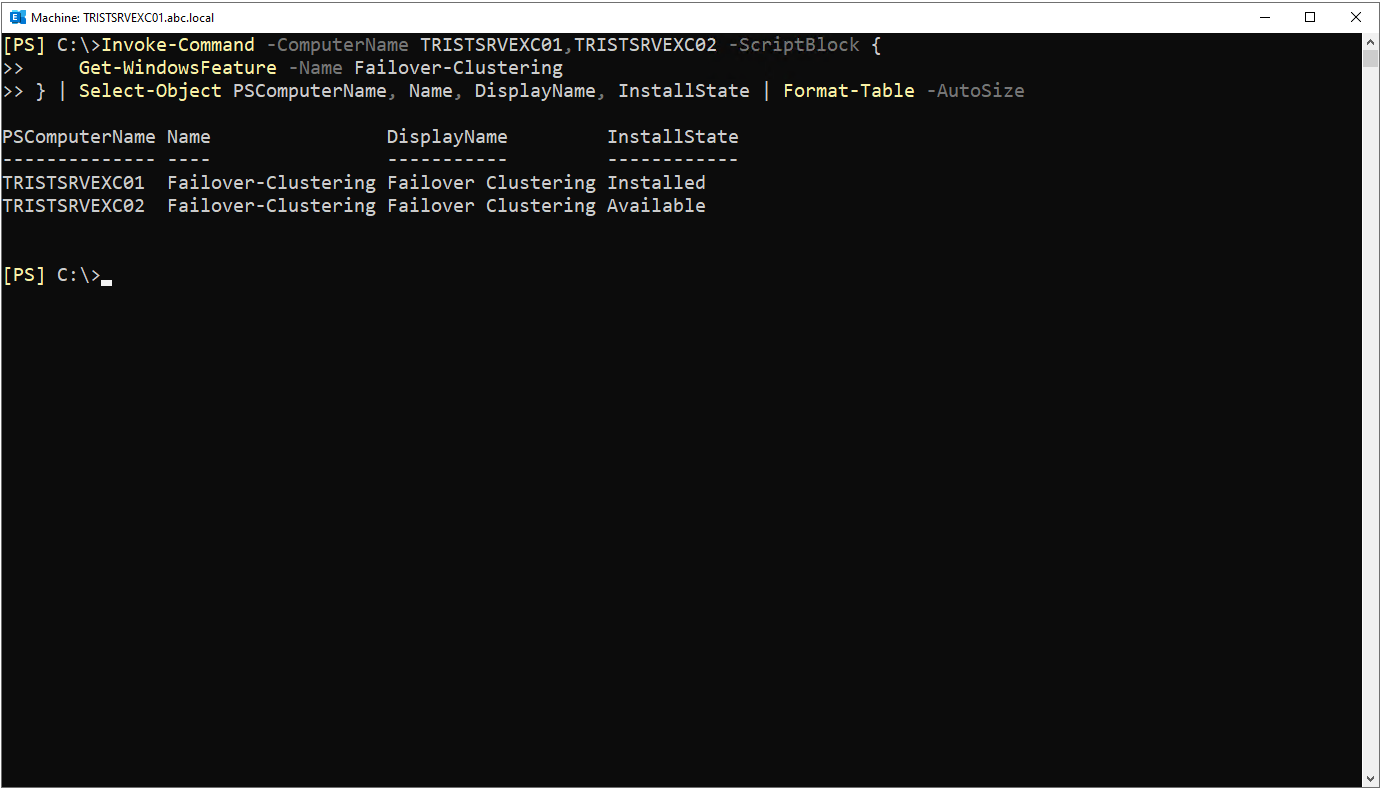
I repeat the same operation on TRISTSRVEXC02.
Install-WindowsFeature -Name Failover-Clustering -IncludeManagementTools -ComputerName TRISTSRVEXC02 -Verbose
I watch the progress of this installation on the screen as well.
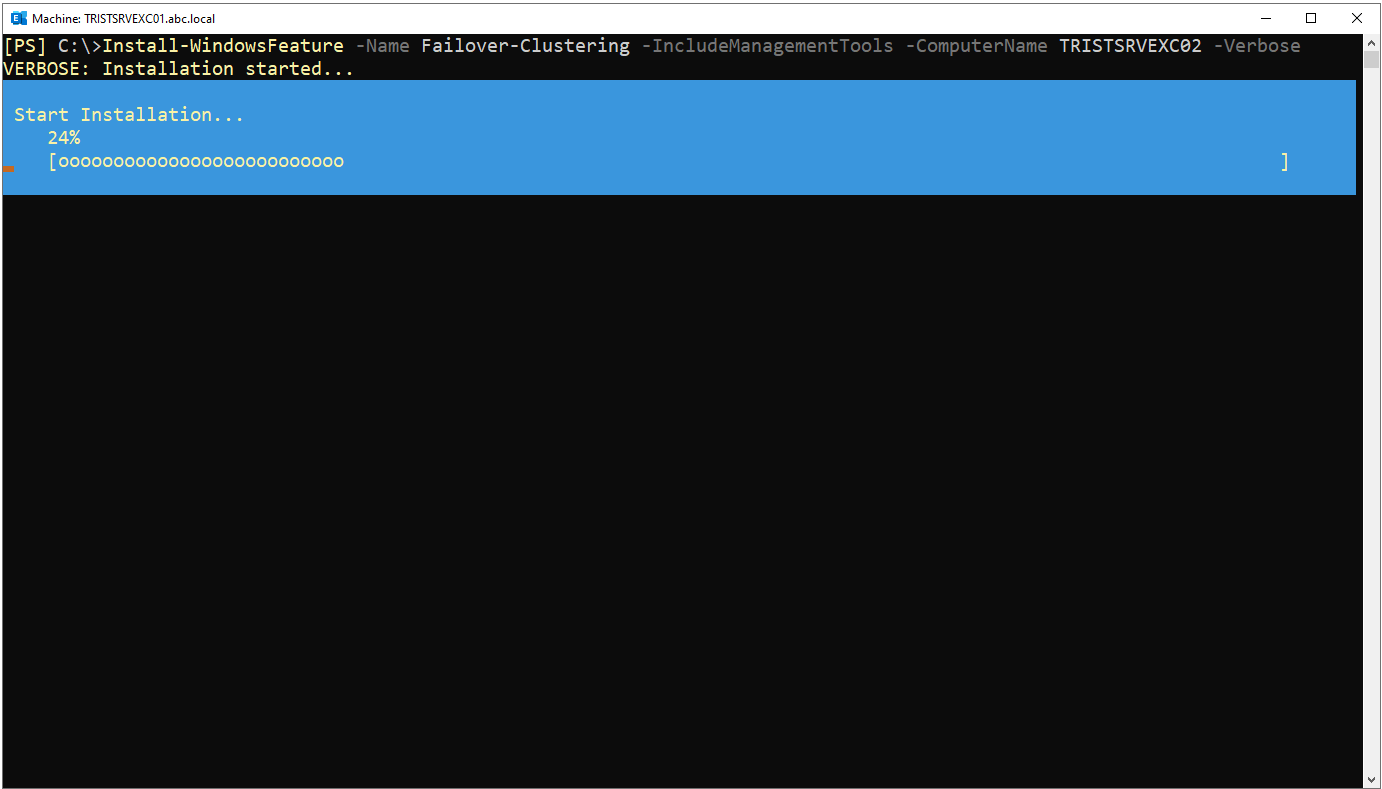
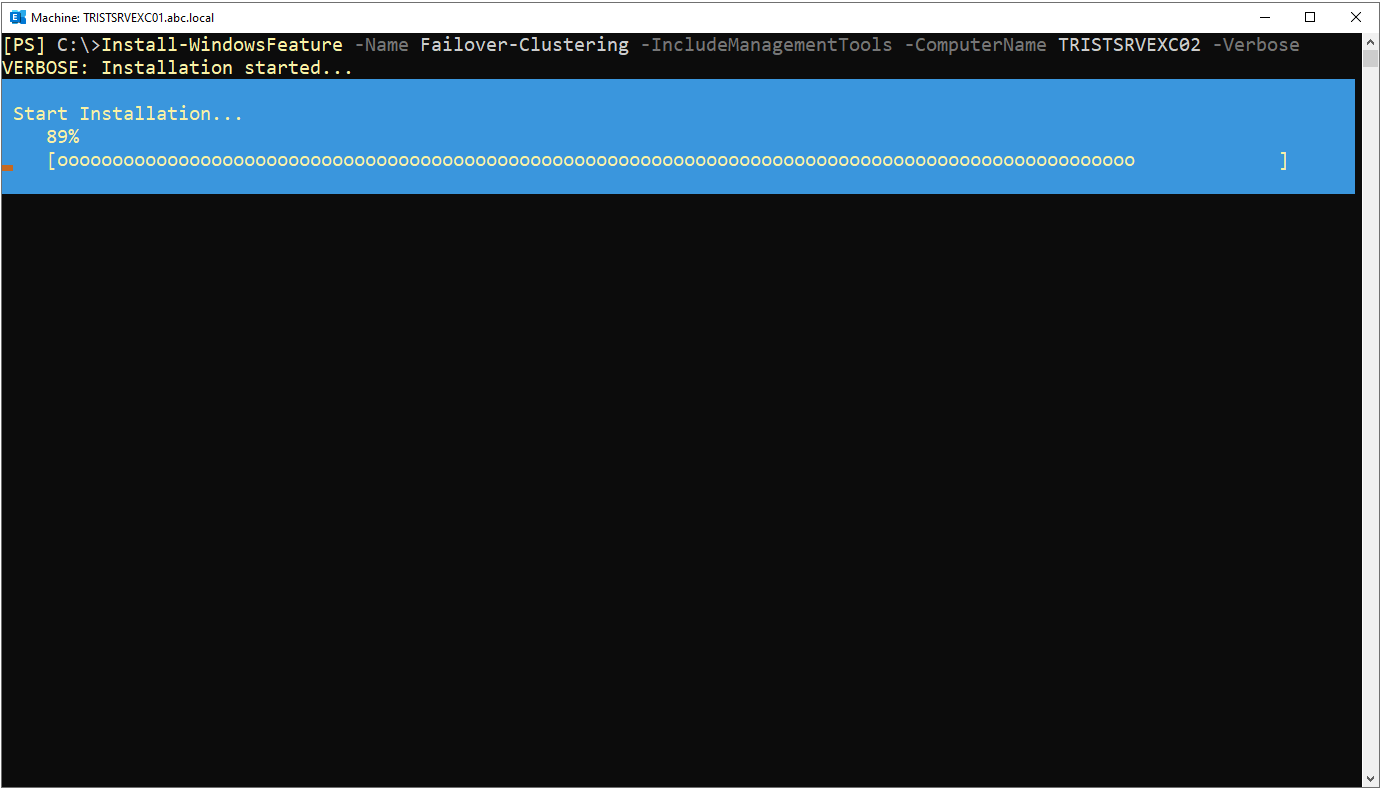
When the installation completes, the output returns Success as True, Restart Needed as No and Feature Result {Failover Clustering}. The Restart Needed value of No means that this installation does not require a restart.
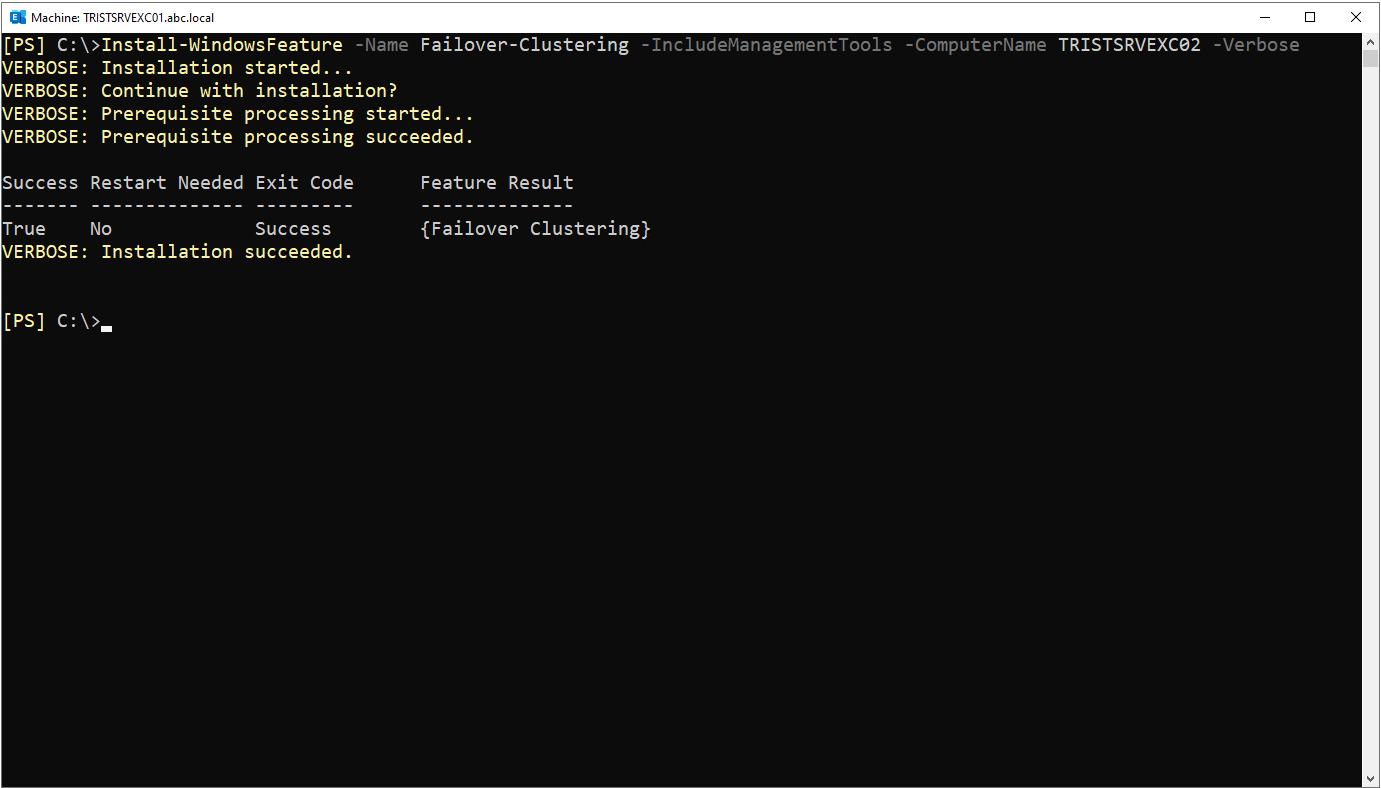
Finally, I query the Failover Clustering state on both servers again. The InstallState value of Installed for both servers confirms that Failover Clustering was installed successfully.
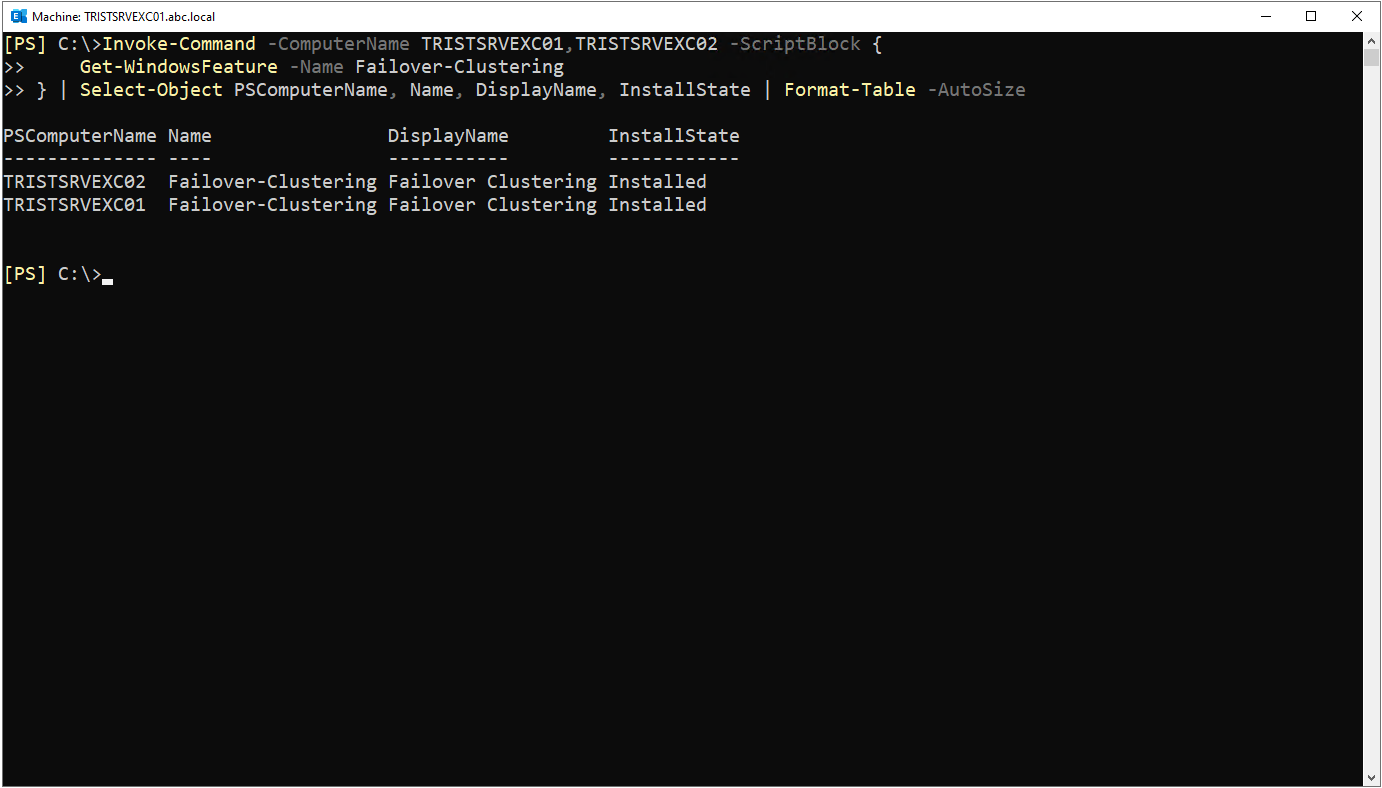 After the InstallState value is verified as Installed on both servers, I restart both Exchange servers so that the Failover Clustering components become fully active. Although the installation outputs show Restart Needed as No, I restart both servers before the cluster creation step to provide a clean start.
2- Creating the IP-less DAG
When Failover Clustering is ready on both servers, I create the DAG with the New-DatabaseAvailabilityGroup cmdlet. With the -WitnessServer and -WitnessDirectory parameters, I specify the server and the directory that hold the file share witness. Because I give no IP parameter in the command, the DAG is created as IP-less.
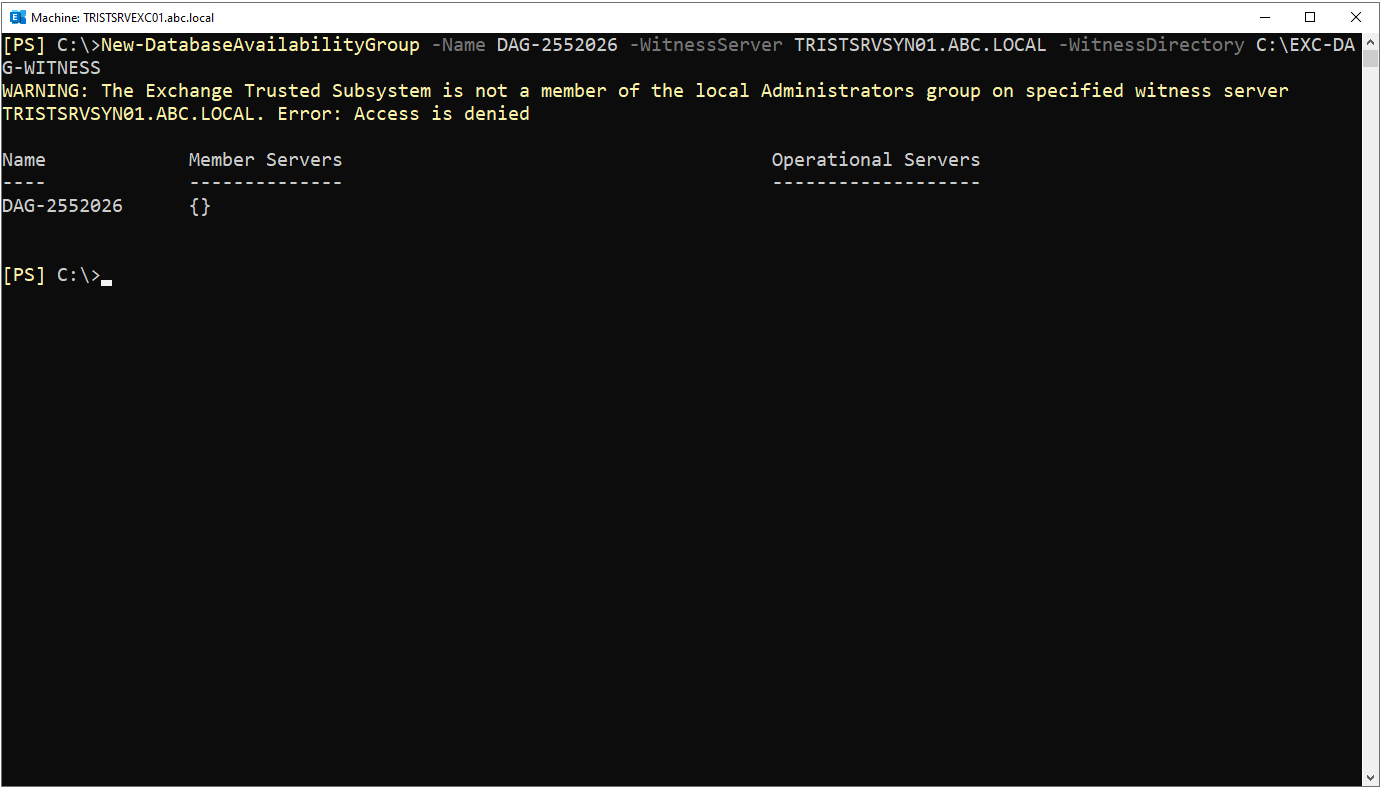
New-DatabaseAvailabilityGroup -Name DAG-2552026 -WitnessServer TRISTSRVSYN01.ABC.LOCAL -WitnessDirectory C:\EXC-DAG-WITNESS
When I run the command, the DAG object is created, but a WARNING is returned. Because Exchange Trusted Subsystem is not a member of the local Administrators group on the witness server, an "Access is denied" warning appears.
 To understand the reason for this warning, it is necessary to know that the New-DatabaseAvailabilityGroup command runs in 2 stages. In the first stage, the DAG is created as an object in the Active Directory configuration partition. More precisely, the DAG object is created in the configuration partition of Active Directory, under the
CN=Database Availability Groups container, as an msExchMDBAvailabilityGroup object. Because this operation is performed with the permissions of Exchange itself, it is not related to the witness server and it completes successfully. In the second stage, Exchange tries to access the witness server to prepare the file share witness, but "Access is denied" is returned because Exchange Trusted Subsystem is not a member of the local Administrators group on this server.
In the output, the Member Servers value appears as {}, an empty list, which shows that no member server has been added to the DAG yet. This is directly related to the "Access is denied" warning. The file share witness is actually used only when the DAG has members and the cluster needs the witness for quorum. Because the DAG has no members at this stage, the witness is not physically created either, and functionally nothing depends on the witness. Therefore this warning does not cause any permanent damage. It only indicates a missing permission that must be completed before the members are added, that is, before the witness becomes really necessary.
If the witness server is not an Exchange server, the Exchange Trusted Subsystem universal security group must be added to the local Administrators group of the witness server, so that Exchange can create and secure the witness directory and share. The standard approach documented by Microsoft is to add it before the DAG is created. In this deployment the permission was not granted in advance, so New-DatabaseAvailabilityGroup produced a WARNING, but the DAG object was still created. After the permission is added, the file share witness becomes usable without problems. In addition, the witness server cannot be a domain controller and cannot be made a member of the DAG.
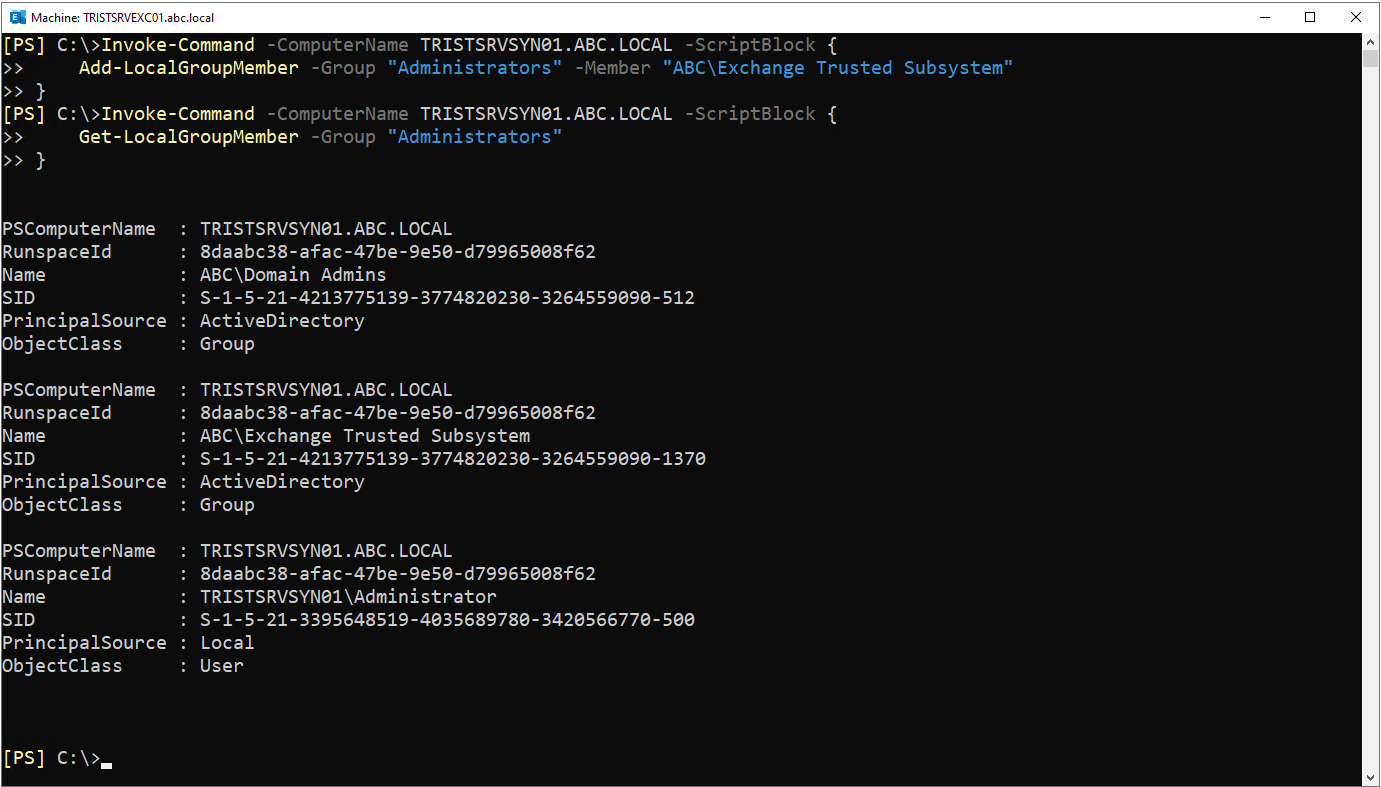
To resolve the warning, I add the Exchange Trusted Subsystem group to the local Administrators group of the witness server. I perform the operation remotely with Invoke-Command and then verify it with Get-LocalGroupMember.
Invoke-Command -ComputerName TRISTSRVSYN01.ABC.LOCAL -ScriptBlock {
    Add-LocalGroupMember -Group "Administrators" -Member "ABC\Exchange Trusted Subsystem"
}

Invoke-Command -ComputerName TRISTSRVSYN01.ABC.LOCAL -ScriptBlock {
    Get-LocalGroupMember -Group "Administrators"
}
The verification shows that the local Administrators group of the witness server contains Domain Admins, Exchange Trusted Subsystem and the local Administrator account. Exchange Trusted Subsystem now has the required permission, so the permission problem on the witness server is resolved.
After the Exchange Trusted Subsystem group is added to the local Administrators group of the witness server, the New-DatabaseAvailabilityGroup command is not run again. The message in the first run was a warning, not an error, and because it did not stop the cmdlet, the DAG object had already been created together with its WitnessServer and WitnessDirectory properties. The only missing item was the permission on the witness server, and this was completed in the previous step by adding the Exchange Trusted Subsystem group to the local Administrators group. Therefore recreating the DAG is neither necessary nor correct.
3- Adding the Exchange Servers to the DAG
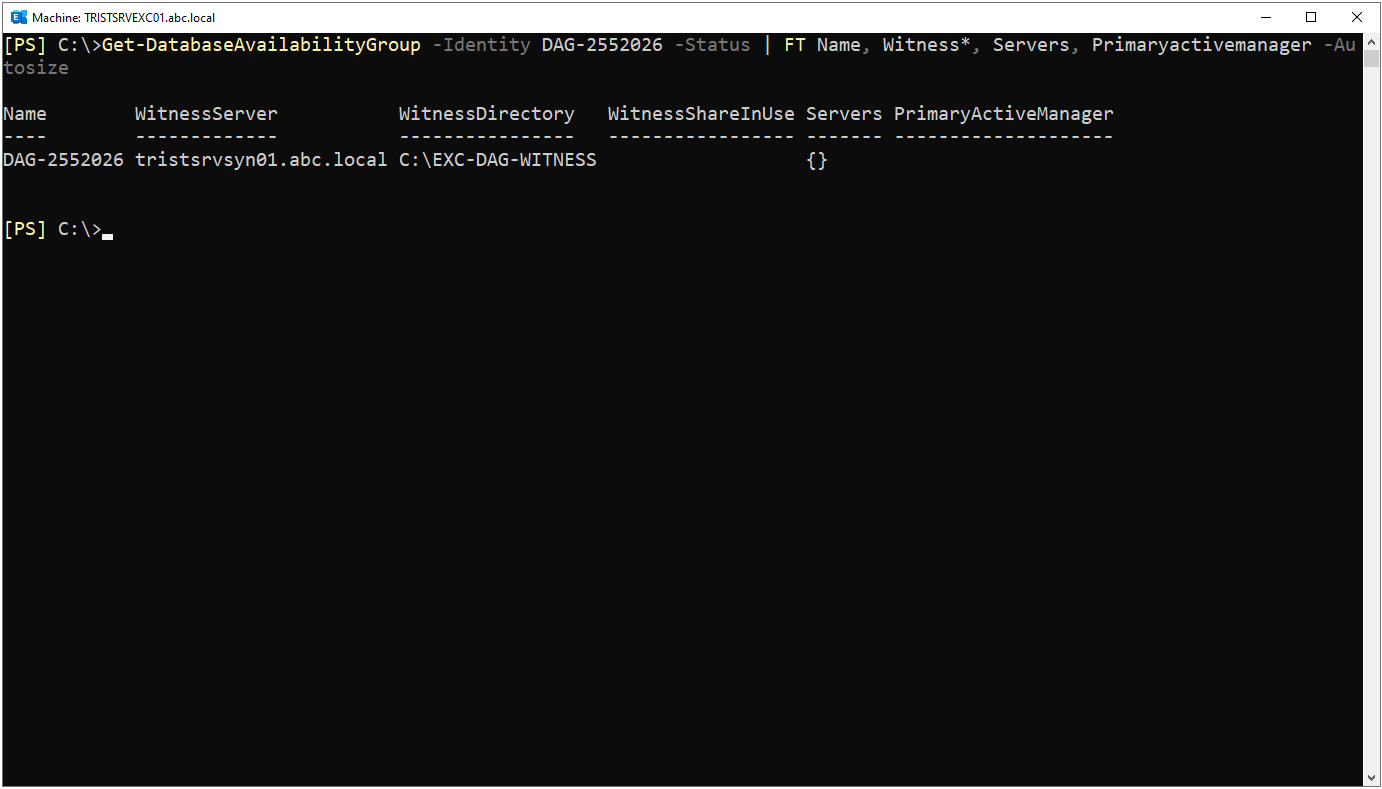
After I create the DAG, I query its state before adding the members with Get-DatabaseAvailabilityGroup. The WitnessServer and WitnessDirectory values appear, but the Servers list is empty and the WitnessShareInUse value is still empty, because I have not added any member to the DAG at this stage.
Get-DatabaseAvailabilityGroup -Identity DAG-2552026 -Status | FT Name, Witness*, Servers, Primaryactivemanager -Autosize
In the output, the Servers value appears as {}, an empty list, which confirms that the DAG has no members yet.
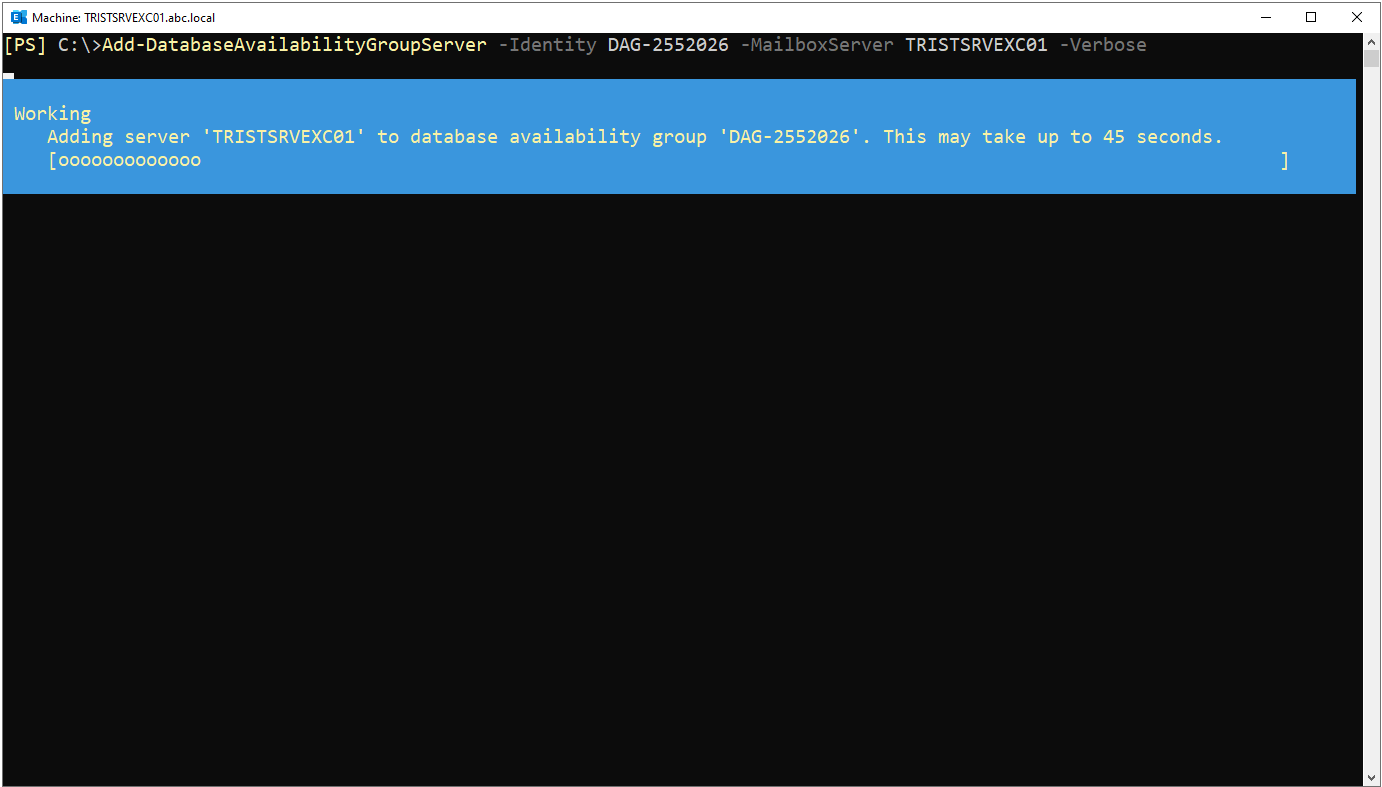
I add the first Mailbox server to the DAG with Add-DatabaseAvailabilityGroupServer. Adding the first member also creates the failover cluster that the DAG uses internally.
Add-DatabaseAvailabilityGroupServer -Identity DAG-2552026 -MailboxServer TRISTSRVEXC01 -Verbose
During the operation, a progress message states that the addition can take up to 45 seconds.
 When the operation completes, a WARNING is returned that recommends restarting the Information Store service.
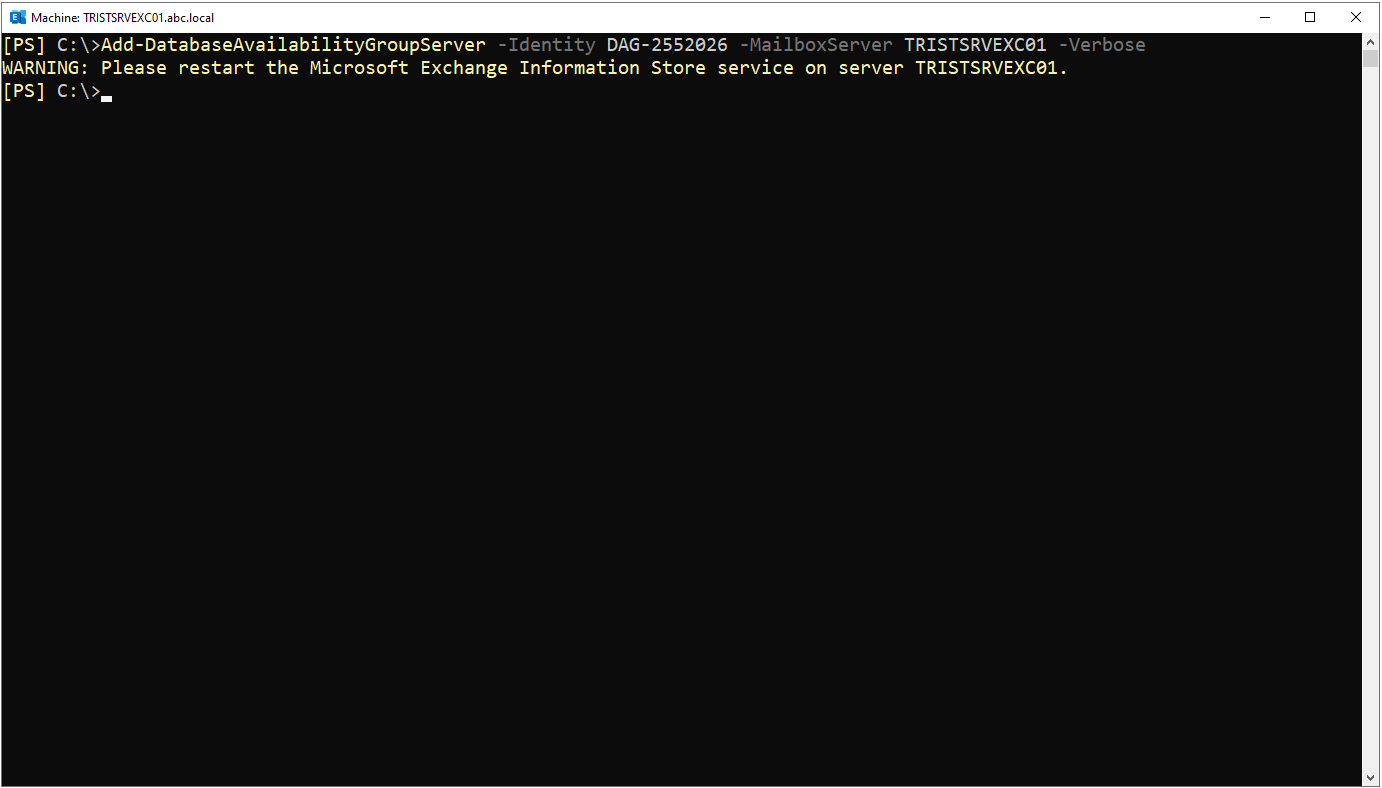
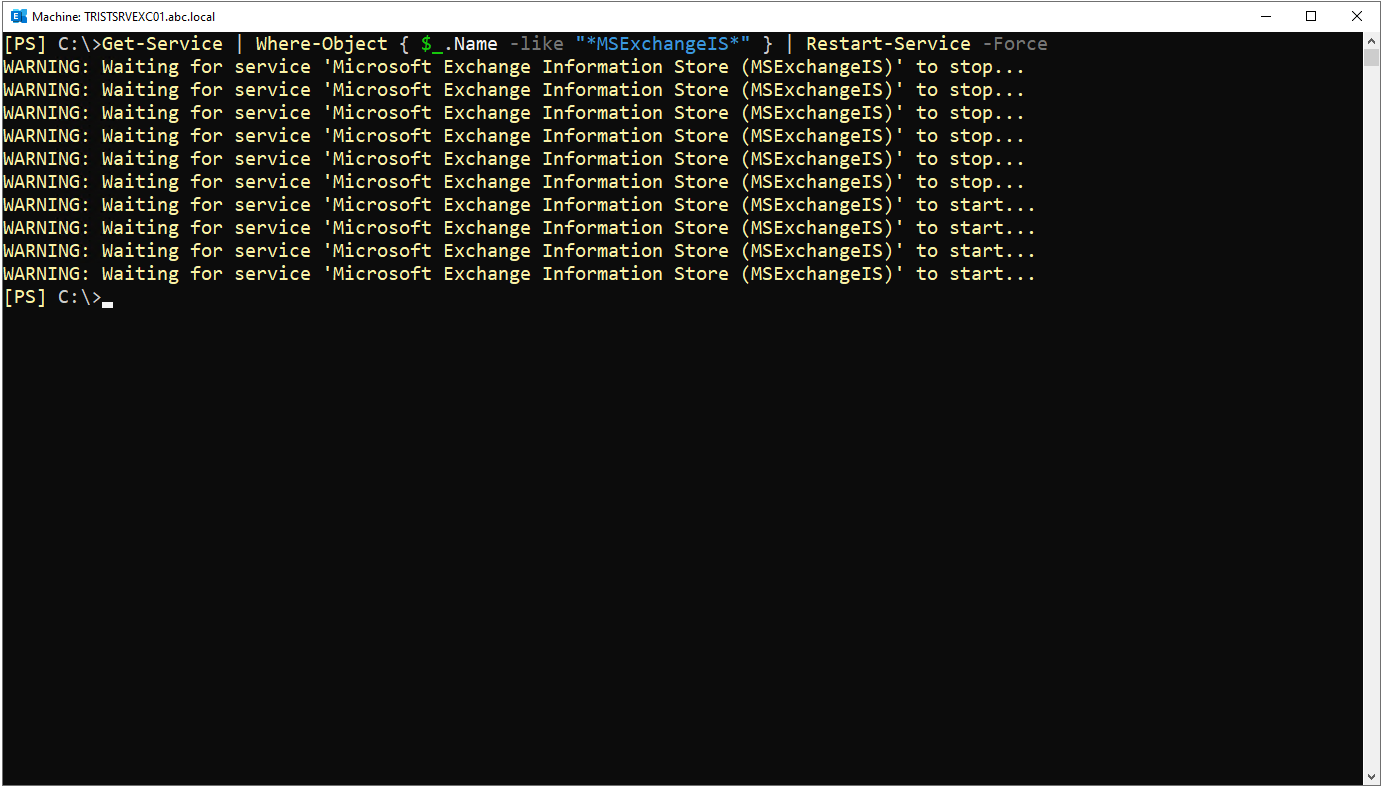
Following this recommendation, I restart the Information Store service on TRISTSRVEXC01.
Get-Service | Where-Object { $_.Name -like "*MSExchangeIS*" } | Restart-Service -Force
The output shows the service being stopped and started again.
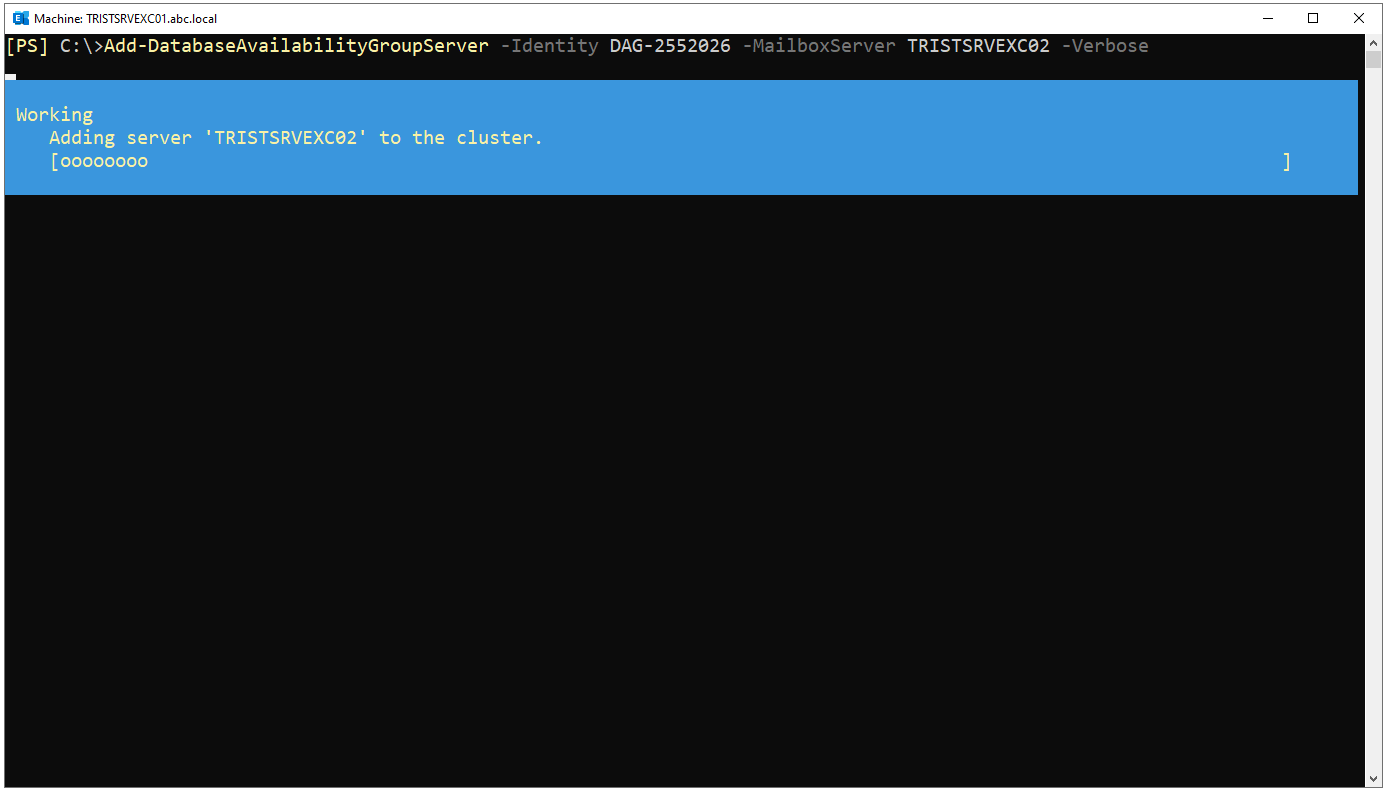
I repeat the same operation for the second Mailbox server. Because the first member created the failover cluster, this time TRISTSRVEXC02 joins the existing cluster. I see this from the "Adding server to the cluster" message in the output.
Add-DatabaseAvailabilityGroupServer -Identity DAG-2552026 -MailboxServer TRISTSRVEXC02 -Verbose
While the operation is in progress, I see that TRISTSRVEXC02 is being added to the cluster.
 When the operation completes, a WARNING that recommends restarting the Information Store service is returned for this server as well.
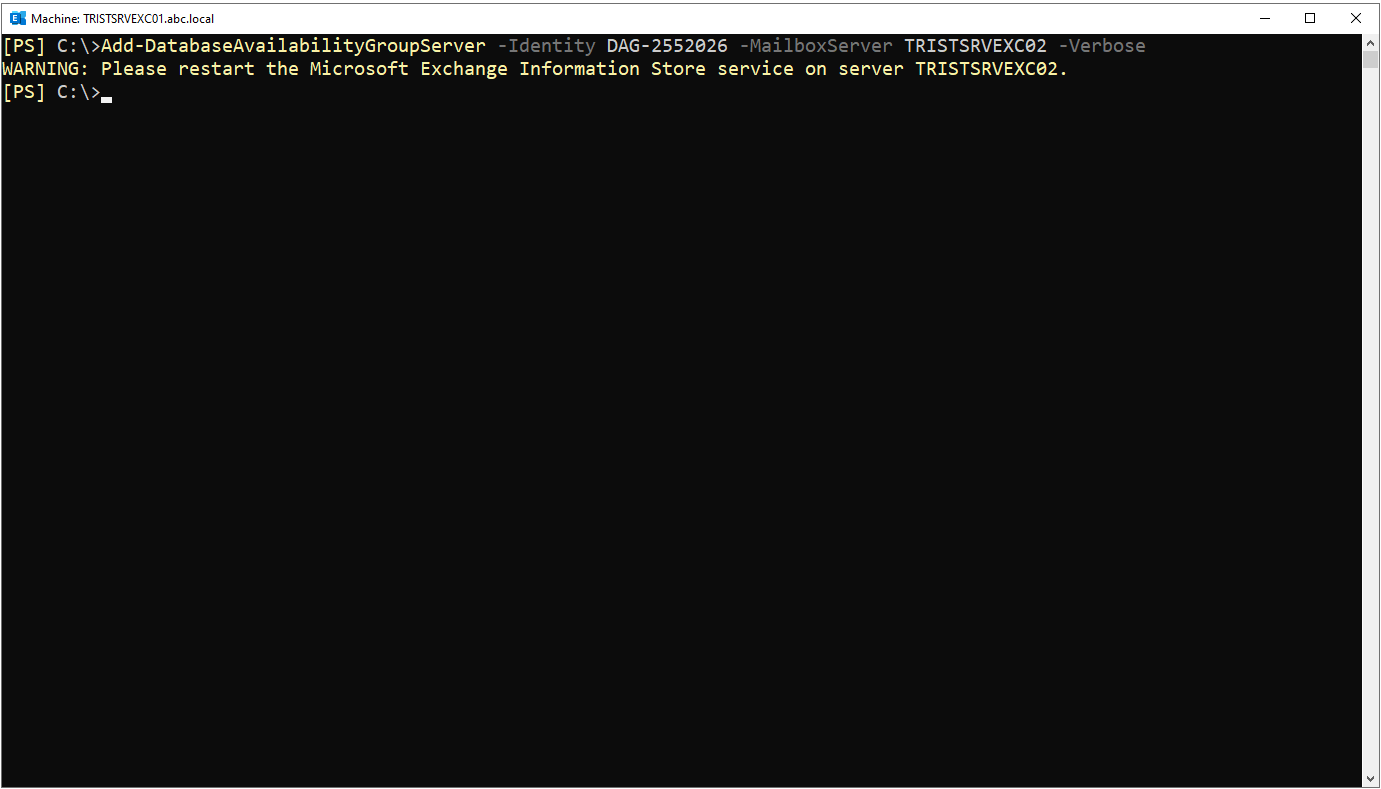
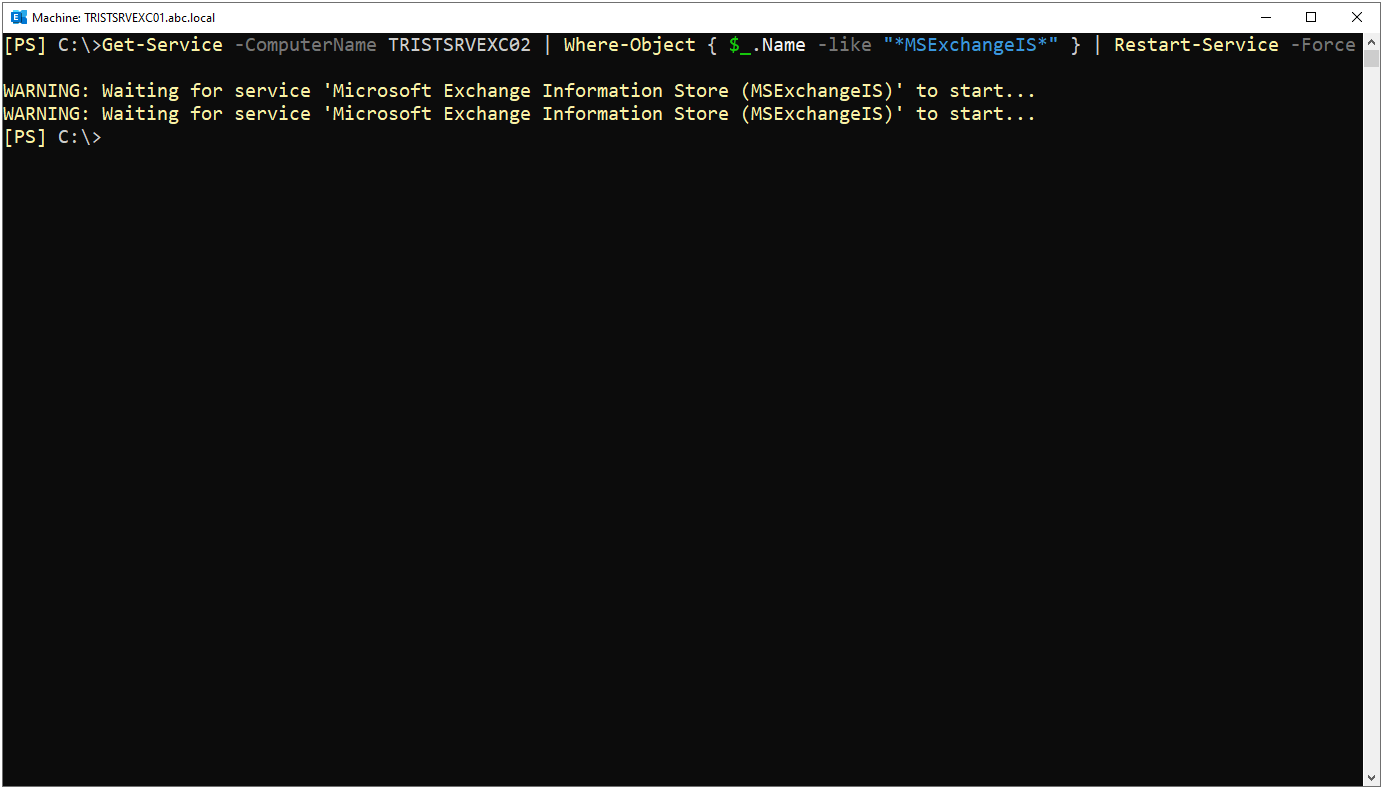
I restart the Information Store service on TRISTSRVEXC02 as well. This time the operation targets a remote server, so I use the -ComputerName parameter.
Get-Service -ComputerName TRISTSRVEXC02 | Where-Object { $_.Name -like "*MSExchangeIS*" } | Restart-Service -Force
The output shows that the service has been restarted.
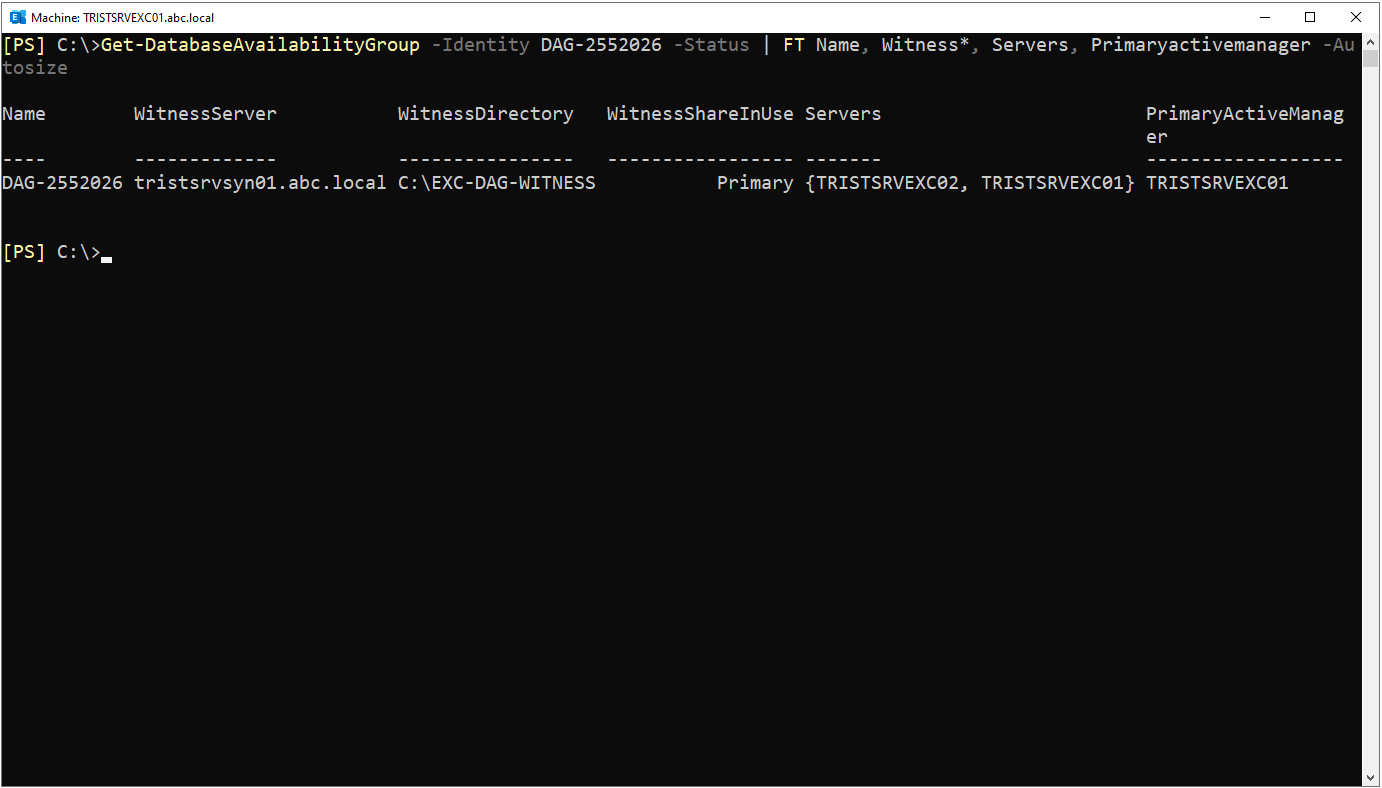
After adding both members, I check the DAG state again with the same query. Both Mailbox servers appear in the Servers list, and TRISTSRVEXC01 is assigned as the PrimaryActiveManager. The important change is that the WitnessShareInUse value is now Primary. This shows that, because of the even number of members, the cluster has changed to the Node and File Share Majority quorum mode and that the file share witness is now actually in use.
As I stated earlier, the witness structure is created automatically by Exchange when members are added to the DAG and the file share witness becomes really necessary. At this point, the C:\EXC-DAG-WITNESS directory on the witness server is shared with the name of the DAG, that is, DAG-2552026.abc.local. The share description states that this is the file share witness created for this DAG.
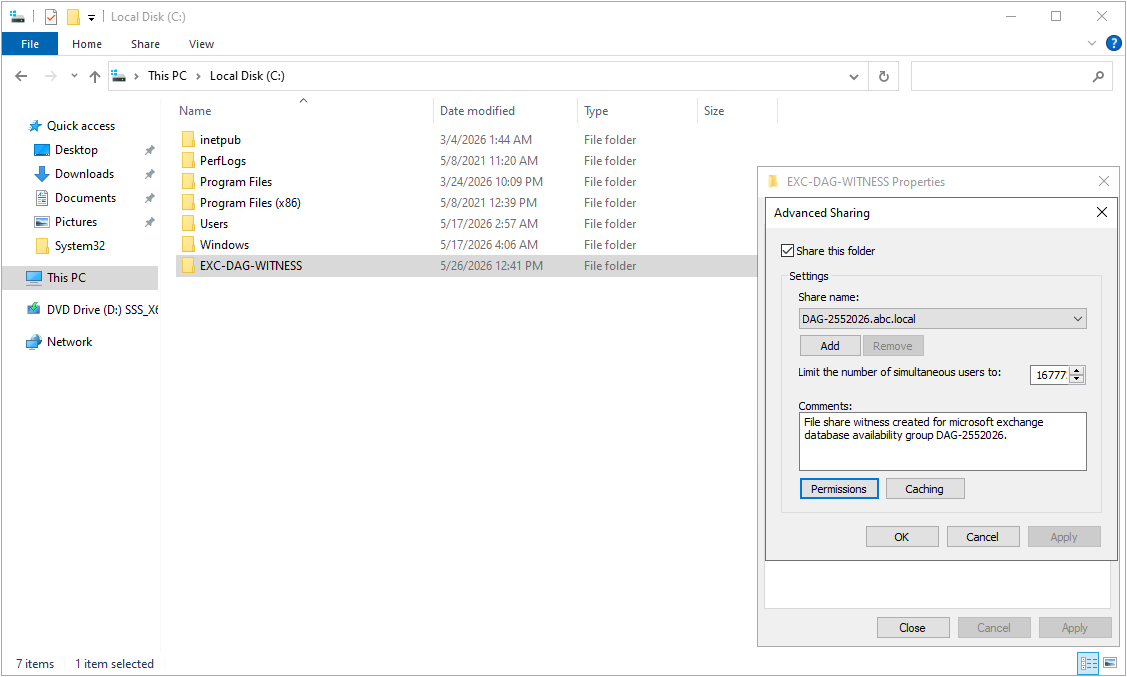
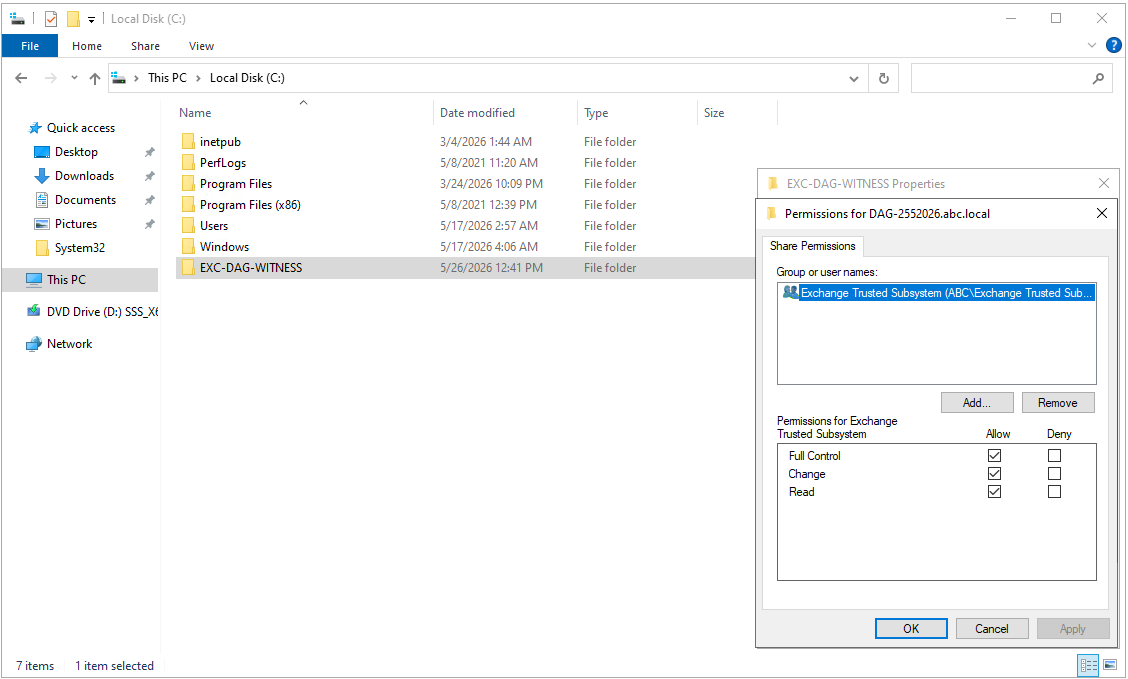
When I examine the share permissions, I see that the Exchange Trusted Subsystem group is granted Full Control automatically.
On the NTFS side, that is, on the Security tab, Exchange Trusted Subsystem does not appear as a separate entry. The tab contains only the CREATOR OWNER, SYSTEM, Administrators and Users entries.
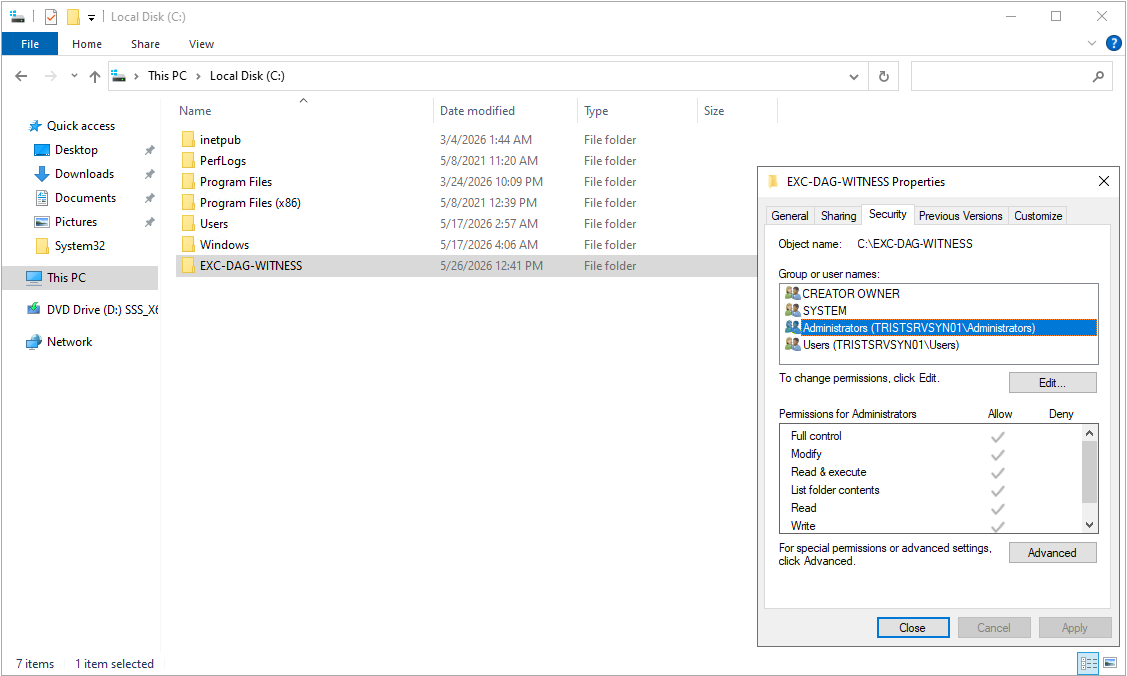
Exchange Trusted Subsystem does not appear as a separate entry on the Security tab, that is, the NTFS tab, because this group was added to the local Administrators group of the witness server in the previous step. The Security tab already contains the Administrators entry, which has Full Control, and because Exchange Trusted Subsystem is a member of this group, it receives NTFS access directly through this entry, by group membership. For this reason, a separate Exchange Trusted Subsystem entry is not needed. Share permissions, however, are an ACL that is completely separate from NTFS, and local Administrators membership is not reflected in this ACL, so Exchange explicitly grants Full Control to Exchange Trusted Subsystem on the share.
Because effective access to a share equals the most restrictive of the Sharing permission and the NTFS permission, Exchange Trusted Subsystem has Full Control access on both sides and the file share witness works without problems.
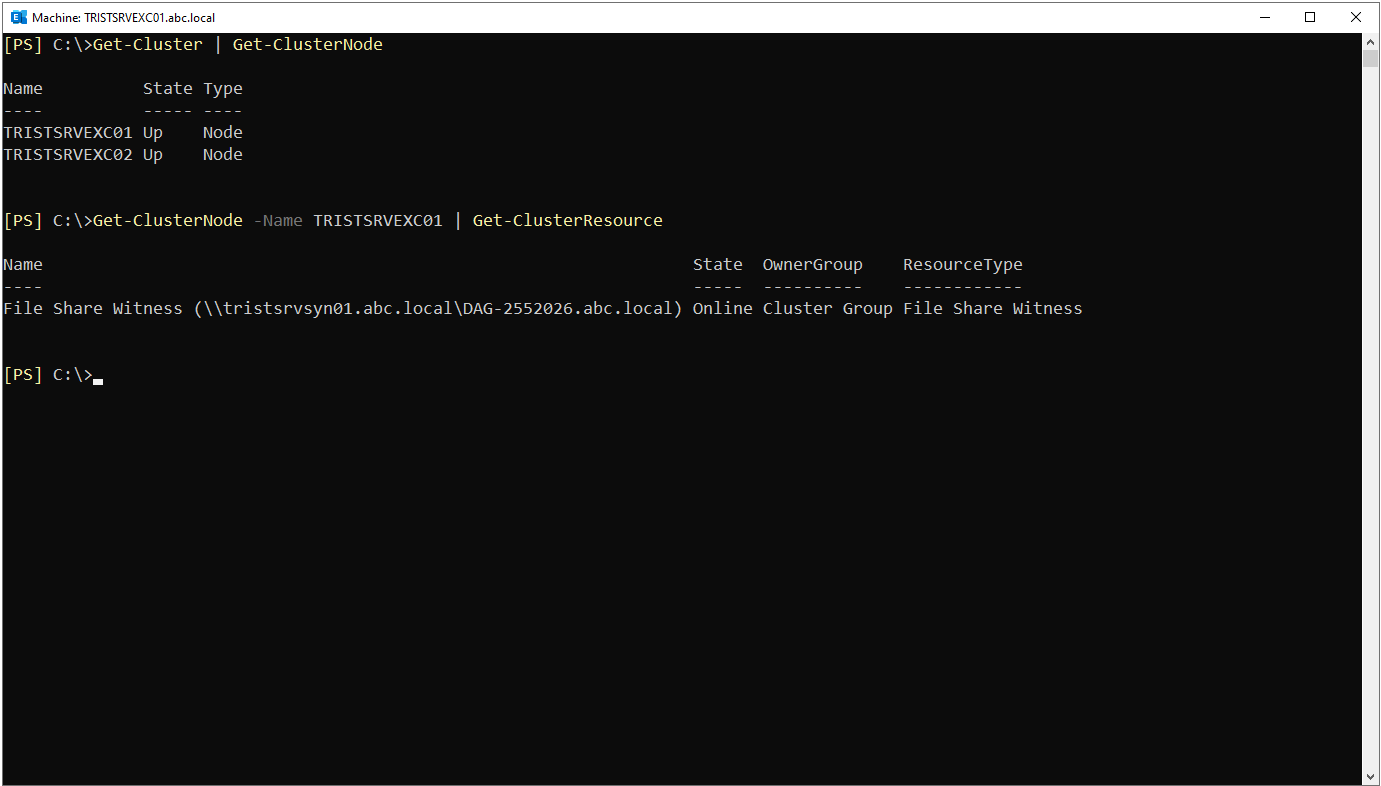
Finally, I verify the state of the members at cluster level and whether the file share witness is online as a cluster resource. I query the state of the Exchange nodes with Get-ClusterNode and the state of the witness resource with Get-ClusterResource.
Get-Cluster | Get-ClusterNode

Get-ClusterNode -Name TRISTSRVEXC01 | Get-ClusterResource
In the first output, I see that the State value of both Exchange nodes, TRISTSRVEXC01 and TRISTSRVEXC02, is Up. This shows that both Mailbox servers have joined the cluster as healthy nodes.
In the second output, I see that the State value of the file share witness resource is Online, that it is in the Cluster Group and that it points to the path \\tristsrvsyn01.abc.local\DAG-2552026.abc.local. This confirms that the witness share created earlier now works as an online resource integrated into the cluster quorum.
4- Adding the Databases to the DAG
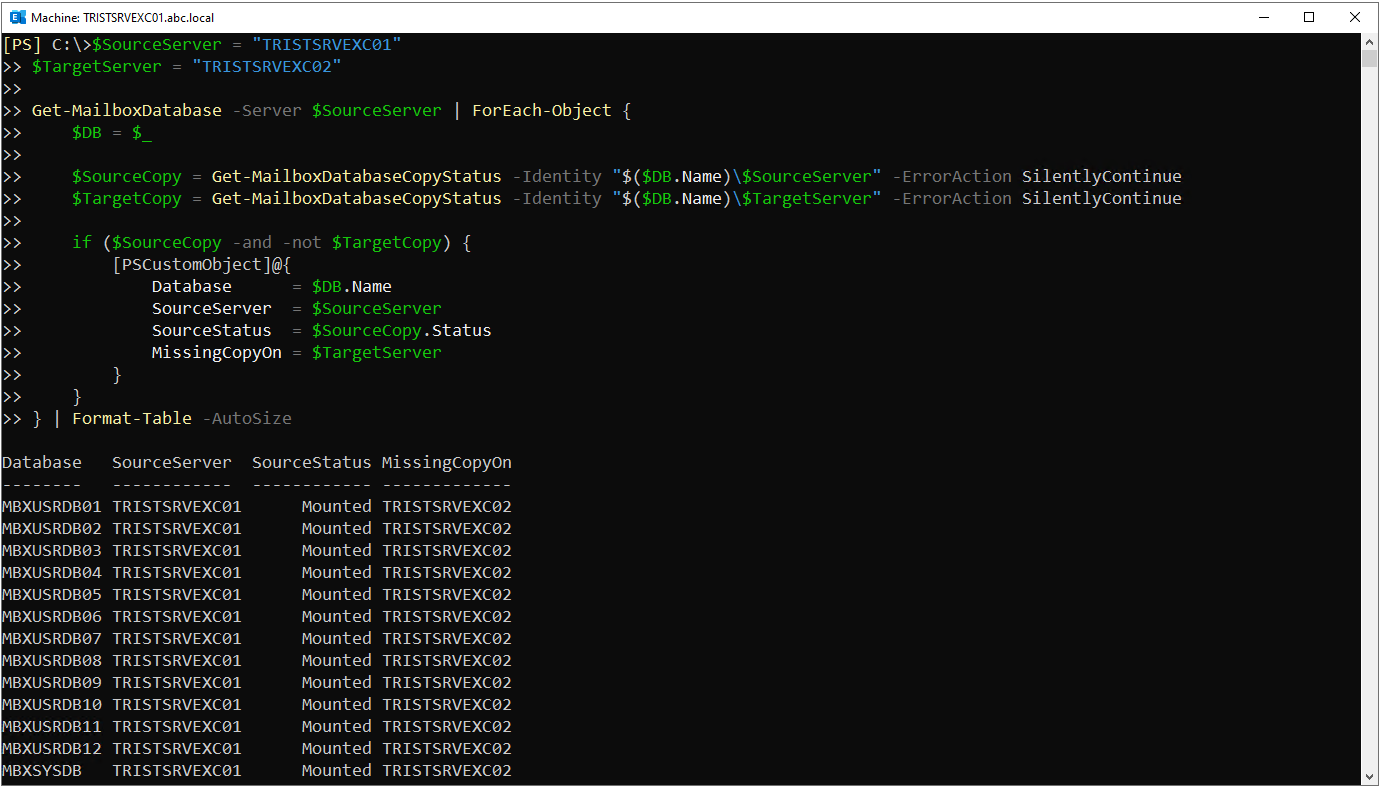
When the DAG members are ready, I add a second copy of the existing mailbox databases to the other member. First, I run a check to identify which databases do not have a second copy. For this, I run a script that checks every database on TRISTSRVEXC01 and lists the ones that have no copy on TRISTSRVEXC02.
$SourceServer = "TRISTSRVEXC01"
$TargetServer = "TRISTSRVEXC02"

Get-MailboxDatabase -Server $SourceServer | ForEach-Object {
    $DB = $_

    $SourceCopy = Get-MailboxDatabaseCopyStatus -Identity "$($DB.Name)\$SourceServer" -ErrorAction SilentlyContinue
    $TargetCopy = Get-MailboxDatabaseCopyStatus -Identity "$($DB.Name)\$TargetServer" -ErrorAction SilentlyContinue

    if ($SourceCopy -and -not $TargetCopy) {
        [PSCustomObject]@{
            Database      = $DB.Name
            SourceServer  = $SourceServer
            SourceStatus  = $SourceCopy.Status
            MissingCopyOn = $TargetServer
        }
    }
} | Format-Table -AutoSize
In the output, I see that all 12 user databases, MBXUSRDB01 to MBXUSRDB12, and the system database MBXSYSDB are in the Mounted state on TRISTSRVEXC01, and that the MissingCopyOn value is TRISTSRVEXC02 because none of them has a copy on TRISTSRVEXC02.
This deployment has 13 mailbox databases in total. Exchange Server Standard Edition supports a maximum of 5 mailbox databases, and configurations above this limit require Enterprise Edition. Therefore this DAG with 13 databases runs with an Enterprise Edition licence.
After identifying the missing copies, I add the second copy with Add-MailboxDatabaseCopy to all databases that belong to the DAG and have no copy on TRISTSRVEXC02. The -ActivationPreference 2 parameter sets the activation preference of the new copies to 2. In this way, the existing copies stay active on TRISTSRVEXC01 with preference 1, while the new copies are configured as passive copies on TRISTSRVEXC02 with preference 2.
Get-MailboxDatabase |
Where-Object {
    $_.MasterServerOrAvailabilityGroup -eq "DAG-2552026" -and
    $_.Servers.Name -notcontains "TRISTSRVEXC02"
} |
Add-MailboxDatabaseCopy `
    -MailboxServer TRISTSRVEXC02 `
    -ActivationPreference 2 `
    -Verbose
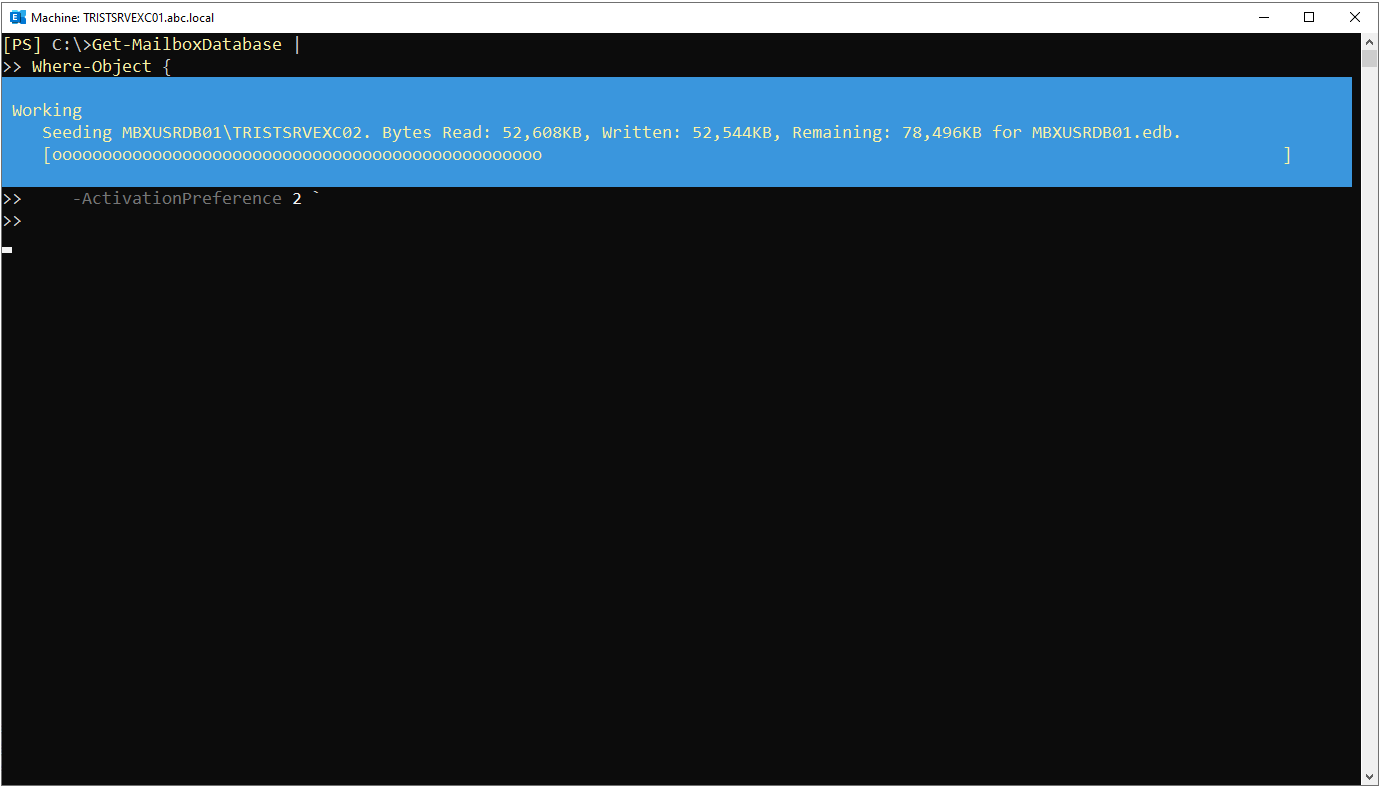
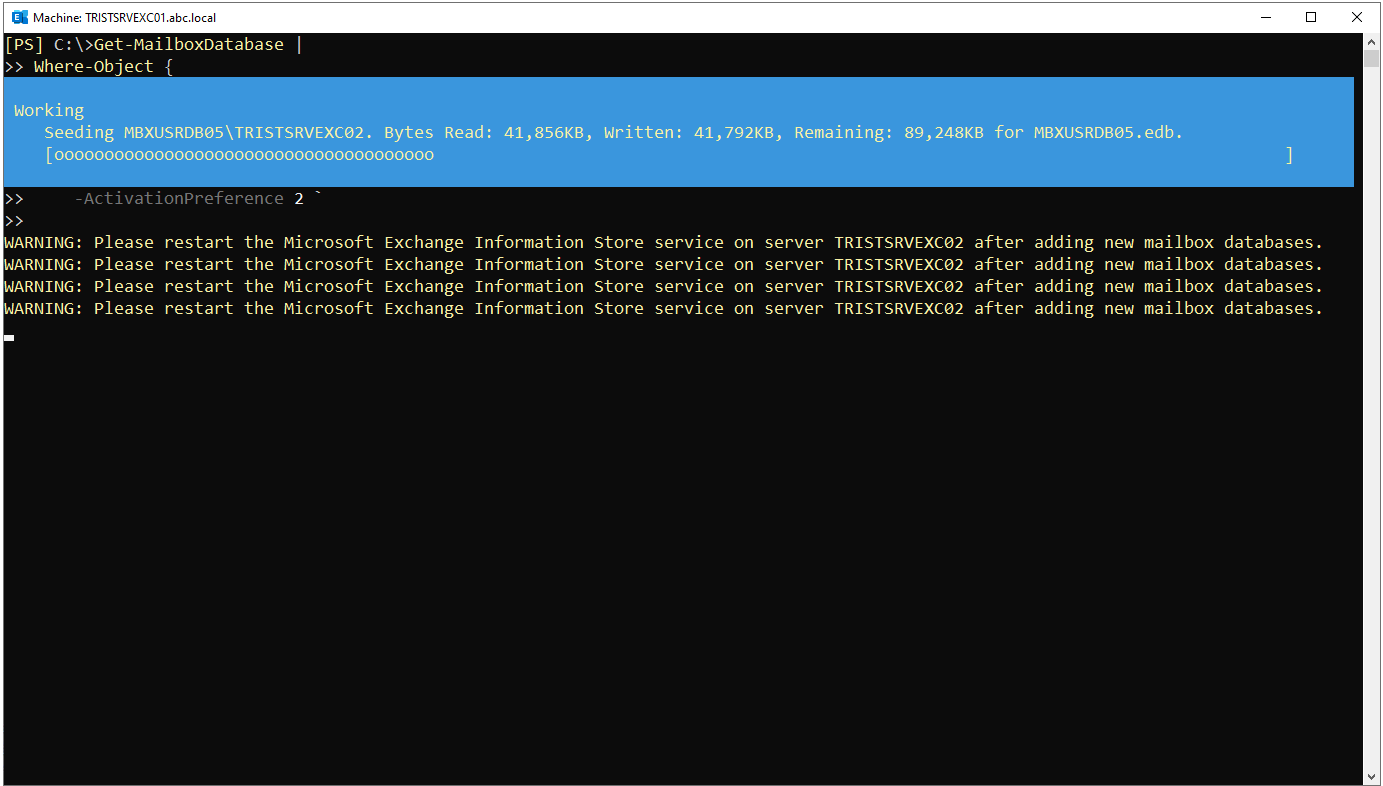
When the command runs, seeding starts for each database. Seeding is the process of copying the data in the active copy to the passive copy for the first time. I see seeding in progress for the first database, MBXUSRDB01.
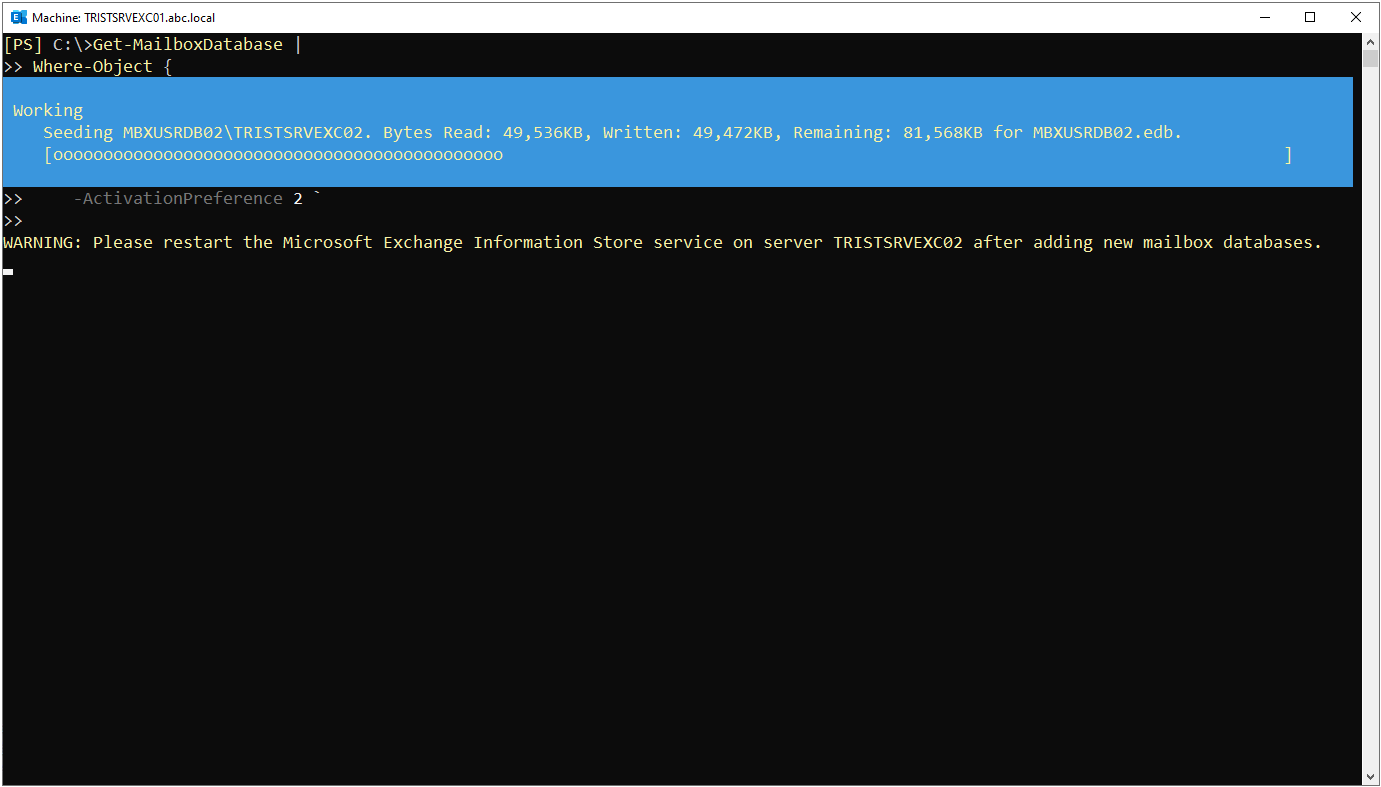
Seeding continues for all databases in turn. As each new copy is added, another WARNING line is added to the output, recommending a restart of the Information Store service for the relevant server.
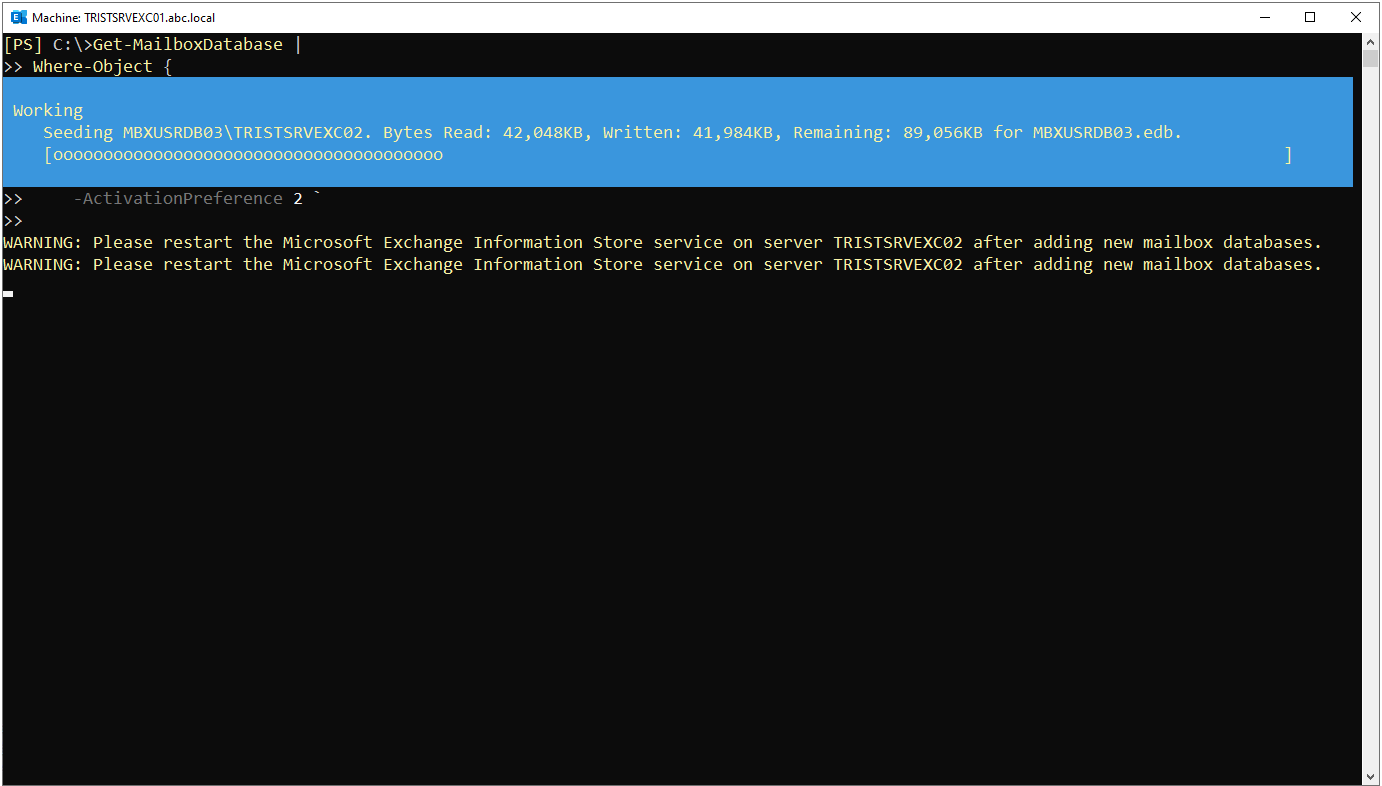
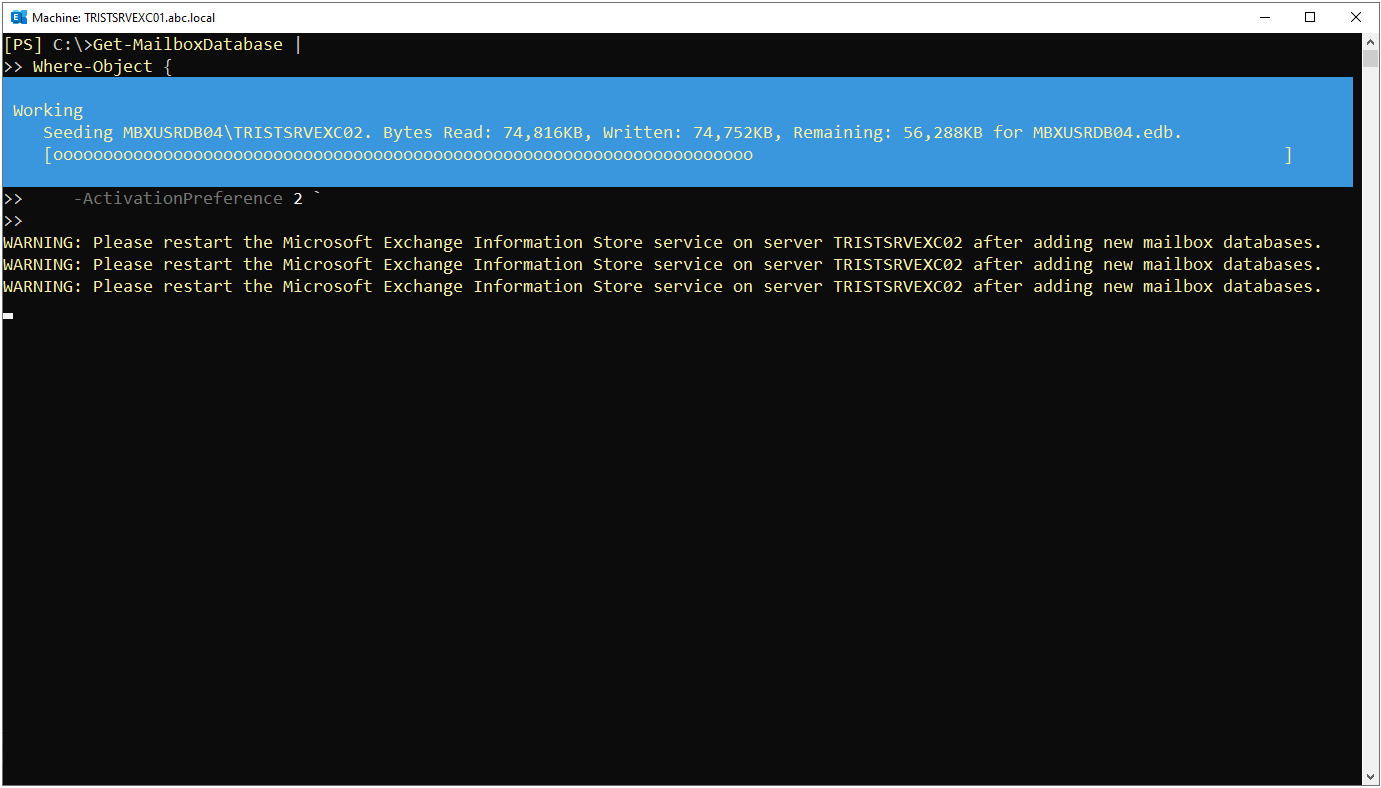
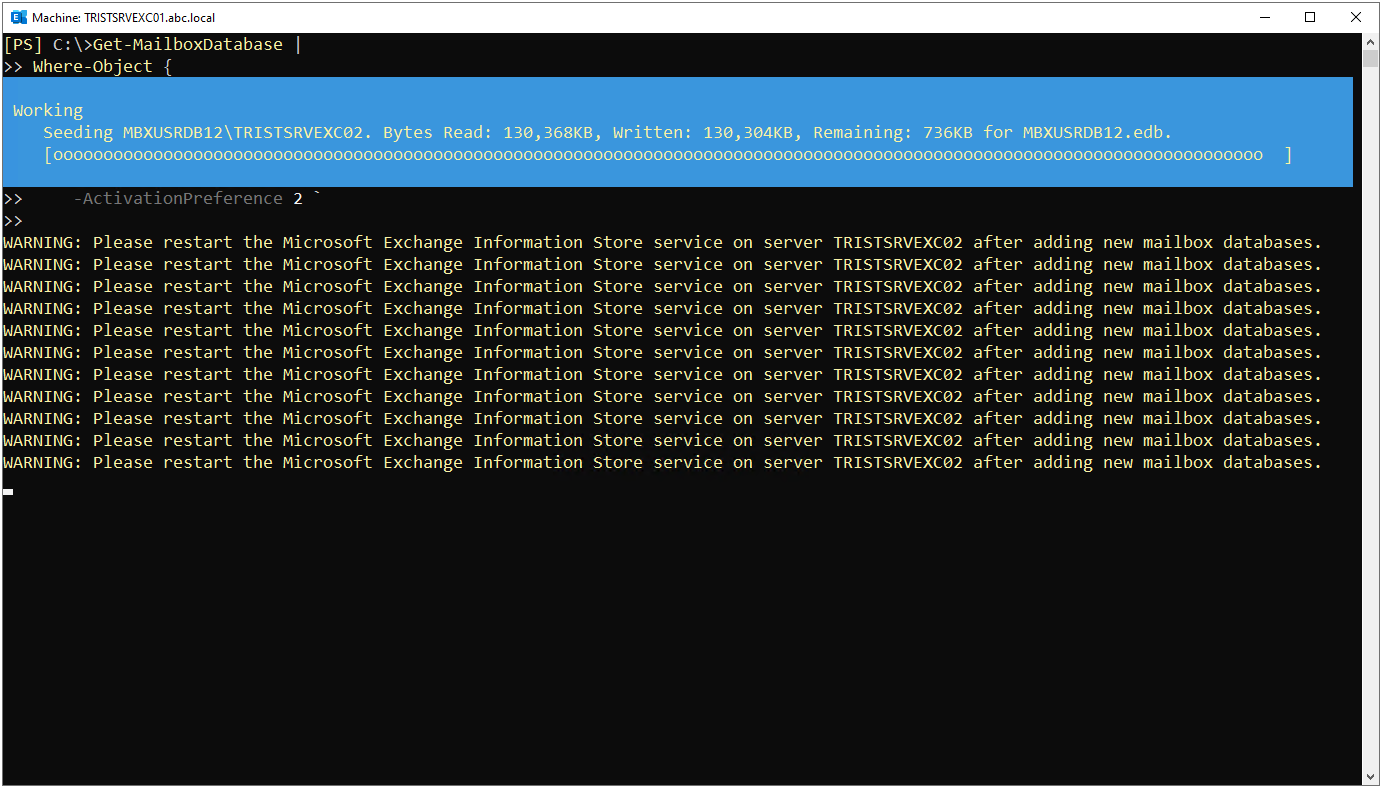
Seeding also completes for the last user database, MBXUSRDB12, and then for the system database, MBXSYSDB.
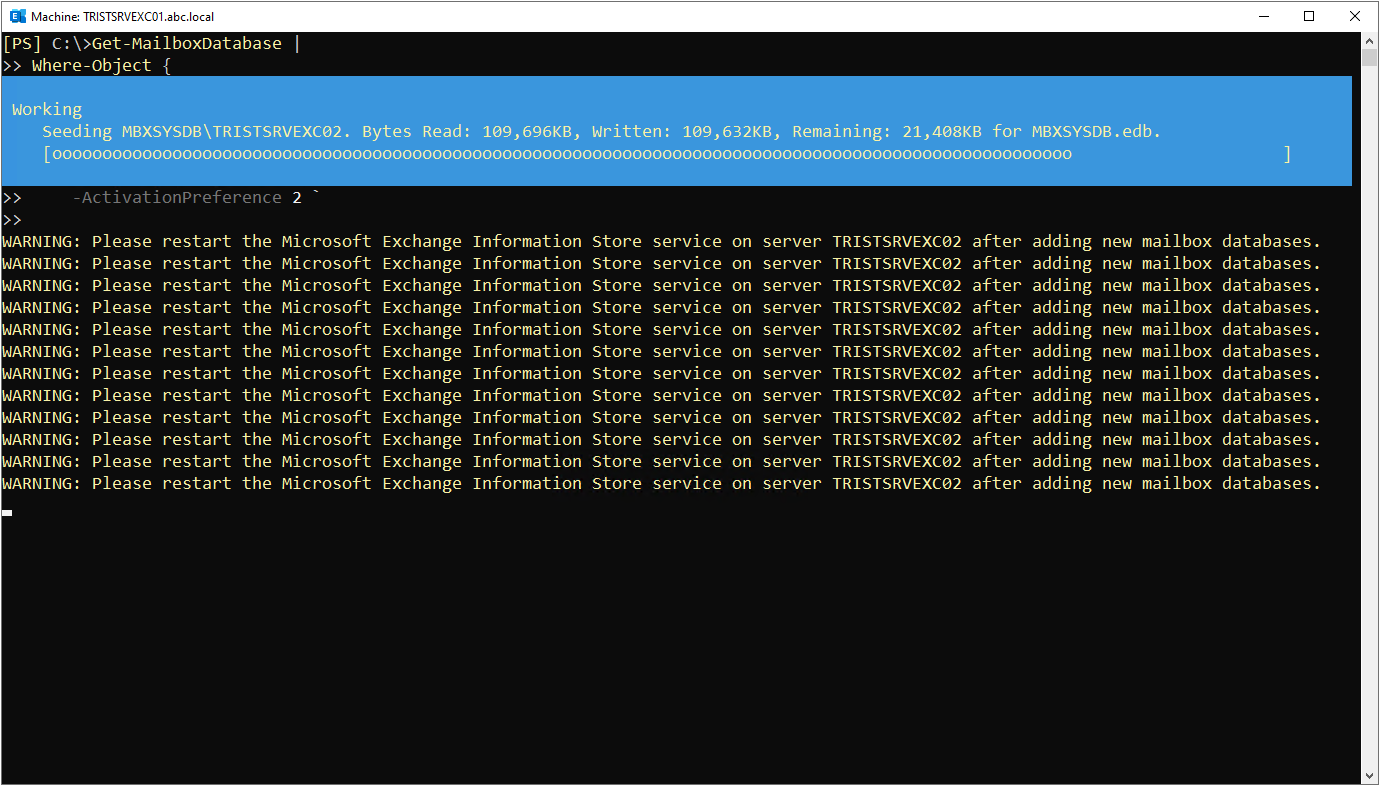
When all copies have been added, the command completes and the WARNING lines that recommend restarting the Information Store service for each added database appear together.
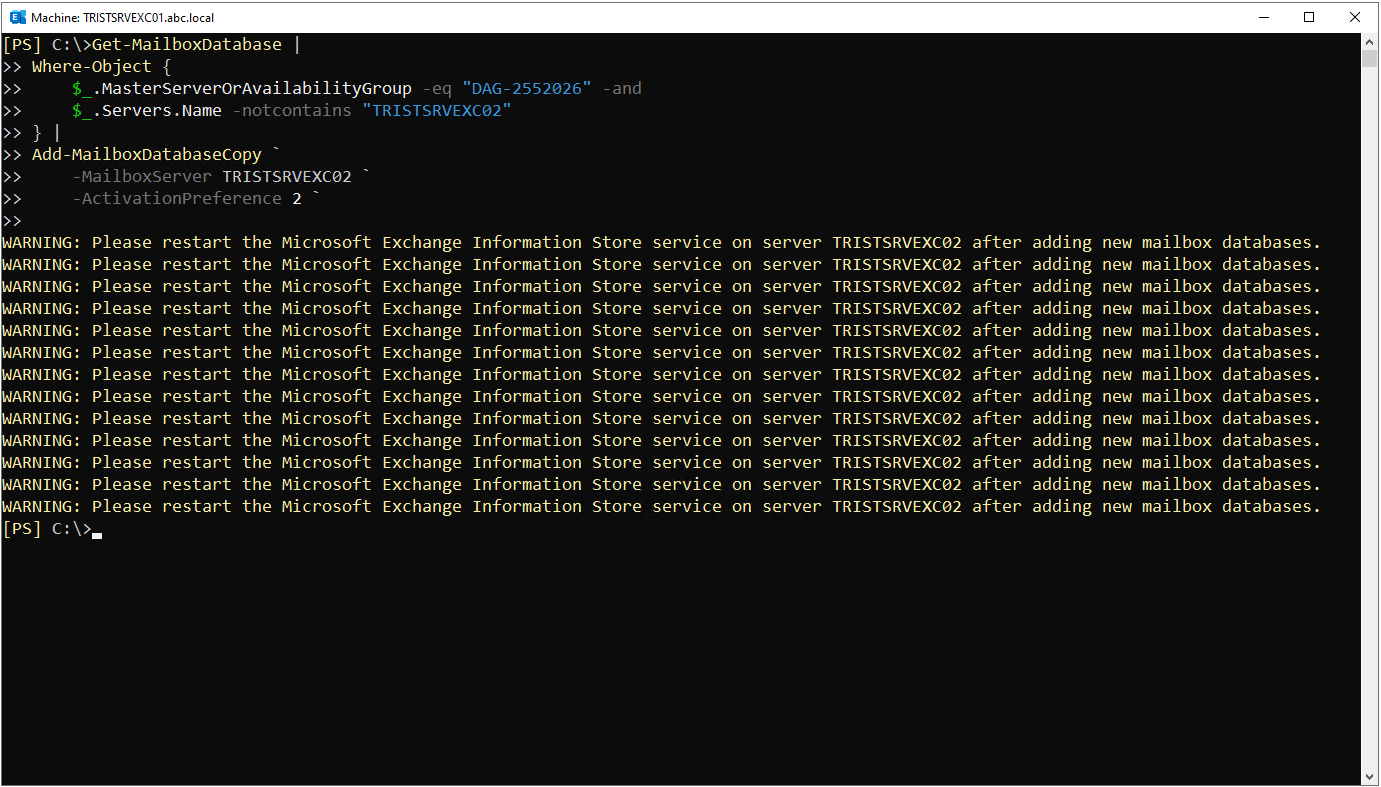
The WARNING lines that appear after each copy is added are warnings, not errors. Even if the service is not restarted, the added copies work and seeding completes. The reason for the recommendation is related to RAM. ESE, the Exchange database engine, keeps frequently accessed database pages in a database cache in RAM, and the available RAM on the server is divided among the databases for this cache. This allocation is recalculated every time the Information Store service starts, so a newly added database receives its full share only after the service is restarted. For a single database the effect is negligible, but 13 copies were added in this deployment, so the total effect becomes noticeable. For this reason, it is appropriate to restart the Information Store service at a suitable maintenance time after all copies have been added.
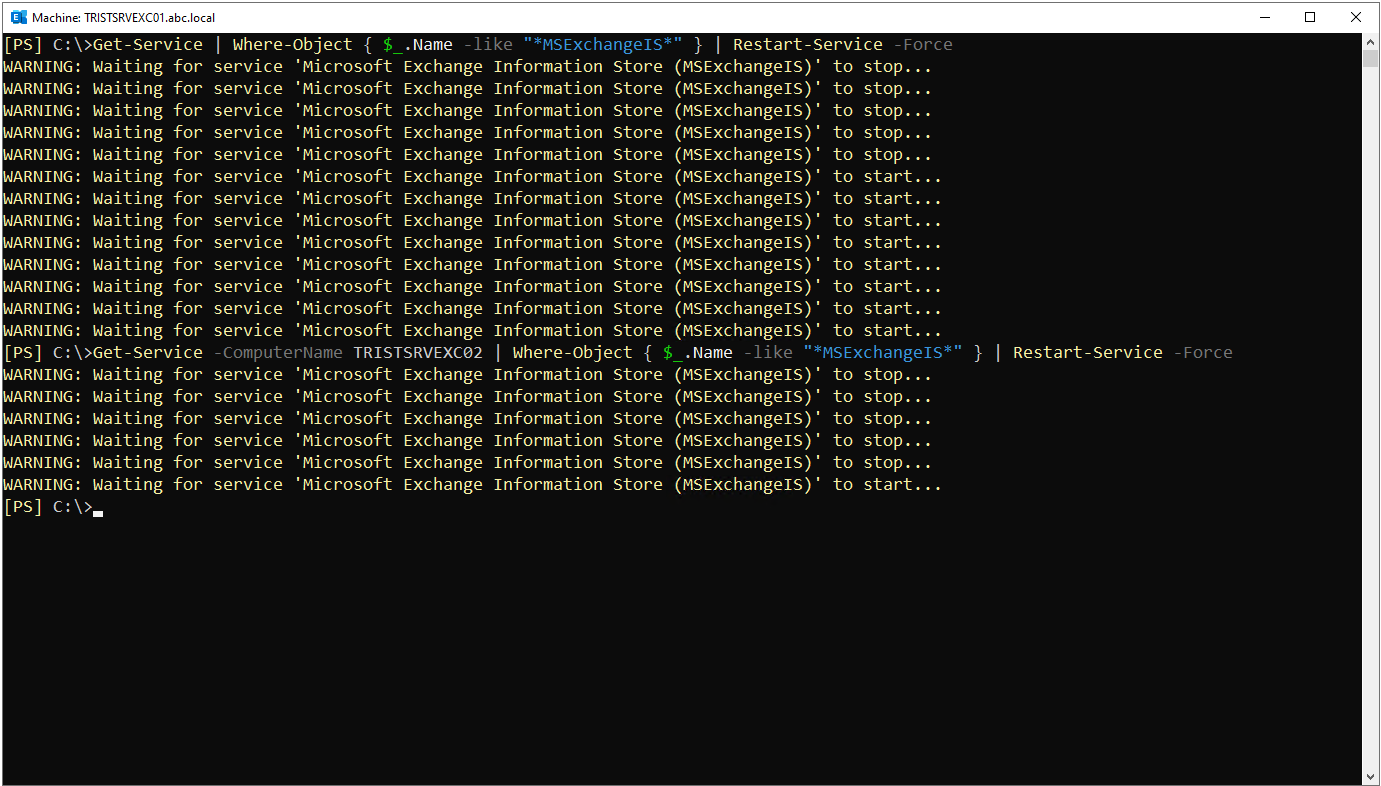
Following this recommendation, I restart the Information Store service on both Mailbox servers after adding all the copies. I run the first command on the local server, TRISTSRVEXC01, and the second command on TRISTSRVEXC02 with the -ComputerName parameter.
Get-Service | Where-Object { $_.Name -like "*MSExchangeIS*" } | Restart-Service -Force

Get-Service -ComputerName TRISTSRVEXC02 | Where-Object { $_.Name -like "*MSExchangeIS*" } | Restart-Service -Force
The output shows the Information Store service being stopped and started again on both servers.
5- Checking the Status of the DAG Database Copies
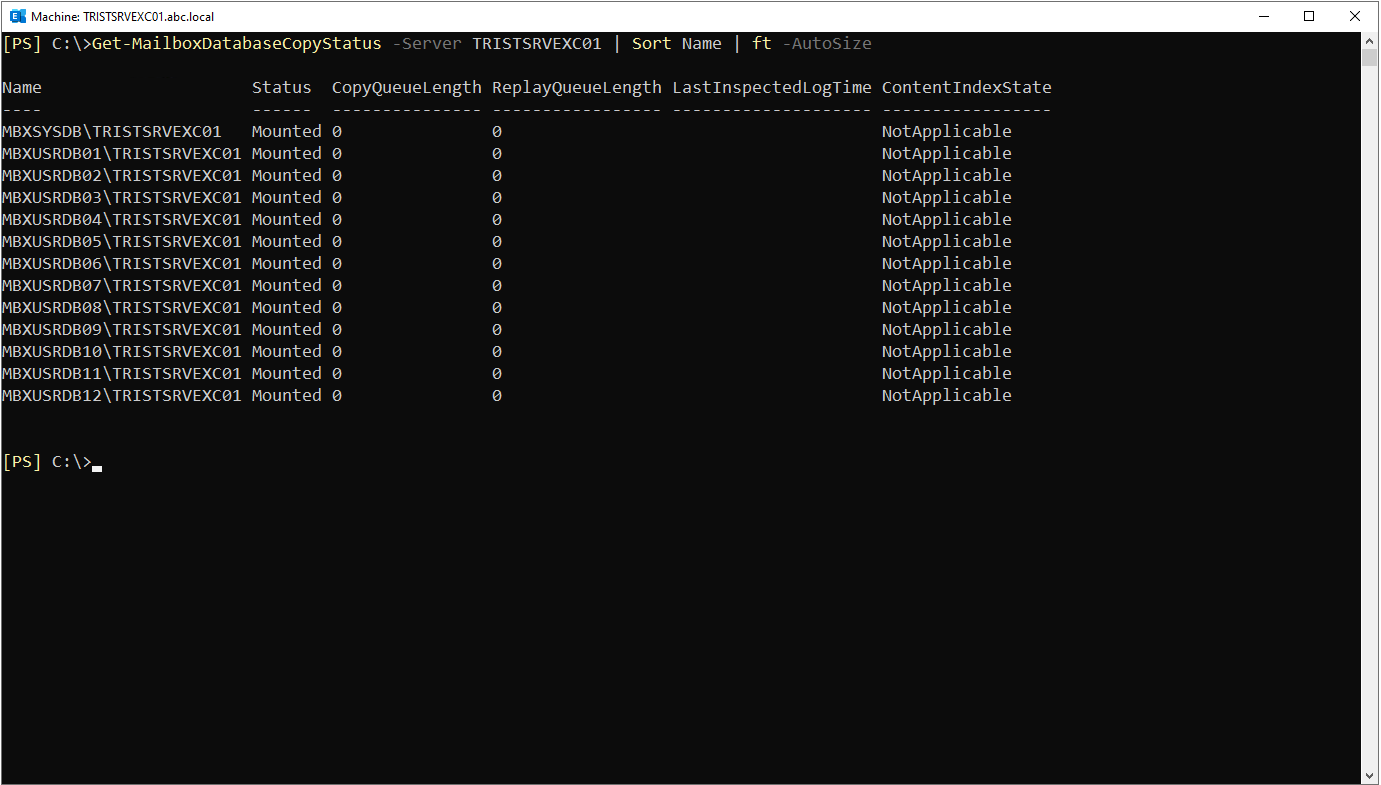
After the copies are added and seeding is complete, I check the status of the database copies with Get-MailboxDatabaseCopyStatus. First I query TRISTSRVEXC01, which holds the active copies.
Get-MailboxDatabaseCopyStatus -Server TRISTSRVEXC01 | Sort Name | ft -AutoSize
The Status value of all copies on TRISTSRVEXC01 is Mounted. Mounted shows that the copy is active and mounted, that is, it is the copy that serves user connections. The CopyQueueLength and ReplayQueueLength values of 0 show that no copy queue or replay queue is waiting.
Then I query TRISTSRVEXC02, which holds the passive copies.
Get-MailboxDatabaseCopyStatus -Server TRISTSRVEXC02 | Sort Name | ft -AutoSize
The Status value of the copies on TRISTSRVEXC02 is Healthy. Healthy shows that the passive copy is healthy and is updated in sync with the active copy. The CopyQueueLength and ReplayQueueLength values of 0 confirm that replication proceeds without delay.
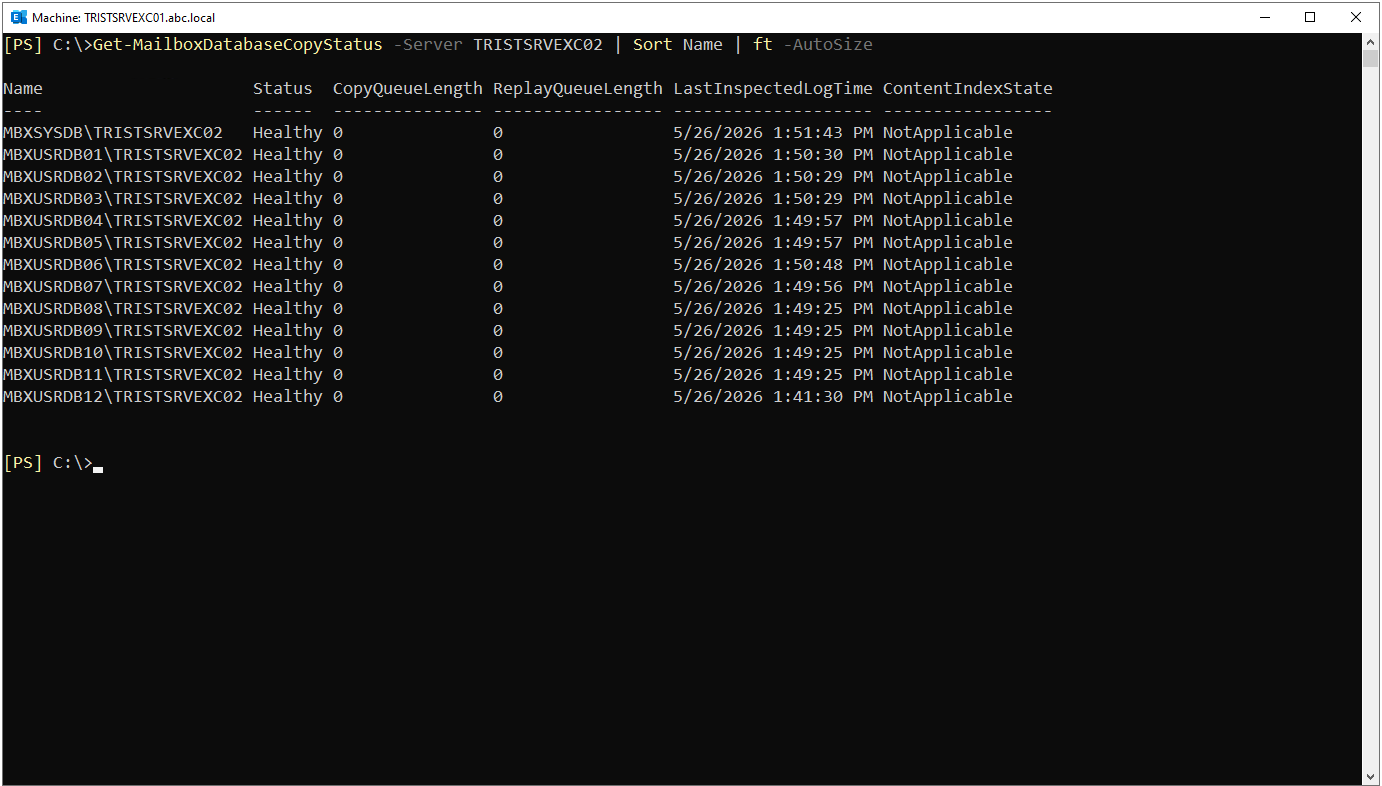
The ContentIndexState value of NotApplicable in the output is not an error. It is the expected behaviour by design for Exchange Server 2019 and Exchange Server SE. In these versions, the search infrastructure uses the Big Funnel architecture, and indexing does not use a separate content index catalogue for the whole database. Instead, it takes place inside each mailbox, together with each indexed item, as a per-object index. Because no separate content index remains to report at database level, the ContentIndexState value appears as NotApplicable. For administrators who know that this field shows Healthy in the Exchange Server 2013 and Exchange Server 2016 architectures, the NotApplicable value can look like a problem at first, but in SE this is completely normal.
6- Testing Replication Health
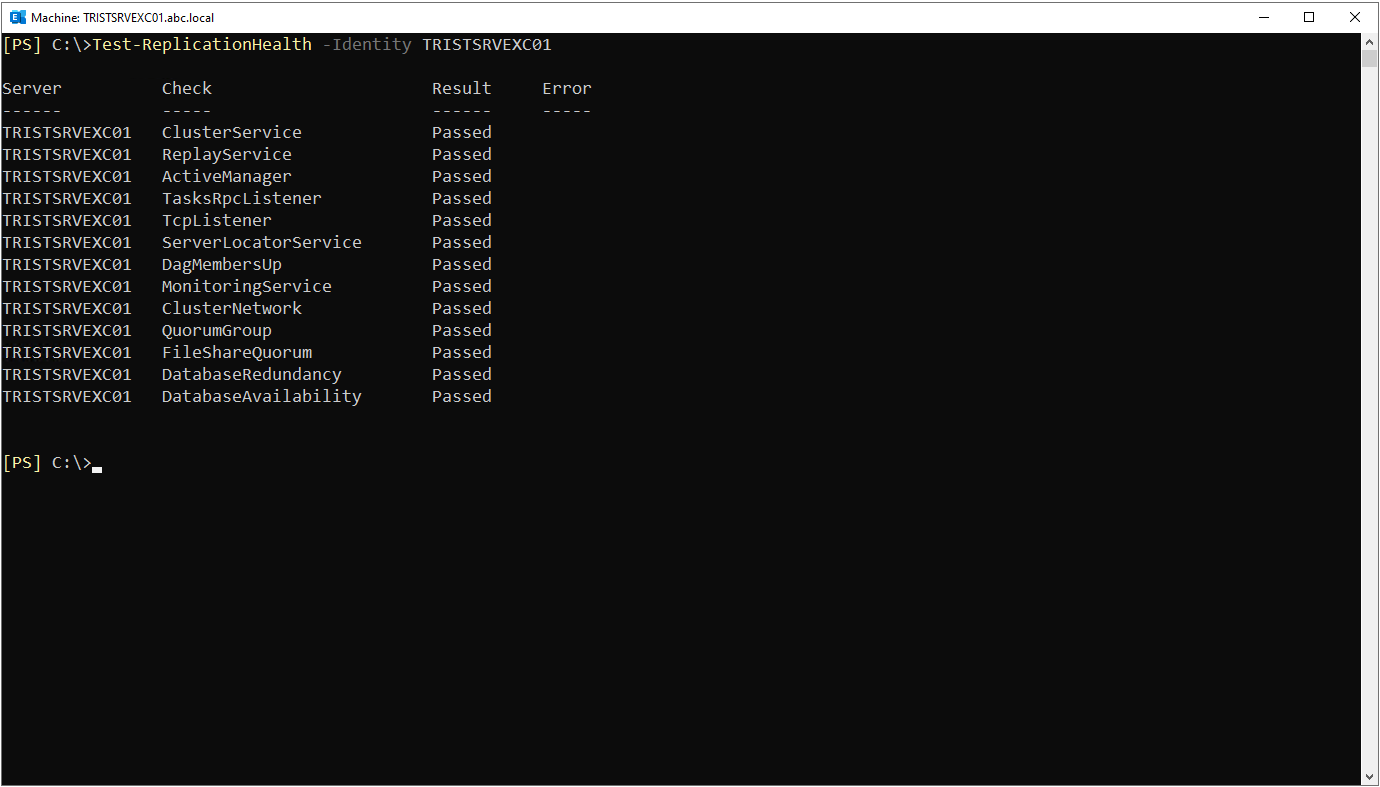
After verifying the copy statuses, I test replication and cluster health across the DAG with Test-ReplicationHealth. For each member, this cmdlet runs a series of checks on the Cluster service, the Replay service, Active Manager, quorum and the database copies. First I test TRISTSRVEXC01.
Test-ReplicationHealth -Identity TRISTSRVEXC01
The Result value of all checks is Passed. The success of all checks such as ClusterService, ReplayService, ActiveManager, FileShareQuorum, DatabaseRedundancy and DatabaseAvailability shows that the member and the cluster work correctly.
I repeat the same test for TRISTSRVEXC02.
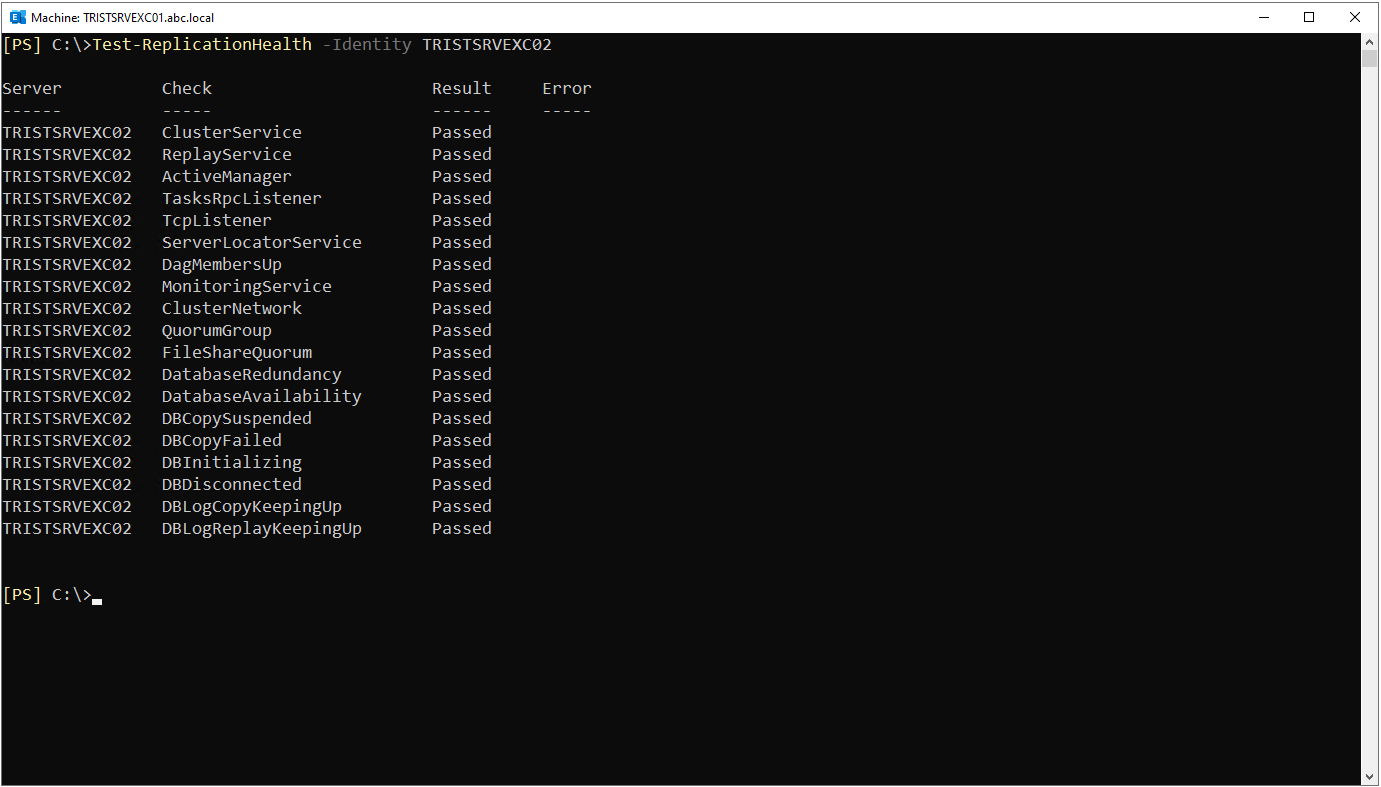
Test-ReplicationHealth -Identity TRISTSRVEXC02
Because this server holds passive copies, the output also contains copy-focused checks such as DBCopySuspended, DBCopyFailed, DBInitializing, DBDisconnected, DBLogCopyKeepingUp and DBLogReplayKeepingUp. The Passed result of all checks confirms that the passive copies are healthy and that replication works without problems.
Verifying the Activation Preference
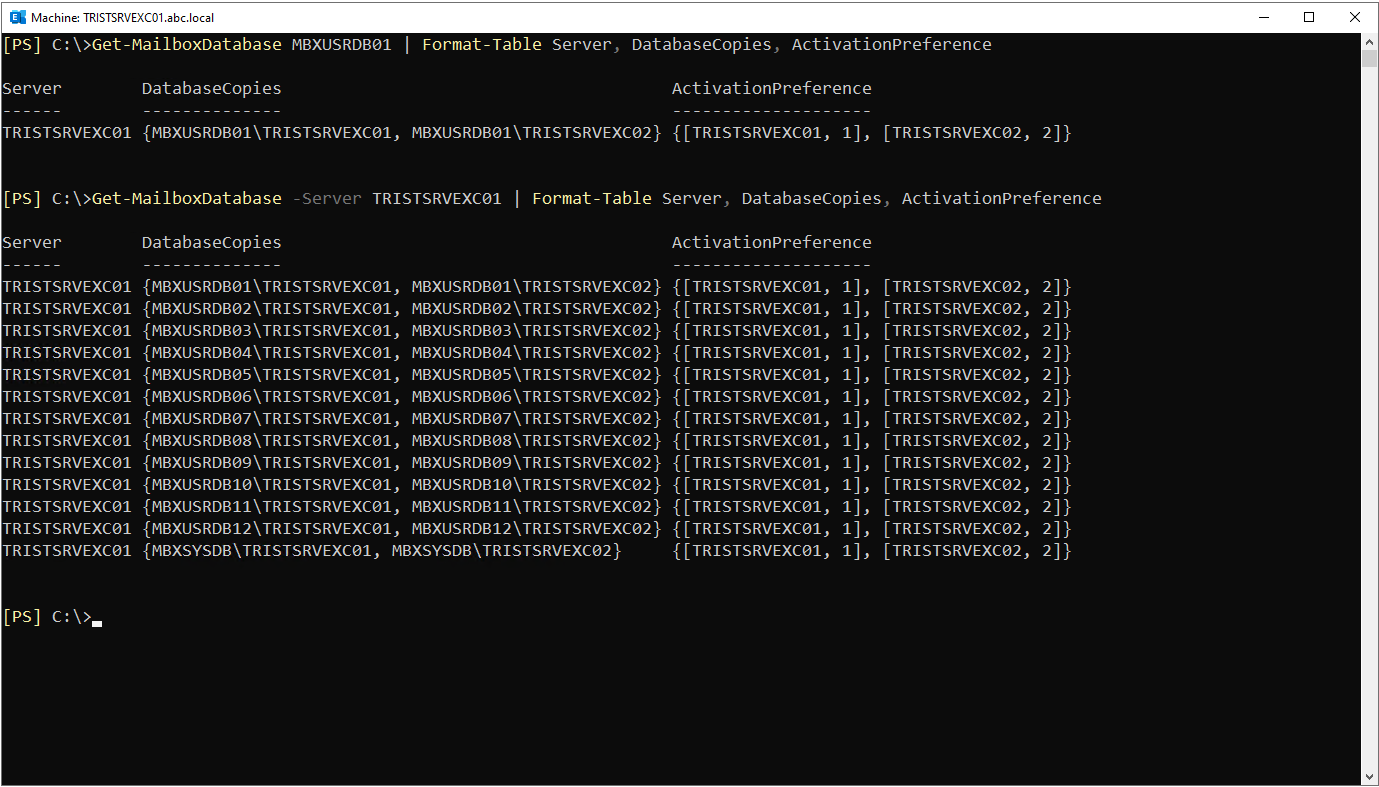
Finally, I check whether I have configured the activation preferences of the database copies correctly. I examine the DatabaseCopies and ActivationPreference fields in the Get-MailboxDatabase output. First I query a single database, then all databases on TRISTSRVEXC01.
Get-MailboxDatabase MBXUSRDB01 | Format-Table Server, DatabaseCopies, ActivationPreference

Get-MailboxDatabase -Server TRISTSRVEXC01 | Format-Table Server, DatabaseCopies, ActivationPreference
In the output, I see that each database has 2 copies. The ActivationPreference values show that the copies on TRISTSRVEXC01 have preference 1 and the copies on TRISTSRVEXC02 have preference 2. This confirms that the active copies are kept on TRISTSRVEXC01 by preference and that TRISTSRVEXC02 takes the passive copy role.
Conclusion
This article covered how I deployed an IP-less DAG from start to finish in the Exchange Management Shell, in an Exchange Server SE environment with 2 Mailbox servers. I applied each step in turn: installing the Failover Clustering feature, creating the DAG, arranging the witness server permissions, adding the Mailbox servers to the DAG and adding the database copies with their ActivationPreference values. Finally, I verified the copy statuses, replication health, the cluster nodes and the file share witness resource, and confirmed that the deployment completed in a healthy state.
Because the IP-less DAG approach does not require a Cluster Name Object, an IP address or a Network Name, it reduces the management workload and the DNS dependency, and it is the preferred model in modern Exchange deployments. After the deployment is complete, you can check the health of the DAG regularly with built-in cmdlets such as Test-ReplicationHealth and Get-MailboxDatabaseCopyStatus.
Optionally, the community-developed Get-DAGHealth.ps1 script can be used to see the overall state of the DAG in a single report. This script produces a health report in HTML format that shows the state of the member servers, the database copies and replication, and it provides a practical method for periodic monitoring. Because it is not a Microsoft tool, reviewing its source and content is recommended before running it in a production environment.
I hope you find it useful...
Feel free to share your thoughts and questions about this article in the comments below. Every contribution helps the content reach more people and makes for a more useful discussion.